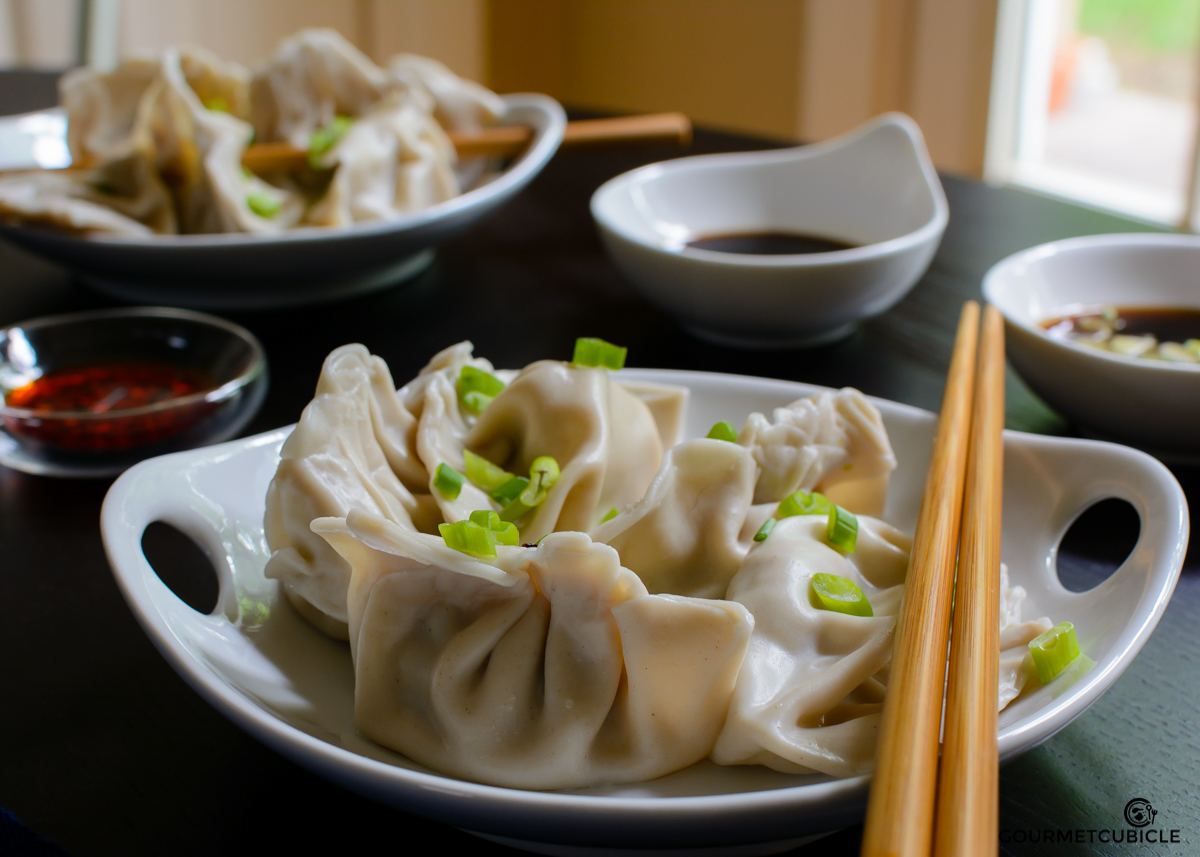
Kitty's Chinese Dumplings (Jiaozi)
Cooking with friends is a monthly series in which my dearest friends are inviting me into their kitchens and teaching me their favorite recipes. These bonding experiences deepen our friendships, expand my palate, and enhance my culinary skills by sharing a timeless practice: cooking.
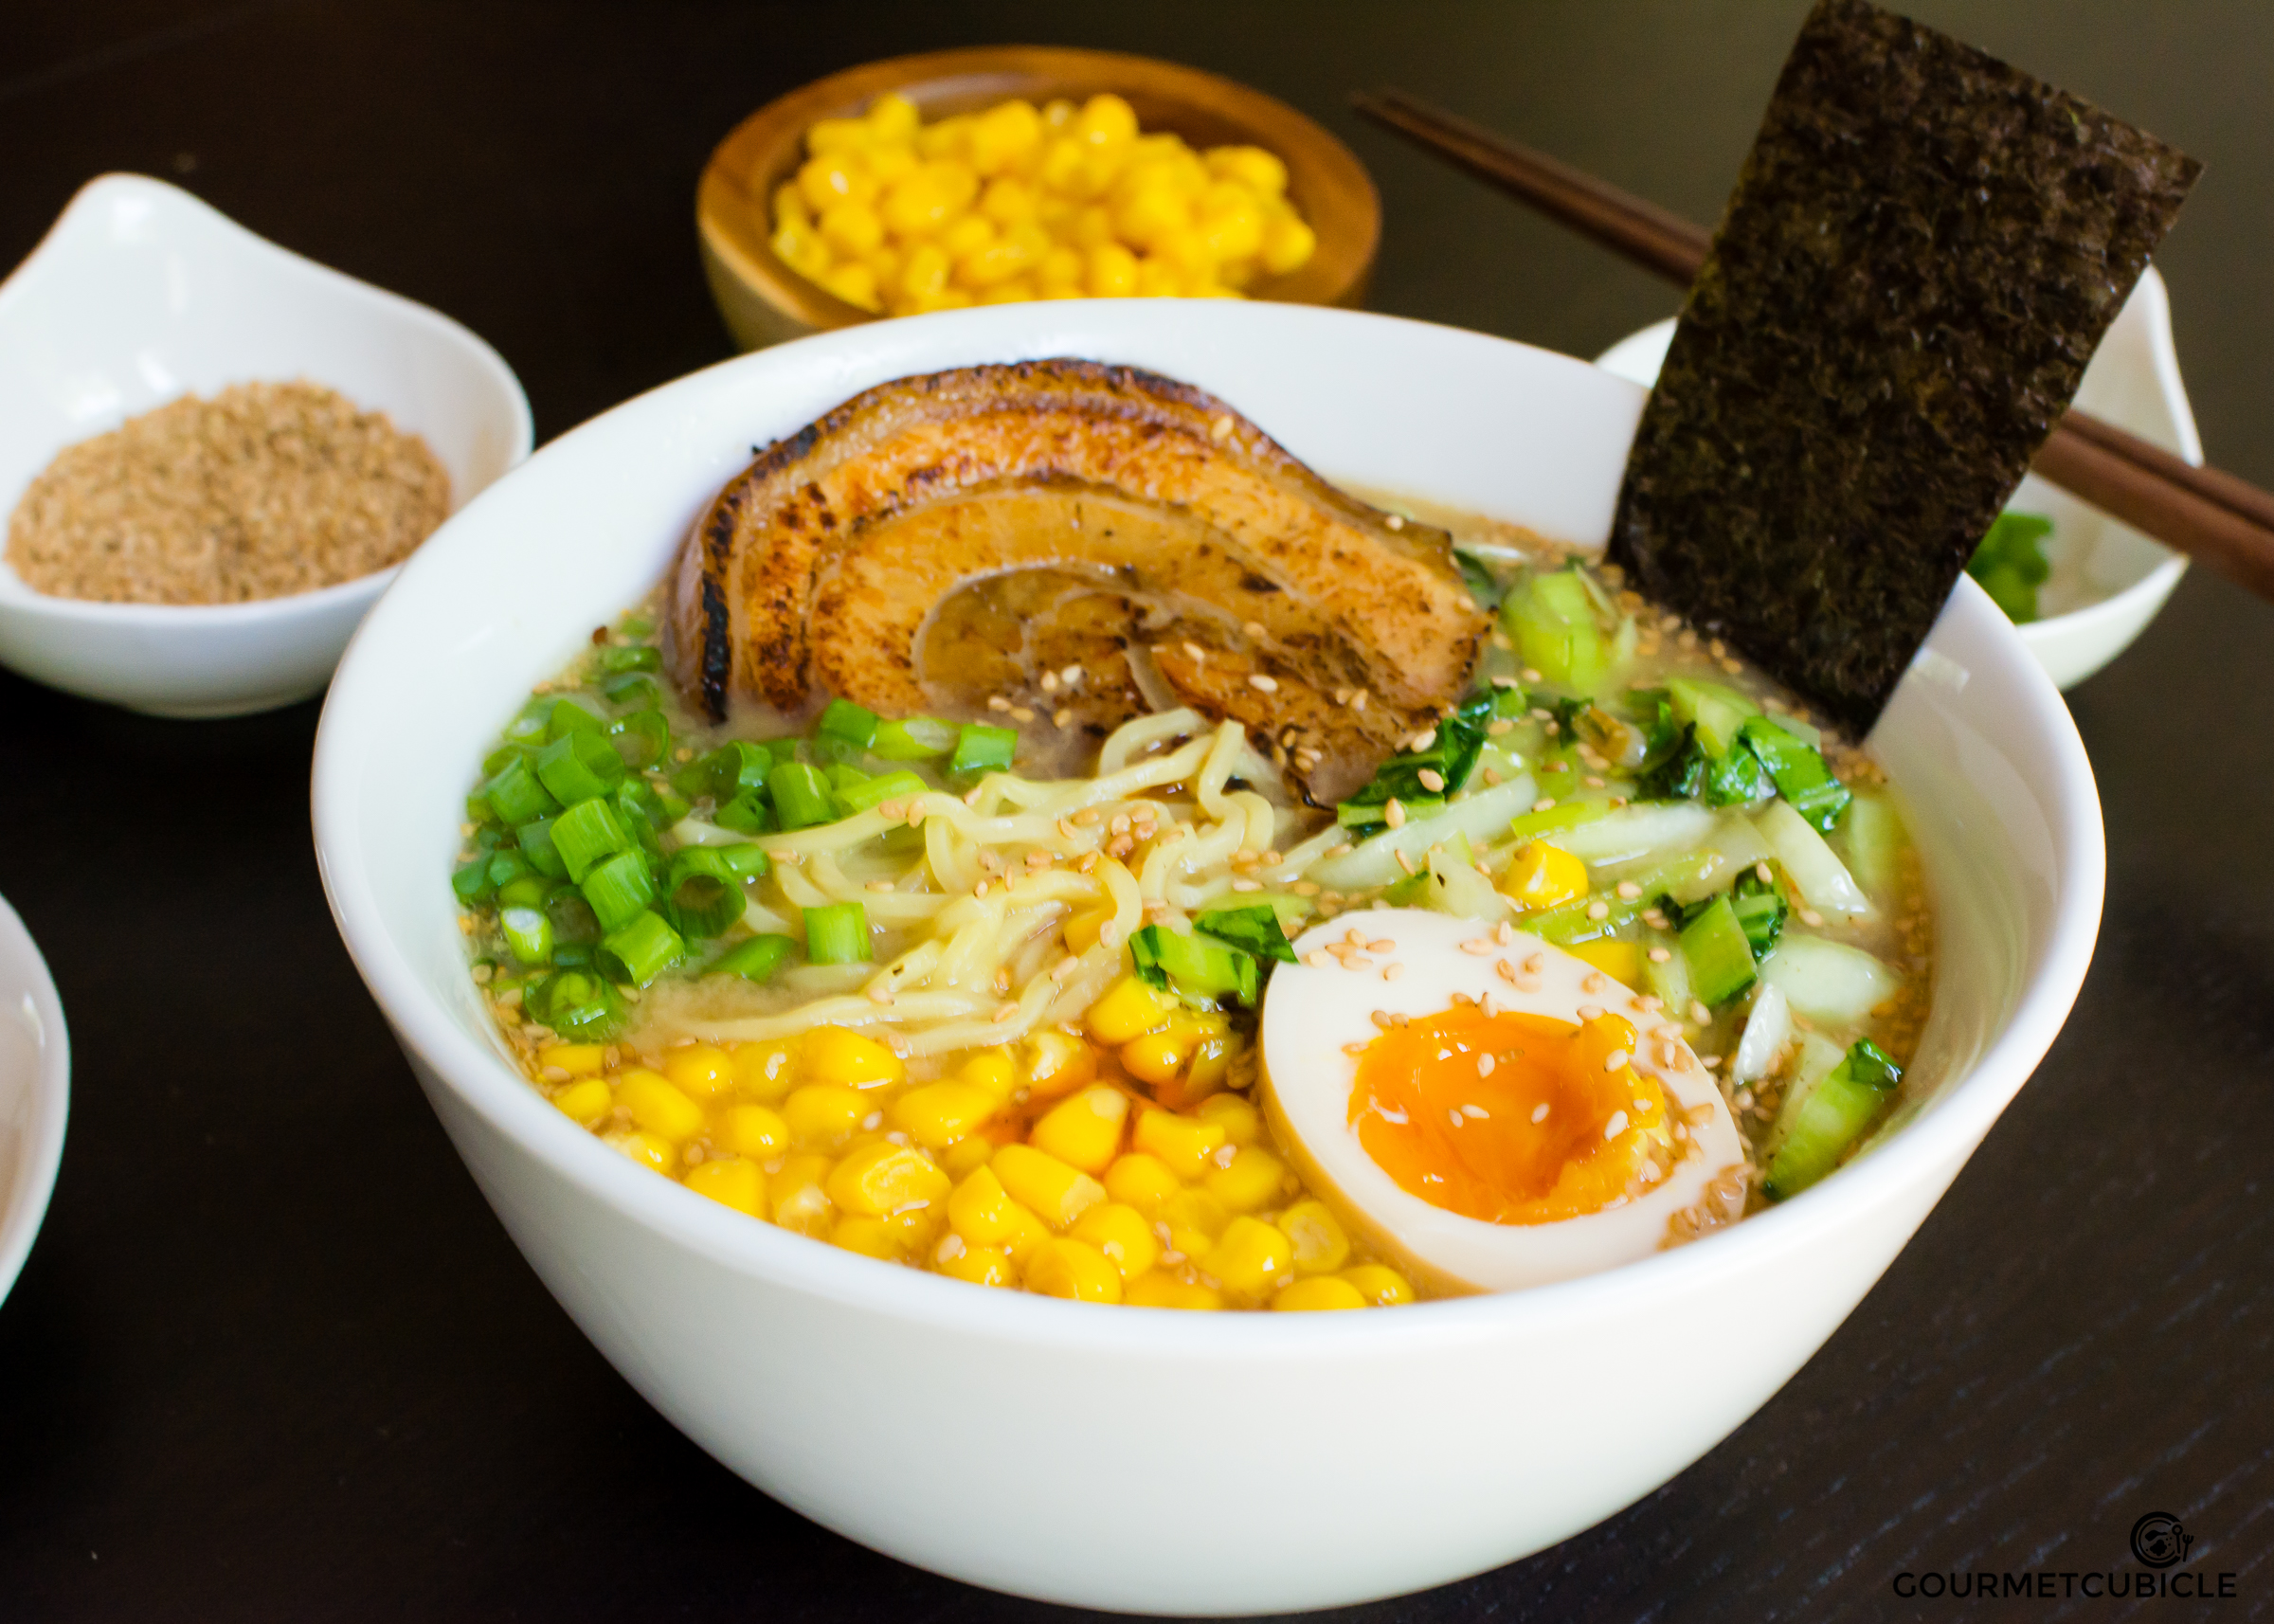
The Asian theme continues on gourmet cubicle. After the success of my Japanese miso ramen recipe, it’s time for another Asian staple: Chinese dumplings, also known as jiaozi.
For a very long time the idea of making dumplings never really crossed my mind, mostly because I had a preconceived idea that they must be really difficult to make. Then I talked to my friend Minghui. I knew his family cooked, because he brought amazing dishes to work potlucks in the past. I told him about Cooking with Friends and asked him if he would teach me to cook a Chinese staple dish.

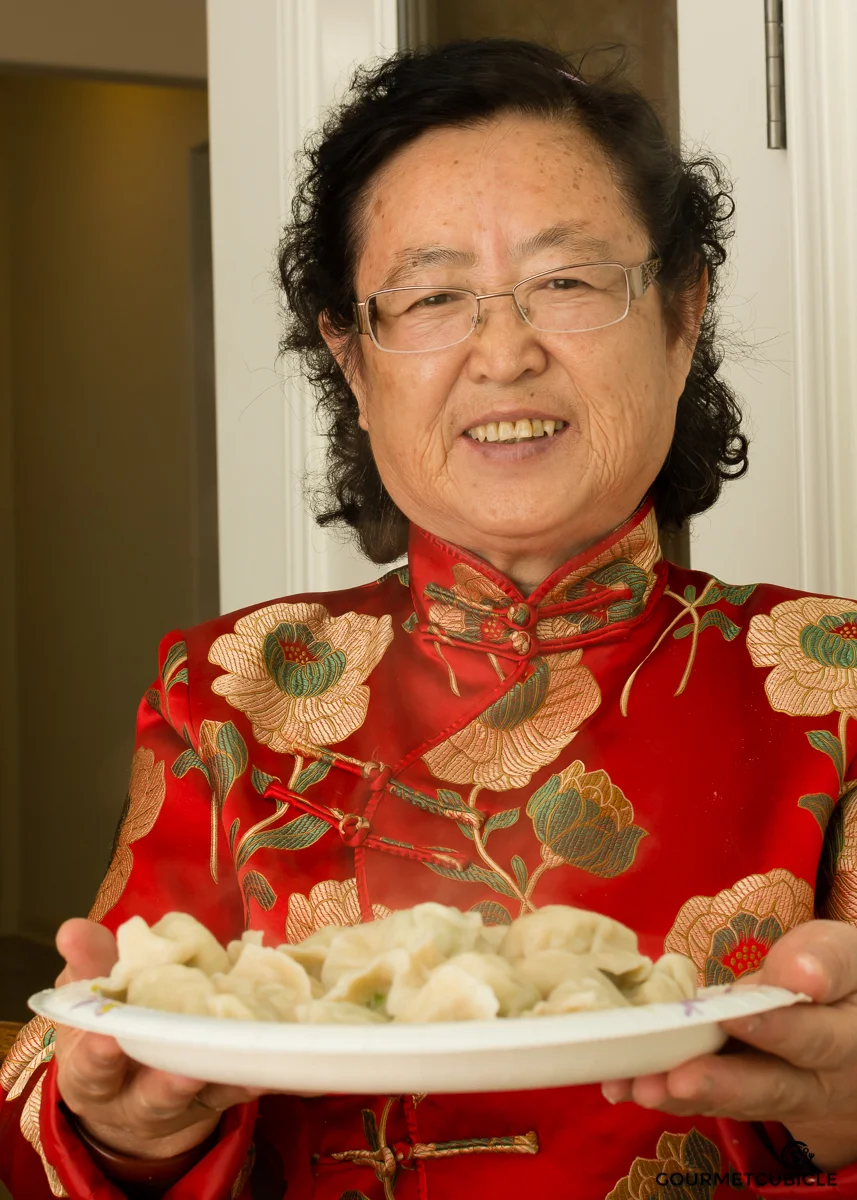
He said yes, without thinking twice. When Chinese New Year rolled around, Minghiu invited me to celebrate with his friends and learn the secrets of making dumplings with his friend Kitty. He told me that they’d make traditional Chinese dishes, and that Kitty–Minghui’s good friend and neighbor—would show me the secrets to her famous dumplings. I was blown away (and a bit nervous) about making dumplings from scratch. Kitty’s mom, Lanxiang Yang, who was visiting from China, would be there as well, and according to Minghiu, she had mad dumpling-folding skills.
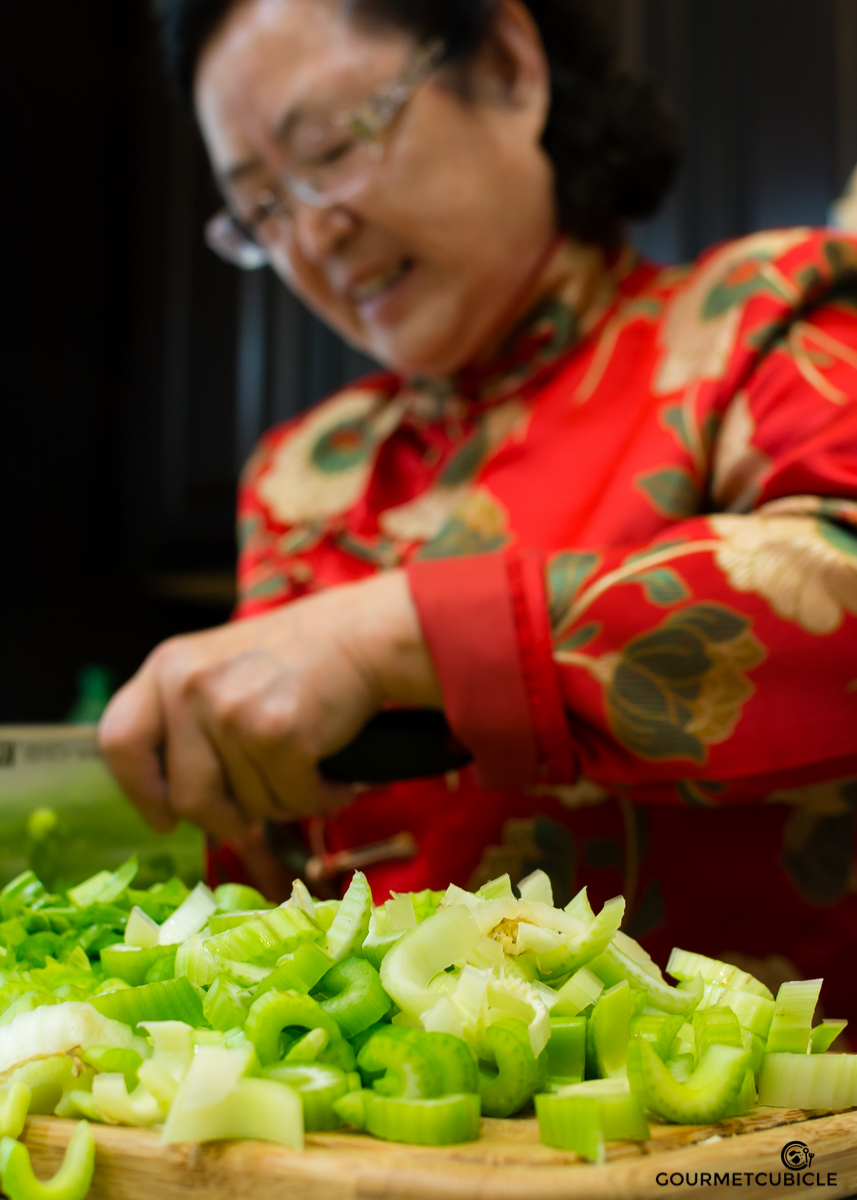
When I arrived at Mighui’s house, I was welcomed by his wife Jun Li, his super cute daughter Jennifer, Kitty, and Lanxiang. They were excited to share their recipe and traditions with me. Lanxiang was wearing traditional Chinese clothing, which set a celebratory tone. Even though she didn’t speak English at all, we were able to communicate with Kitty’s help and through signs.
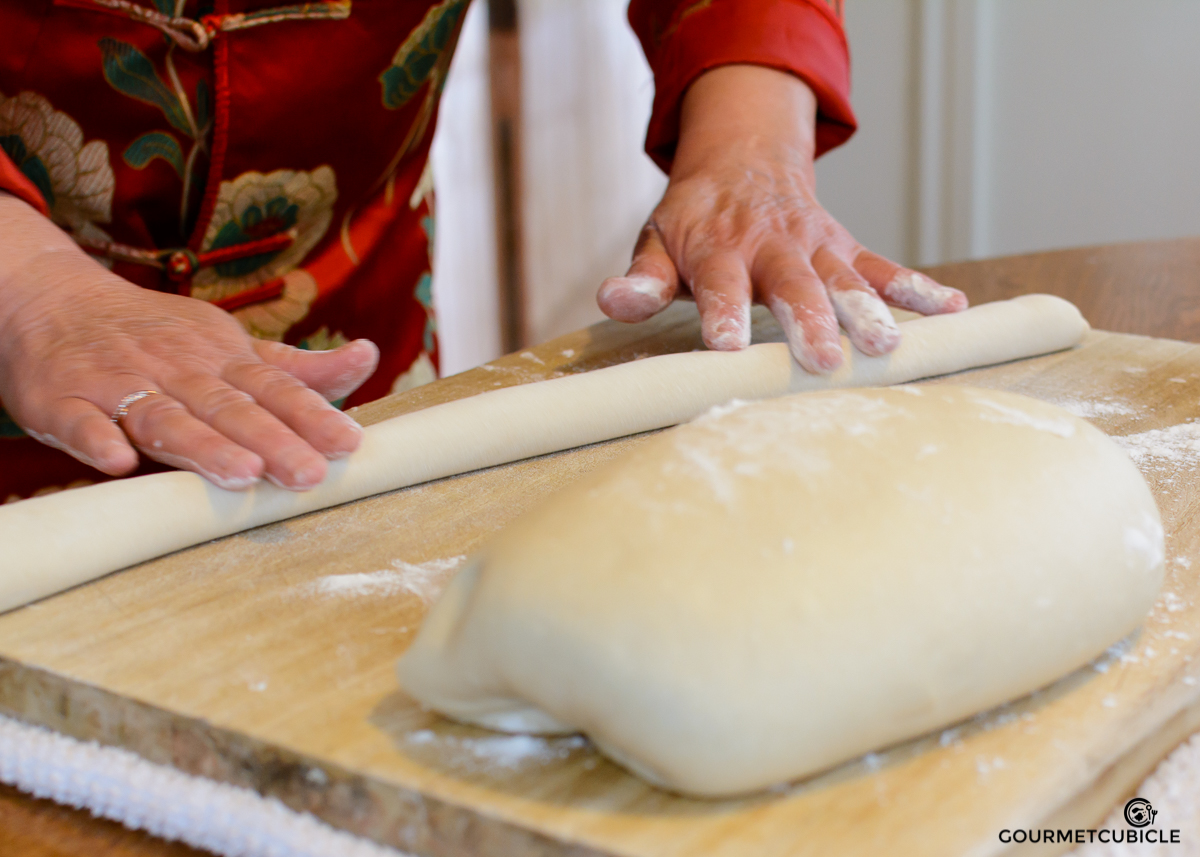

Lanxiang started by showing me how to make the dough. The ingredients were simple—water, flour, and salt—but the process was time-consuming and rather difficult. When I tried my hand on rolling out a wrapper, it was obvious to everyone that I wasn’t meant for this; the wrappers were all wonky and pretty much useless. Of course, Kitty and Lanxiang kneaded, cut, and rolled the wrappers so fast that it looked effortless, but that was just the result of years and years of experience. As a result, in my recipe, I recommend you buying the pre-packed wrappers to make your life a lot easier.

While I was observing the whole process, Kitty told me about a few Chinese gastronomical traditions. I found that these dumplings are specific to the northern part of China and that Shanghai also has a variation of them, but they are sweeter. I also found out that eating in Chinese culture is similar to many other cultures in that it is communal. They usually set up two tables: one for adults and another for children. On special occasions like holidays, anniversaries, birthdays, etc., they make dumpling along with a lot of other dishes. The rule of thumb is to make 10 dumplings per person, which adds up pretty quickly for a party of 15-20 people.
I also learned about the importance of the number 8 in Chinese culture. When hosting a dinner or family gathering, they start the feast by serving 8 cold appetizers (cured meats, salads, noodles, etc) followed by 8 warm plates (fish, dumplings, cumin lamb, double fried pork, etc.). The meal ends with fruits. Generally, the women are responsible for cooking and the men are in charge of cleaning.

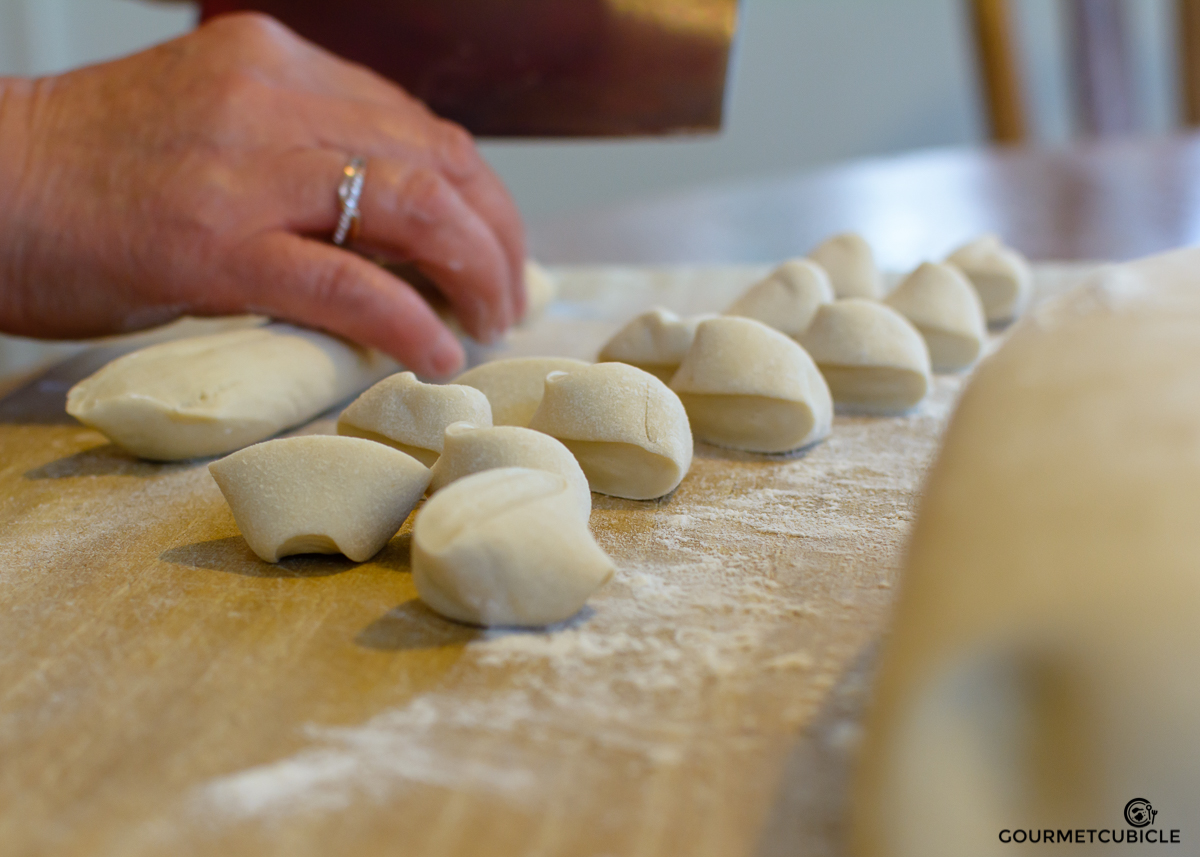
Although some men take pride in their cooking skills, Minghui was as much a novice dumpling maker as I was. We used the rule of 10 and determined that we needed to fold at least 130 dumplings. Lanxiang showed us at least four or five folding techniques, but they didn’t really stick to Lianxiang's amusement. She could pick up a wrapper that Kitty rolled out, put a spoonful of filling in the middle, and just like when a magician performs a trick, BAM! You got yourself a dumpling. Half an hour later, Lanxiang, Minghui, and I finished folding 147 dumplings (yes, I did count them all). Minghui and I contributed very little to the total number, as we were only able to successfully fold 10 to 15 in that time. The rest were all Lanxiang’s work of magic. Her hands were on autopilot, moving faster than a high-end folding machine, and she laughed all the while at Minghui’s and my inability to master dumpling folding.
After a few weeks I decided to try making them at home, and although it took me about an hour to make 30 dumplings, they were well worth it. My friend Maria (who you may remember from a previous Cooking with friends blog post) swears by them. She claims that these are the best dumplings she’s ever had, which means a lot, since she’s spend significant time in China. Try them, have fun with the folding, and don’t make a big deal out of the shape—they’ll taste fantastic regardless. Enjoy!
Kitty's Chinese Dumplings (Jiaozi)
Serves 6-8
Prep time: 45 minutes
Cook time: 15 minutes
Ingredients
Dumplings
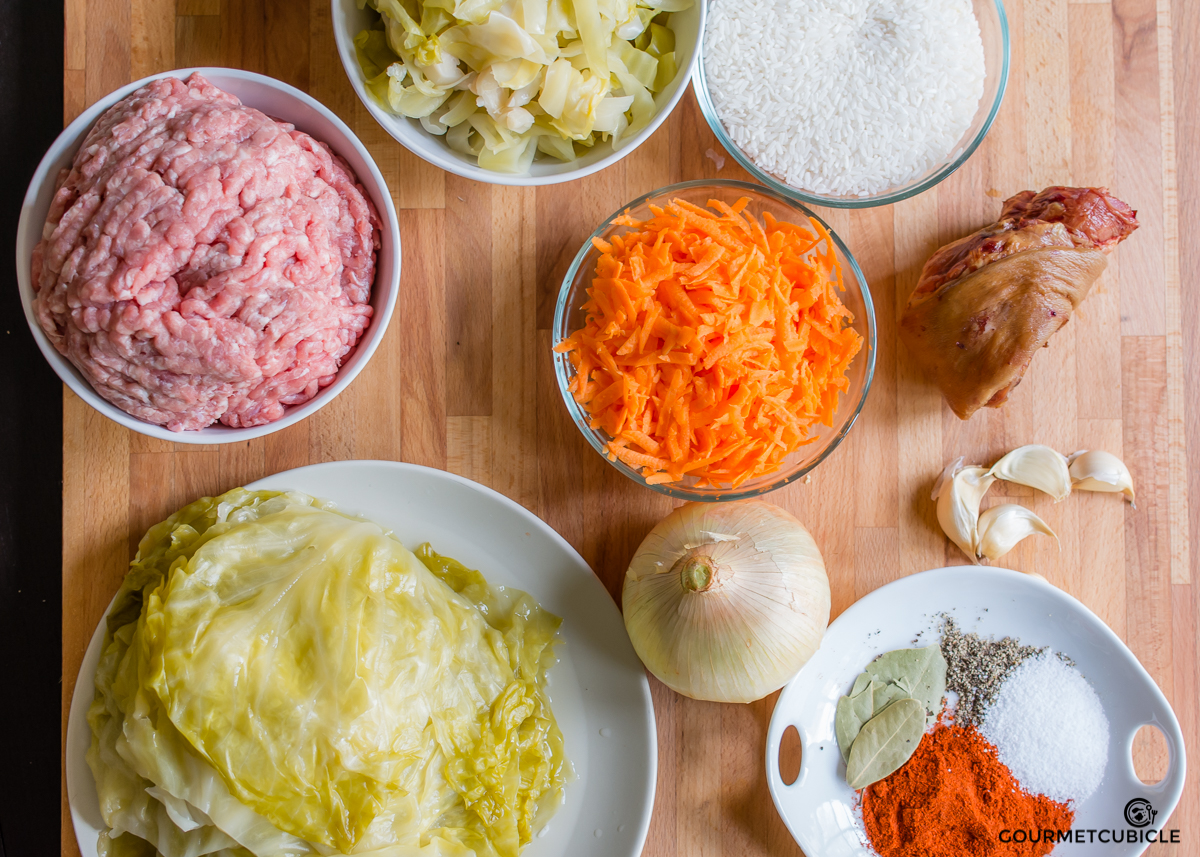
- 1 bunch of celery, roughly chopped (about 8-10 stalks)
- 1 bunch green onions, roughly chopped
- 1-inch ginger, crushed
- 1 lb. ground pork
- 4 tsp. kosher salt
- 1 tsp. ground white pepper
- 1 ½ tsp. ground Sichuan pepper
- 2 Tbsp. olive oil
- 1 lb. round dumpling wrappers (about 60-80 wrappers)
Dipping sauce
- ¼ cup soy sauce
- ¼ cup Zhenjiang vinegar
- 1 clove garlic, crushed and finely chopped
- ½ inch ginger, peeled and grated
- 1 tsp. chili oil (more for spicier sauce)
Instructions
- Start with the dipping sauce. In a small bowl, combine the soy sauce with the vinegar, garlic, ginger, and chili oil. Stir and set aside.
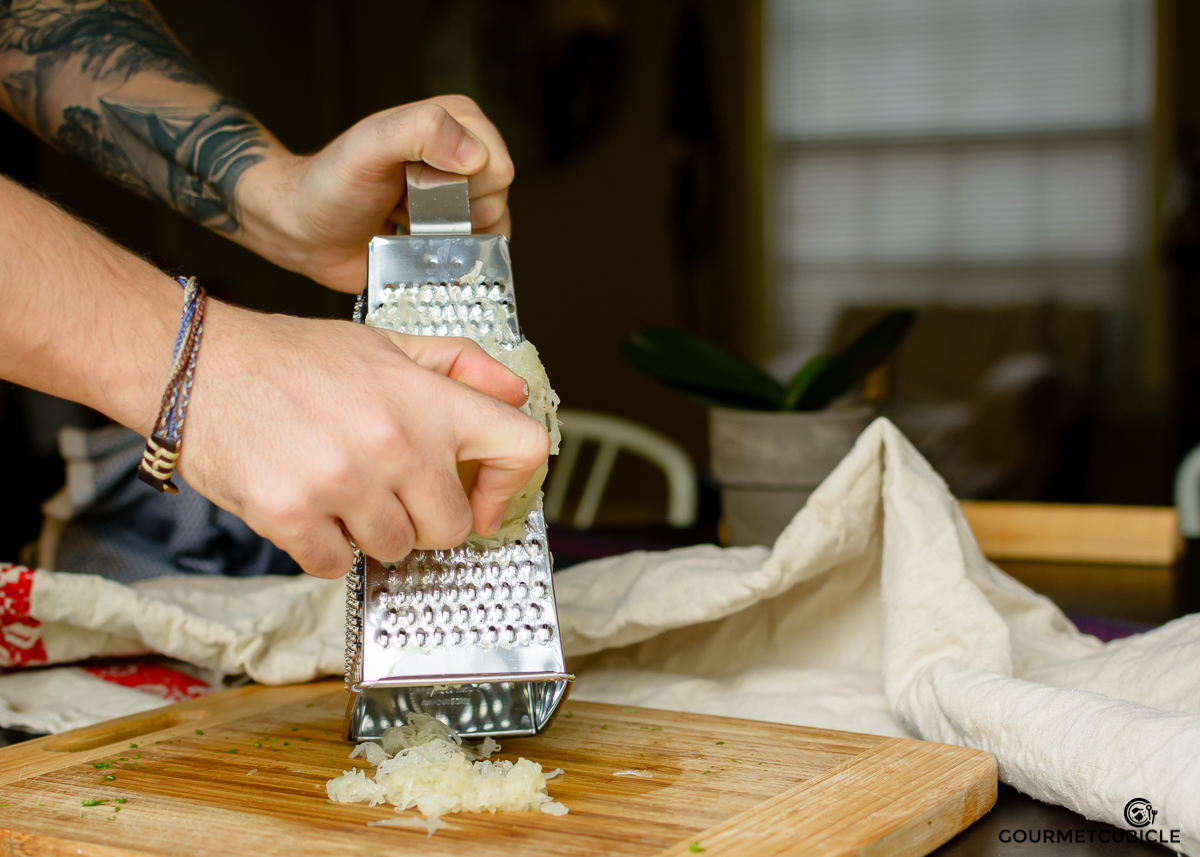
- Coarsely chop the celery, green onions, and ginger, and then transfer them to a food processor. Pulse until they are finely chopped. Don’t overdo it!
- Remove the celery mix, wrap it in a clean kitchen towel, and squeeze it to remove the excess liquid.
- In a large bowl, combine the ground pork with the finely chopped celery mix, salt, white pepper, Sichuan pepper, and olive oil. Using your hands, stir until the filling is well mixed.
- Holding a dumpling wrapper flat in your hand, place 1 ½ teaspoons of the filling in the center of the wrapper.
- Wet the edges of the wrapper and fold the dumpling in half to form a half-moon shape, pressing out the air as you seal the dumpling.
- Bring a large pot of water to a boil over high heat. Add the 15-20 dumplings at a time and cook until they float to the surface or until the water starts foaming. Add half cup cold water, and wait until the water returns to a boil. Add another half cup cold water and cook until the water starts boiling again.
- Using a slotted spoon, remove the dumplings and transfer them to a platter. Repeat until you boiled all the dumplings.
- Serve the dumplings hot, with the sauce on the side.
Notes
- There are several techniques to fold the dumplings. Look one up on YouTube if the instructions aren’t clear. Don’t sweat too much over making them look like at the restaurant—those guys are pros.