
Guy's Piquant Pulled Pork
Cooking with friends is a monthly series in which my dearest friends are inviting me into their kitchens and teaching me their favorite recipes. These bonding experiences deepen our friendships, expand my palate, and enhance my culinary skills by sharing a timeless practice: cooking.

The first recipe of the series is my colleague Guy’s famous pulled pork. Nothing says southern comfort food like a good ol’ juicy pulled pork sandwich with fresh coleslaw. I’ve had pulled pork at several places here in Austin, but Guy’s blew me away when I had it at one of our team happy hours. Being new to the team I didn’t really know who Guy was, let alone how much he knew about cooking. I was a bit skeptical... I mean, an engineer that loves to cook? That’s crazy ;). We started to talk and discovered that we were both passionate about food. Every time I’d cook something that I was proud of, I’d bring some for Guy to taste and give me feedback and suggestions. I came to learn that he is an evangelist of simplicity when it comes to flavors.
His pulled pork is a case in point: its flavors are so simple, yet so tasty. The pork melts in your mouth with a burst of smoky and piquant flavor. “I’ve never had anything like this before. This is insane. I have to learn how to make it,” were my thoughts the first time I tried it. When I told Guy how blown away I was, he thanked me and said in his typical honest fashion that for someone who liked exploring different cuisines on his blog, he thought I was missing a traditional Texas dish and, to my delight, offered to teach me to make the pulled pork. “You can’t get more American than that,” he said.
That’s how the idea for this friends series came to be, and I can’t imagine a better international cuisine to kick it off with than with that of my current home deep in the heart of Texas.

The meat. Guy had been telling me that our local grocery store has the perfect pork cut for pulled pork at a really good price. When I asked him what cut is being used for it, he instantly replied “Pork butt!”. Pork butt is laced with flavorful fat and connective tissue, he said. I asked him to be more specific because the butt of the pork is called ham where I come from. To confuse me even further he then went on explaining to me that the pork butt is actually the upper shoulder also known as the Boston butt. The term butt was given to this cut by the way the pork shoulders were packed into casks or barrels (aka butts in old English). Now that I was clear with the butt, Guy went on to explain what makes a pork butt the perfect butt. Three things you need to consider when buying the meat: fat, bone and marbling.

Let’s start with the first one- fat content. You have to pay attention to how trimmed the pork is. It has to be neither too trimmed, nor too fatty. I’d say anywhere between ¼ of an inch and ½ of an inch of fat on top of the meat will do. This is called the cap and it is important that the thickness be consistent across the top. Fat is flavor after all, but if you’re not a fan of it, don’t worry anyway because you’ll discard most of it at the end. Just don’t trim it too much before smoking it as it will dry out.
The second thing that you need to care about is that the butt must be bone-in. The bone, or the “pop-up button” as Guy likes to call it, will indicate when the meat is cooked. It also helps to hold the meat together. After 10-12 or as much as 16 hours of smoking, the meat will turn buttery and without the bone you’ll have a hard time keeping it from falling apart.
Last but not least the marbling. Are you a beef fan? Have you ever had Kobe beef? It’s the marbling that makes it so great. It’s the same case here: make sure that the meat you’re buying has a nice marbling. Marbling is collagen (connecting tissue) which will slowly break down into gelatin and water from the heat that you’re applying through smoking, making the pulled pork juicy and flavorful.
The rub. Here is what you need to know about Guy: he is not your traditional cook. Although very knowledgeable when it comes to cooking and with the unwritten rules of smoking, Guy doesn’t shy away from breaking these “rules” if the end result is up to his standards, which are very high by the way. He’ll adjust and readjust a recipe over and over again until he thinks it’s perfect. It took him over two years of trial and error to perfect this pulled pork recipe. Here is what he told me: “My approach of using mustard for brining the meat will cause a lot of controversy. A lot of smoker experts think that it’s a blasphemy to use mustard with the dry rub, but I don’t give a damn. Where is the dry rub going to end up if I don’t apply mustard? Not on the meat that is for sure.”

The Chips. Guy uses a mix of hickory and apple wood chips. He soaks 8oz of apple wood and 8oz of hickory chips combined together for about 8-10 hours before starting the smoking process. On top of that he also adds a bigger chunk of soaked hickory wood (about 2x2x3 inches) for that extra smoke kick. When Guy prepares his smoker he carefully alternates layers of chips with layers of charcoal until he has enough charcoal for 20 hours of continuous smoking. Place the bigger chunk of wood right in the middle of the smoker once you have completed distributing the chips. This works for his smoker but may not work for yours as he says many smokers can't be set up to smoke that long. A word on the charcoal, Guy uses natural lump as opposed to briquettes. This burns longer and cleaner reducing the amount of smoker maintenance necessary during the cook. If you go with natural lump be sure the wood is fully coked. If it isn't, the charcoal will smoke adding undesirable flavors.

The smoker. Guy cleans his smoker before each use to ensure proper circulation of the smoke and I recommend you do the same if you want your smoker to work at its maximum capacity. Cleaning it will also help keep the temperature constant. We used a high-end smoker but any smoker that is able to hold the temperature constant between 200F and 250F for up to 16 hours will do the job. Depending on the smoker you may need to tinker with it during the process.
Guy's Piquant Pulled Pork
Prep time: 90 minutes
Cook time: 12-16 hours
Inactive time: 3-4 days
Ingredients
- 10 lbs bone-in pork butt (Boston butt, pork shoulder on the bone)
- 1-2 cups yellow mustard
- 1/4 gallon apple juice
Rub
- inspired by Ray Lampe's Big Time BBQ Rub
- 1/2 cup table salt
- 1/2 cup Turbinado sugar
- 1/4 cup brown sugar
- 1 TBS garlic powder
- 1 TBS onion powder
- 2 TBS paprika
- 2 TBS chili powder
- 2 tsp cayenne pepper
- 2 TBS freshly ground black pepper
- 1 TBS dried thyme leaves
- 1 TBS ground cumin
- 1 tsp ground nutmeg
Vinegar sauce
- inspired by Steven Raichlen's The Barbecue! Bible 10th Anniversary Edition
- 2 cups cider vinegar
- 1/2 cup plus 2 tablespoons ketchup
- 1/4 cup firmly packed brown sugar
- 5 tsp salt
- 2 tsp hot red pepper flakes (add up to 2 teaspoons for additional heat)
- 1 tsp freshly ground black pepper
- 1 tsp ground white pepper
- 1 1/3 cup water
Tools
- smoker
- wood chips
- natural lump charcoal
- 1 digital meat thermometer with a probe and a cable
- 1 digital grill thermometer/ smoke regulator
- plastic wrap
- large ice-chest
- tinfoil
- patience and beer
Instructions
Day 1
- Clean and trim the pork butt then pat it dry with paper towels.
- With a sharp knife score the layer of fat of the pork in a criss-cross pattern going about 1 inch deep. Some experts will tell you not to cut into the meat but Guy disagrees because the rub doesn't penetrate through the fat layer without help.
- Smear mustard all over the meat, making sure you don’t miss the incisions you made. The rub will stick to the meat with the help of the mustard.
- In a small mixing bowl combine all the ingredients listed under “Rub”. Using a fork whisk them together making sure they are well mixed.
- Fill a large shaker with the dry rub and generously sprinkle over the meat until the mustard completely absorbs the spices. Make sure no spot remain uncovered.
- Next wrap the hunk of meat tightly in plastic wrap. If you are using standard width plastic wrap double it by putting two pieces side-by-side. As the meat brines it will lose some liquid and this will help trap the liquid next to the meat.
- Put it in a bowl and then place it in the refrigerator. Let the meat brine between 24 to 48 hours. The longer the better. This step chemically ages the meat to an extent helping the tenderness of the final product.
Day 3
Hint: The first rule of smoking is no peeking as you will let all of heat out of smoker causing the process to take longer.
- Prepare the smoker by cleaning it and setting it up with even layers of hickory and apple chips.
- Set the temperature controller to 225F and let it warm up. Guy has an automatic electric one but did mention that back in the day he was the temperature controller.
- In the meantime, remove the meat from the refrigerator and discard the wrap. Reapply rub. There is no need to add more mustard as the surface of the meat will be wet. You will want enough rub so that all of the moisture is absorbed.
- Place the pork shoulder on a V rack and insert the thermometer right in the middle of the meat hunk away from the bone.
- Pour the apple juice in a dripping tray (or use a disposable aluminum tray). Place the tray on the smoker, ideally under the meat. This will impart some extra flavor and help keep it moist.
- Place the rack on the tray and cover the smoker. Relax for the next 8-10 hours.
- Check the internal temperature of meat as well as the smoker temperature every now and then. Do not panic if the temperature in the smoker rises over 225F. This pork meat is a forgiving kind and won’t dry out easily. However, you will want to bring the temperature back to 225F.
- When the internal temperature of the meat is around 180F you’re close to being done. This is where the pit masters excel. It is very hard to tell how much longer you have. The amount of collagen fibers will dictate how long it takes the temperature to transition to the next step. You can expect to see the temperature bounce between 180 and 185 until most of the collagen fibers melt out. Guy estimated that the butt we smoked would take about 12 hours total and it took 16 because this step was 3 hours long.
- When the temperature gets above 185 you must break the first rule of smoking and check the pop-up button (bone) regularly. If the meat has pulled away and it is loose the collagens have melted and your pork is done. Be careful at this point as it is possible to overcook the meat. If you do don't worry too much it will still be awesome just not as awesome.
- If the temperature of the meat reaches 190F you will want to remove it from the smoker as it will start to dry out.
- Lay tinfoil over a flat surface. If you are using standard 12" wide tinfoil you will want to double the width by placing two pieces side by side and sealing the seam. If you don't do this you will have a mess inside the ice chest when done.
- Using two big forks transfer the meat to the foil. Note, the meat should be falling off of the bone and pulling apart around the fork tines. If it is not put it back on the smoker for a while.
- Next, carefully wrap it up and then wrap it in the towel.
- Put the meat in an ice-chest and let it sit for at least an hour and up to another 24 hours. For the first hour the final collagen fibers will continue to melt.
Day 4
- Combine the vinegar, ketchup, brown sugar, salt, red pepper flakes, black pepper, and white pepper with the water in a medium-size bowl and whisk until the sugar and salt dissolve.
- Taste and adjust sugar or vinegar until the sauce is piquant. Don’t worry if the sauce is salty, the sweet and smoky meat will need it.
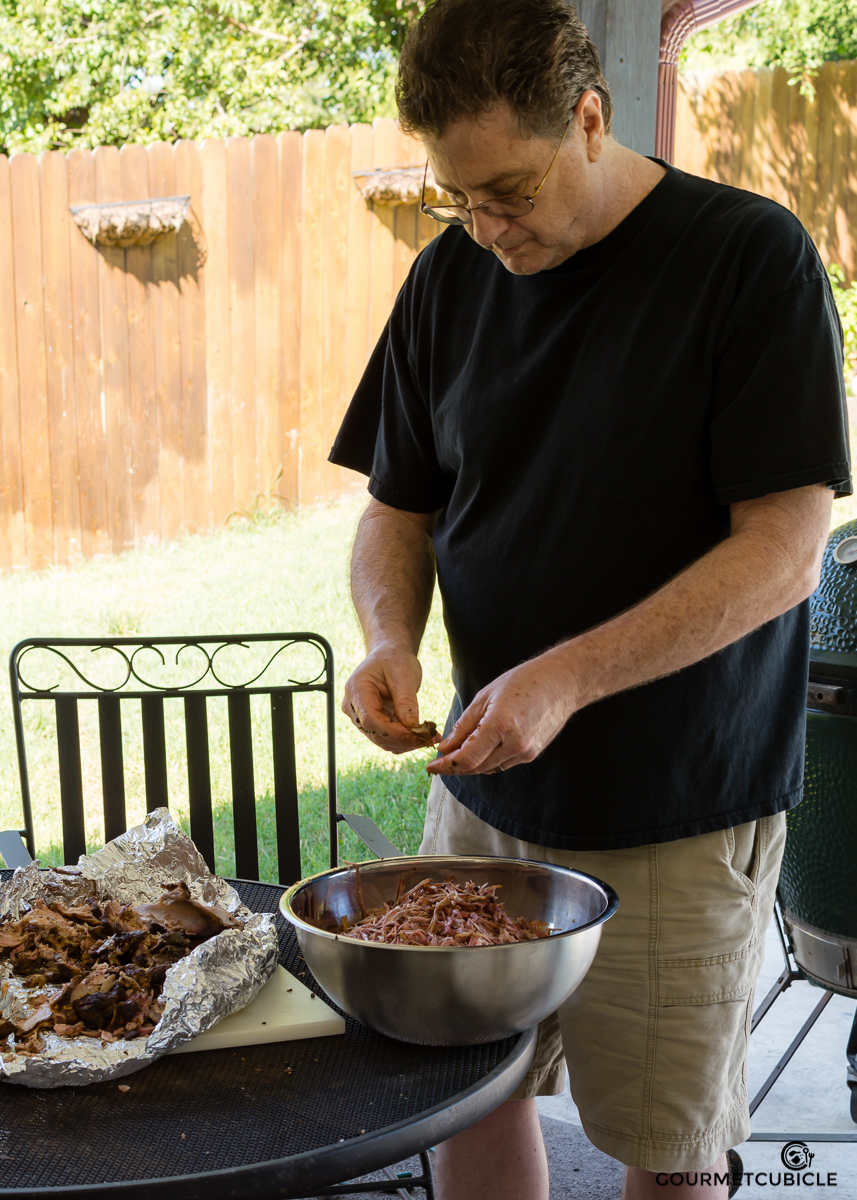
- Take the pork out of the chest and start shredding it into fibers. This will probably take about 30-45 minutes.
- Alternatively, you can slice, chop or use bear claws to pull the pork apart, but the texture will end up being different.
- Discard the big chunks of fat and try not to eat all bark (the crusty bits on the outside) like I did. Rather pull those apart as well.
- When done pour half the vinegar sauce on it and mix well using your hand or a fork. Slowly pour the rest of the sauce until the bottom of the bowl becomes slightly wet. This is when you need to stop even if you haven’t used all the vinegar sauce. If you add too much sauce it will make the bottom of the bun soggy.
- Serve on a bun or in a warm flour tortilla with a side of my spicy coleslaw.
Notes
You can get a marginally better result by smoking at 200F but doing so is a substantial time commitment.