gourmetcubicle

Tech by day. Cook by night.

The food blog of an engineer. Whether you're a tech nerd like me who wants to eat homemade meals and experiment with reproducing that amazing restaurant dish you ate, or a seasoned cook who wants to find inspiration for your next meal, you're in the right place.

  • home
  • blog
  • about
  • recipes
  • pantry essentials
  • contact

Creamy Basil Chickpea Chicken

February 02, 2016 by Aurel Pop in Main Dish

Austin winters are odd. I’m not sure why are they called winters in Austin, because in reality, they are just transitory seasons between the hot fall and the even hotter spring. Winters in here get me all confused. Not long ago, a random Santa emerged from nowhere through the backyard of the school where I attend a group workout. I had to think for a several seconds about the month and, hell, even the season we are in. Is it December? No. I remember making resolutions (hence the workout), so it must be past New Year.

This last weekend further confused matters. Temperatures were in the 70s (Fahrenheit that is), and the sun was shining. I decided to make the most of it, so after playing morning fetch with Popsi, I put on my sunglasses and headed to brunch. The weather was so nice that I decided to roam around the city for a bit. It was so energizing people everywhere were wearing t-shirts, and some even wore shorts. When I got home, instead of my usual siesta, I decided to set up the hammock in the backyard, pick up a book, and read while the warm Texas sun filled me with much-needed vitamin D.

I woke from my sun-induced slumber thinking about the skype date I had with my grandma Buna the other day. She reminded me of how cold it is right now back in Romania. I had somehow forgotten that in Romania, January was the coldest and most depressing time of year. Everyone hibernates to avoid the frozen greyness, and the cities are numb and lifeless until snow falls. The snow brings a buzz of life. It brings chaos.

One does not truly appreciate sunshine until faced with a rough winter. Imagine waking at 8 a.m., looking out your window, and realizing that the only source of light is the old street lamp that reflects its yellow glare on the frozen pavement. The sun hasn’t come up yet, and chances are, it will not come up before you get to work. By the time you finish work at 5 p.m., it’s dark again. By the end of the week you realize that there is good chance that you haven’t seen sunshine that week. So you’re waiting for the weekend, only so you can catch those very few hours when the sun is up.

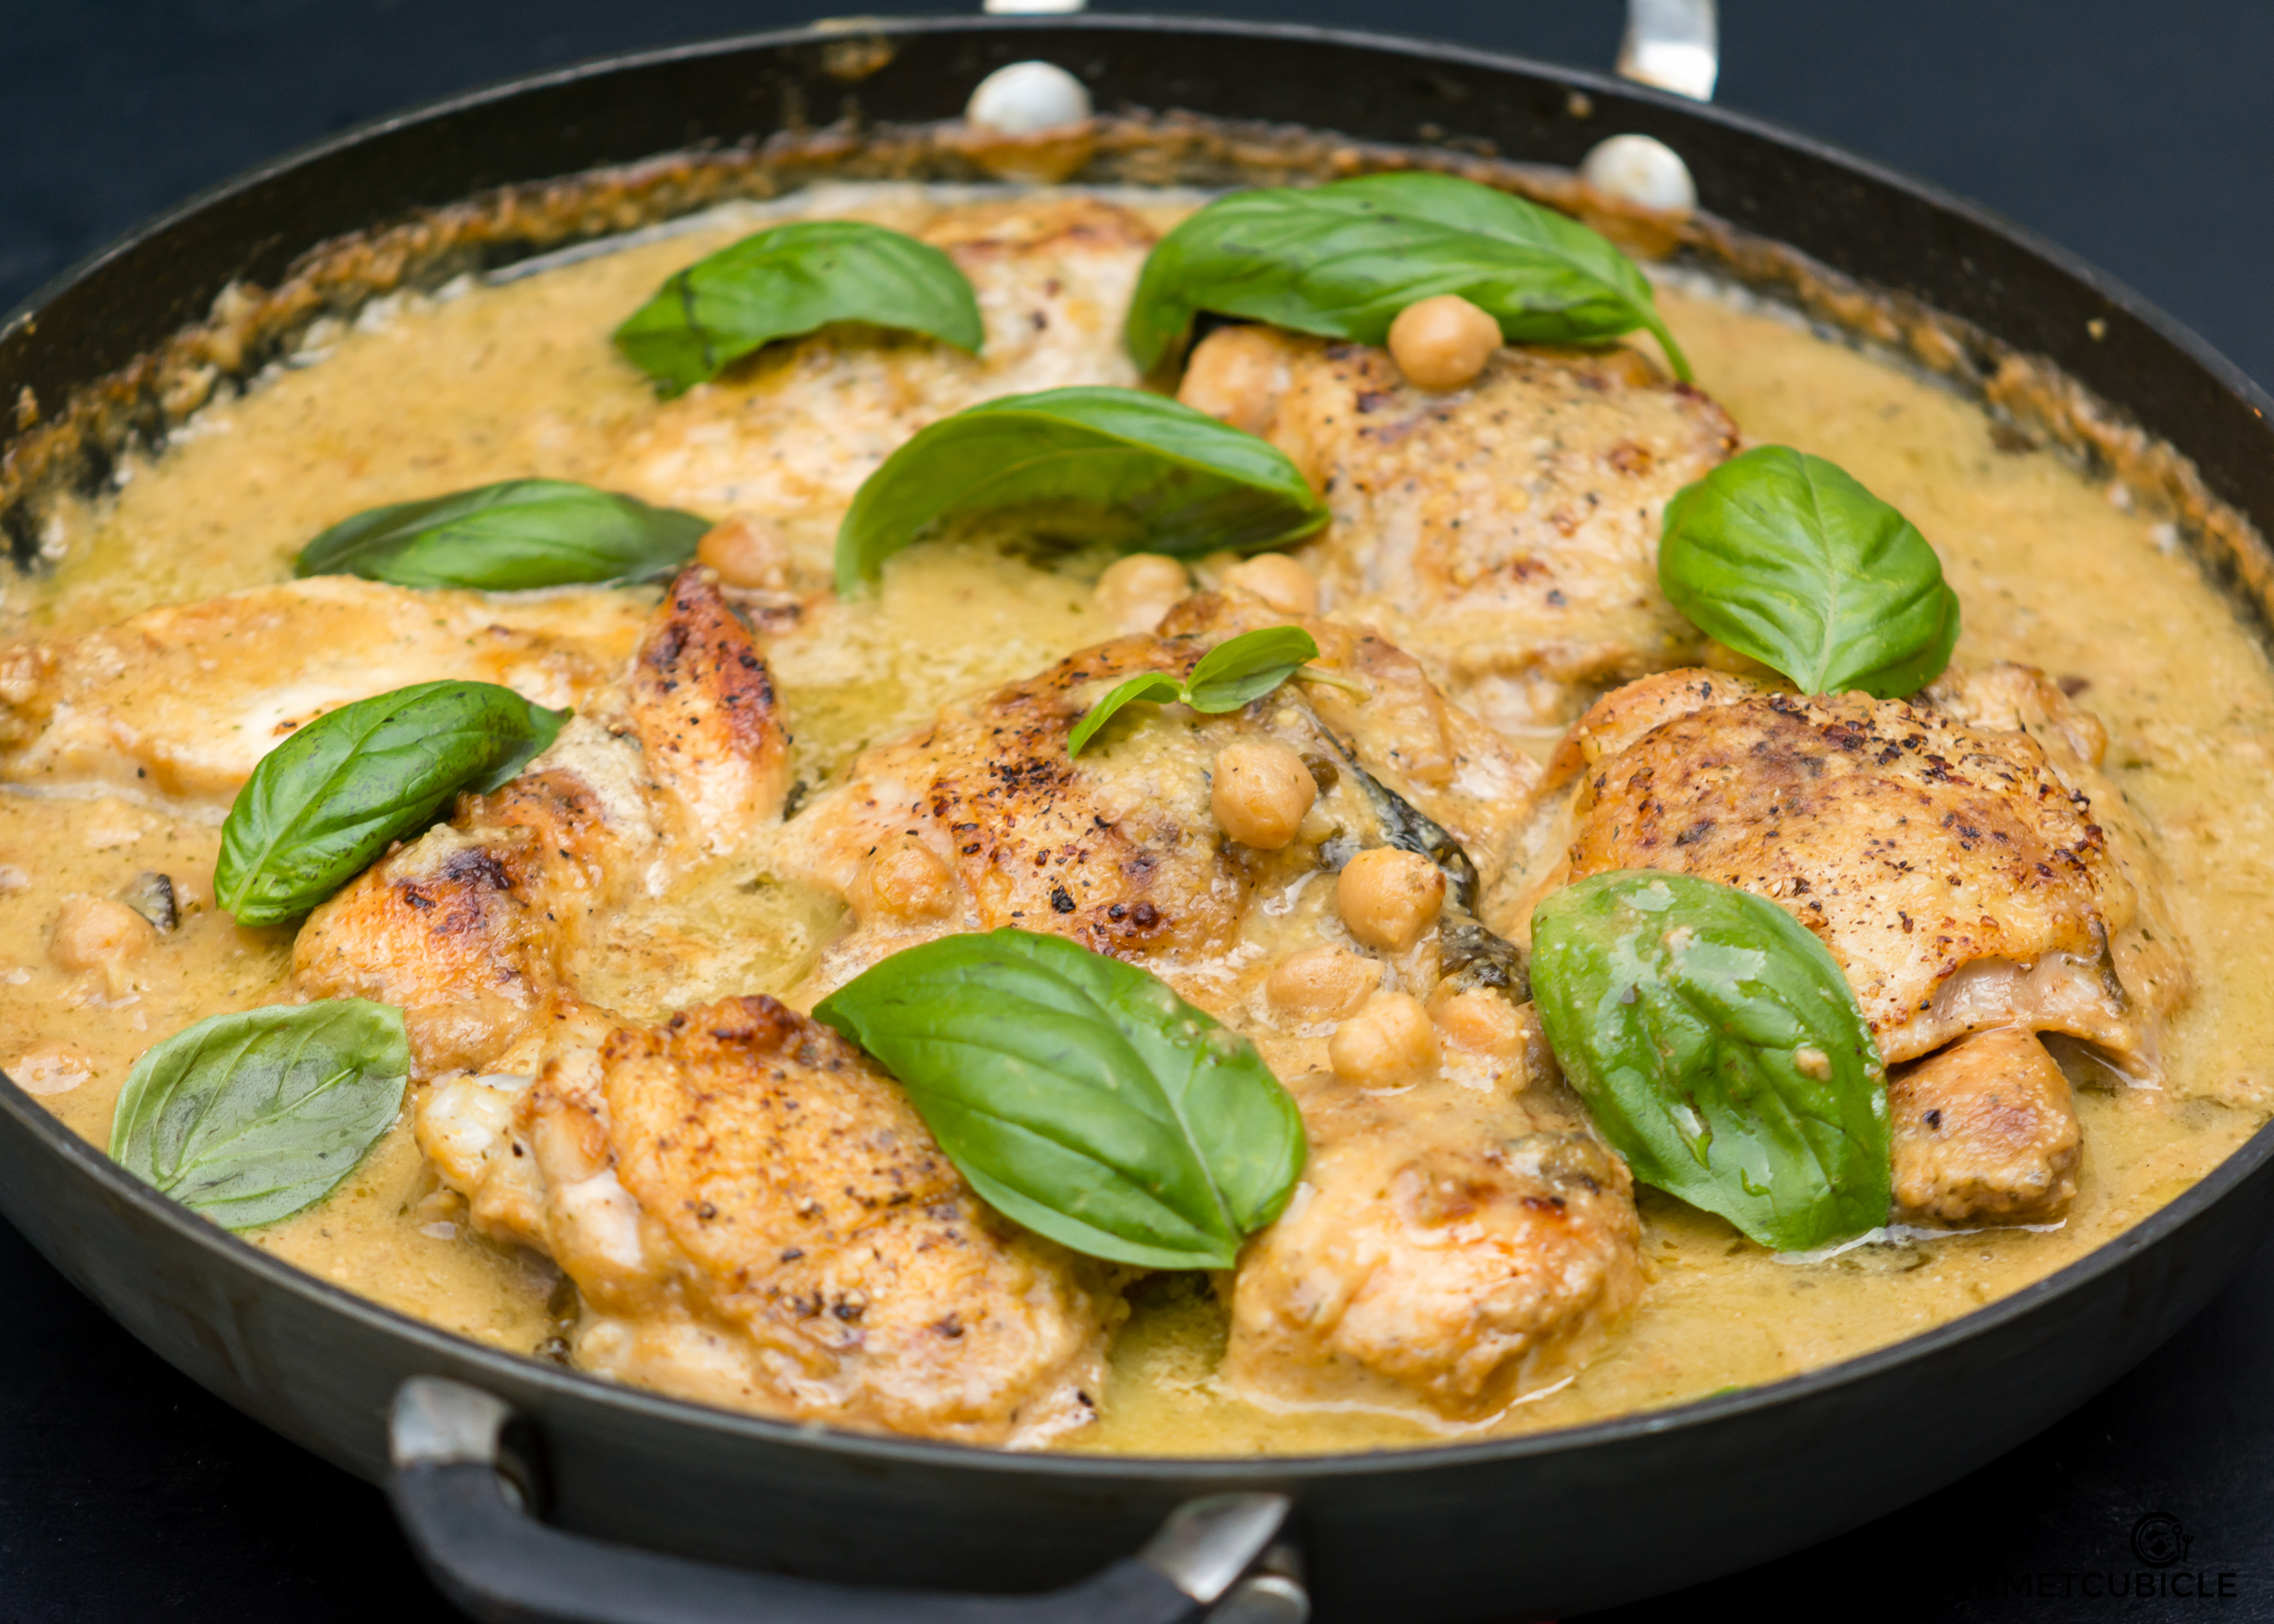
Saunas, thermal baths, tanning salons and bars are most profitable during those months. Hearty food is also a good remedy. There is something special about eating a bowl of fragrant Chicken Paprikas, a few Stuffed Cabbage Rolls, or a hearty portion of Beef Goulash when it’s cold outside. But I live in Austin now where it’s always warm and sunny. I have to settle for something like this Creamy Basil Chickpea Chicken dish. It’s not too heavy, but it has hummus, chickpeas and fresh basil in it. It’s light yet filling. Make it, and your kitchen will smell like heaven. Enjoy!


Creamy Basil Chickpea Chicken


Serves 4
Prep time: 10 minutes
Cook time: 45 minutes
Inactive time: 15 minutes
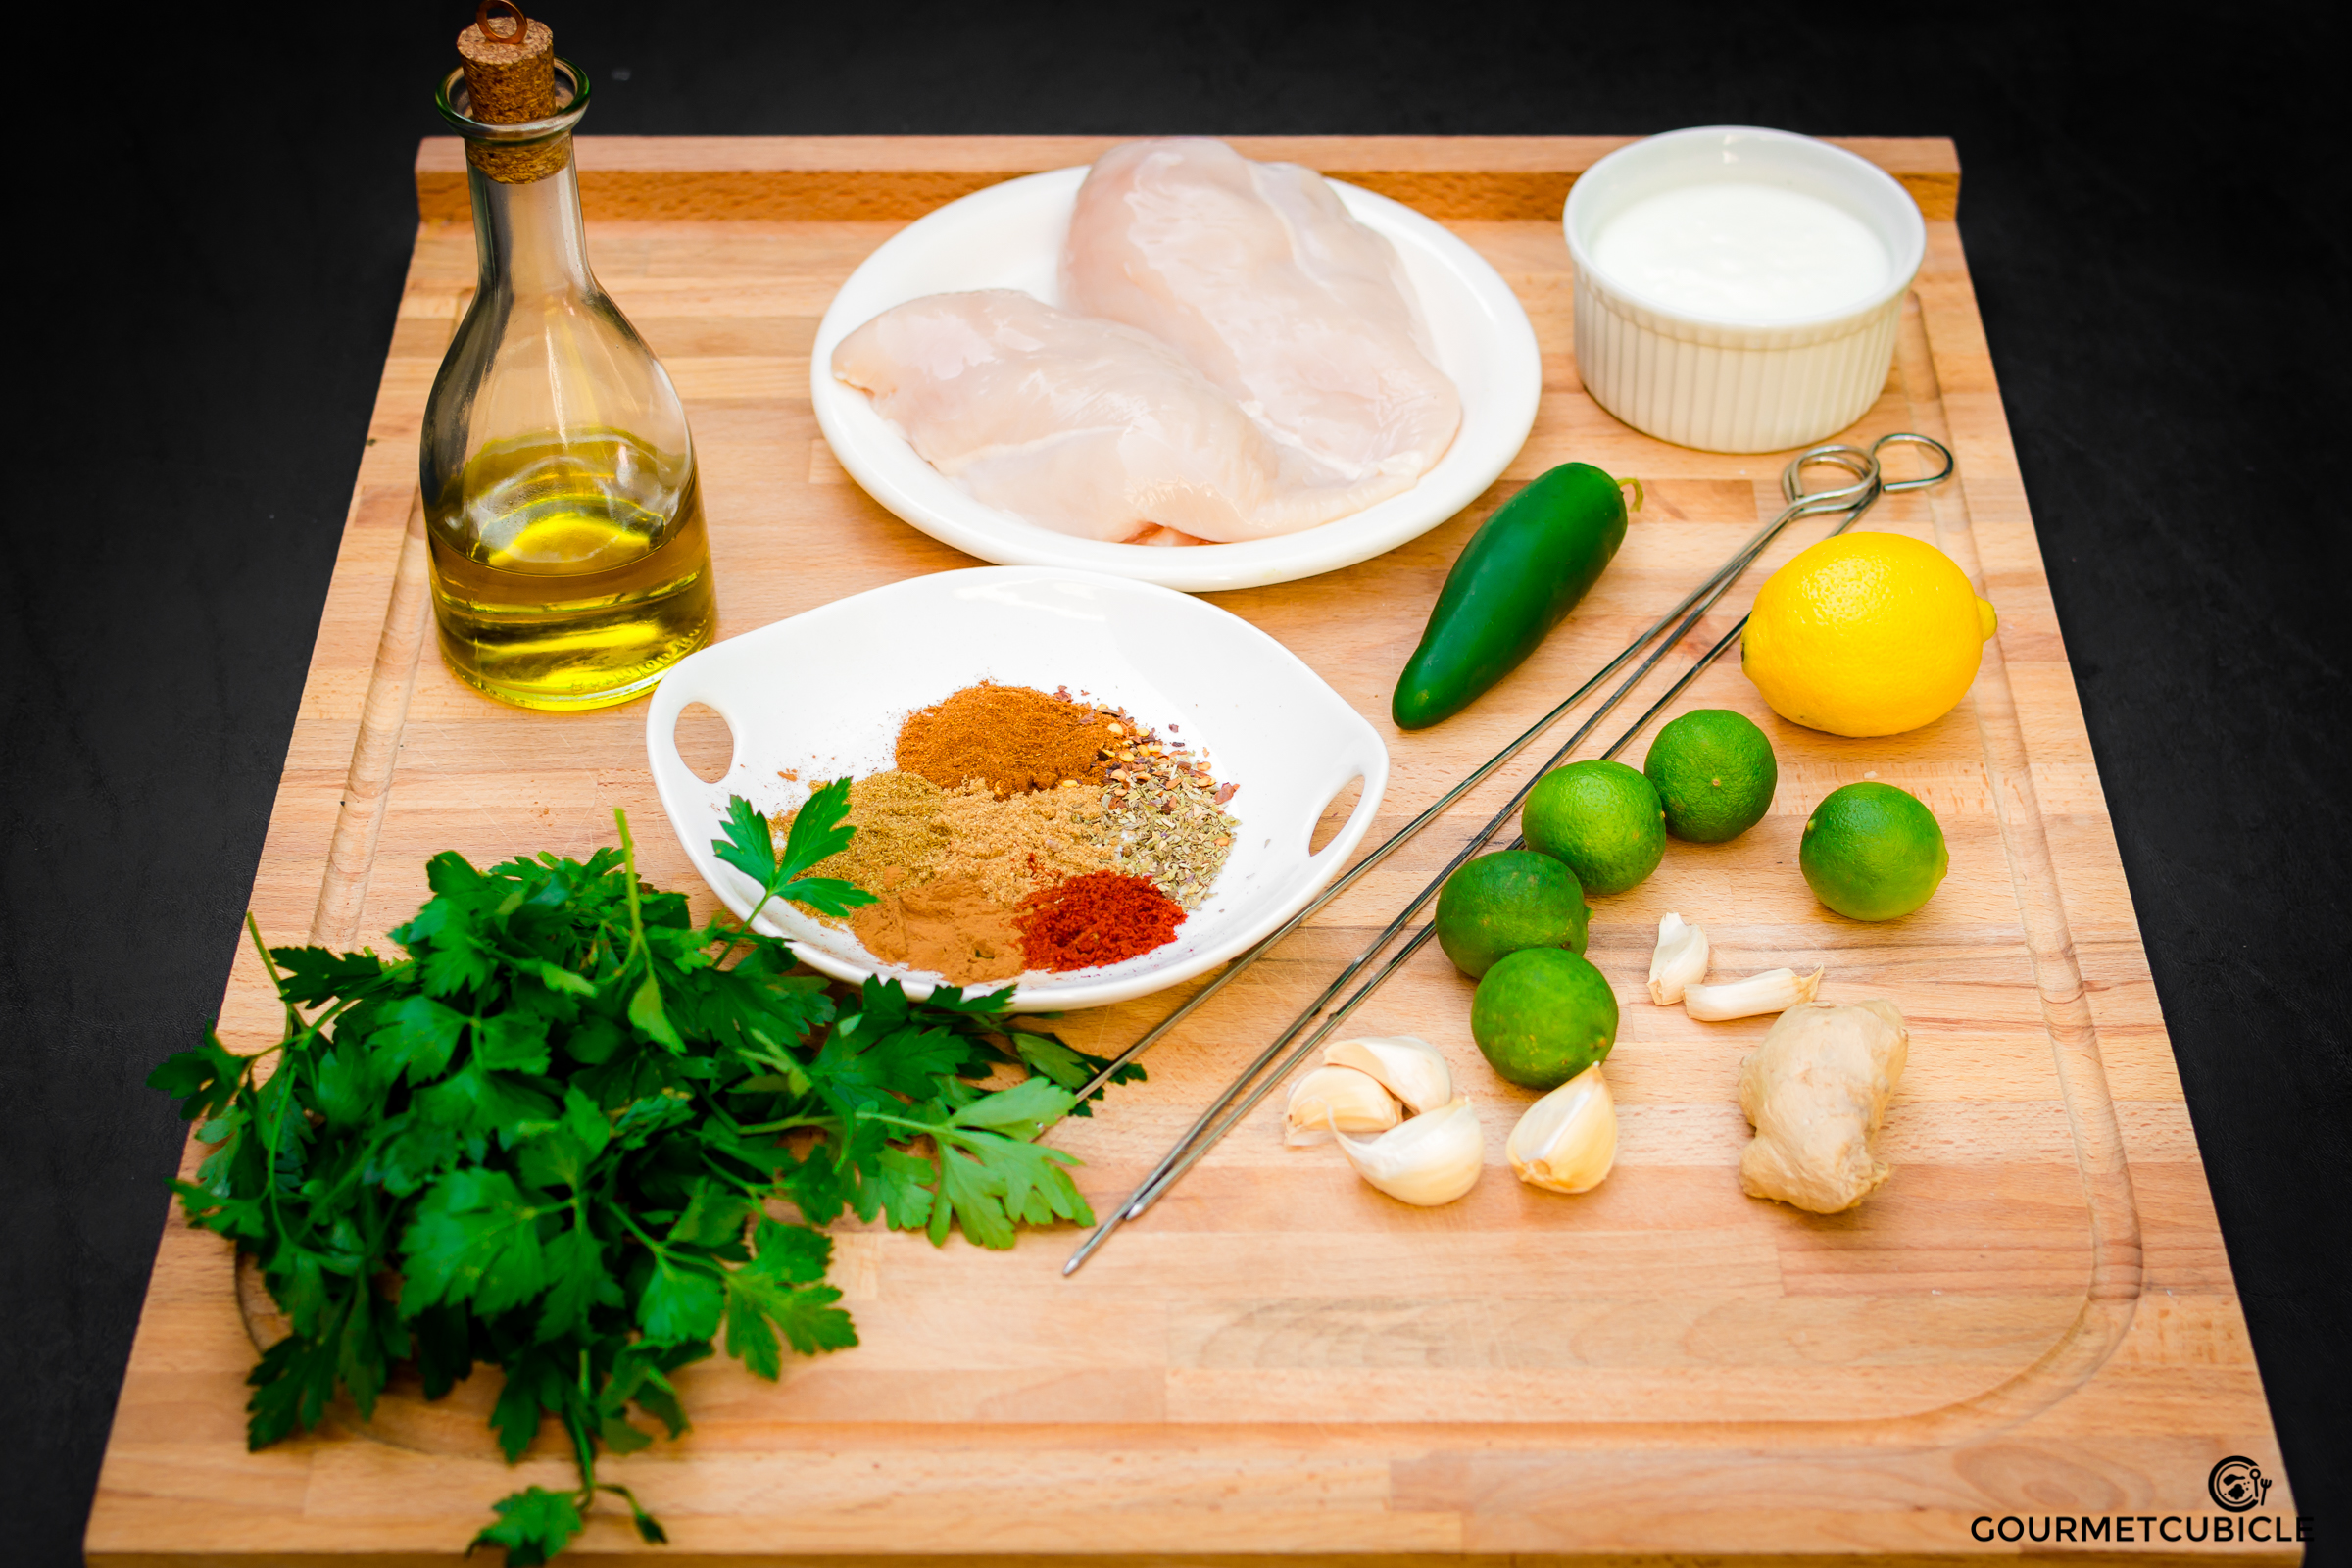

Ingredients

  • 2 cans chickpeas (14oz each)
  • 2 Tbsp tahini
  • 3 garlic cloves, crushed
  • 20 fresh basil leaves
  • 3 Tbsp fresh lemon juice (about 1/2 a medium-sized lemon)
  • 1/2 tsp salt
  • 1/2 tsp ground white pepper
  • 2 Tbsp canola oil
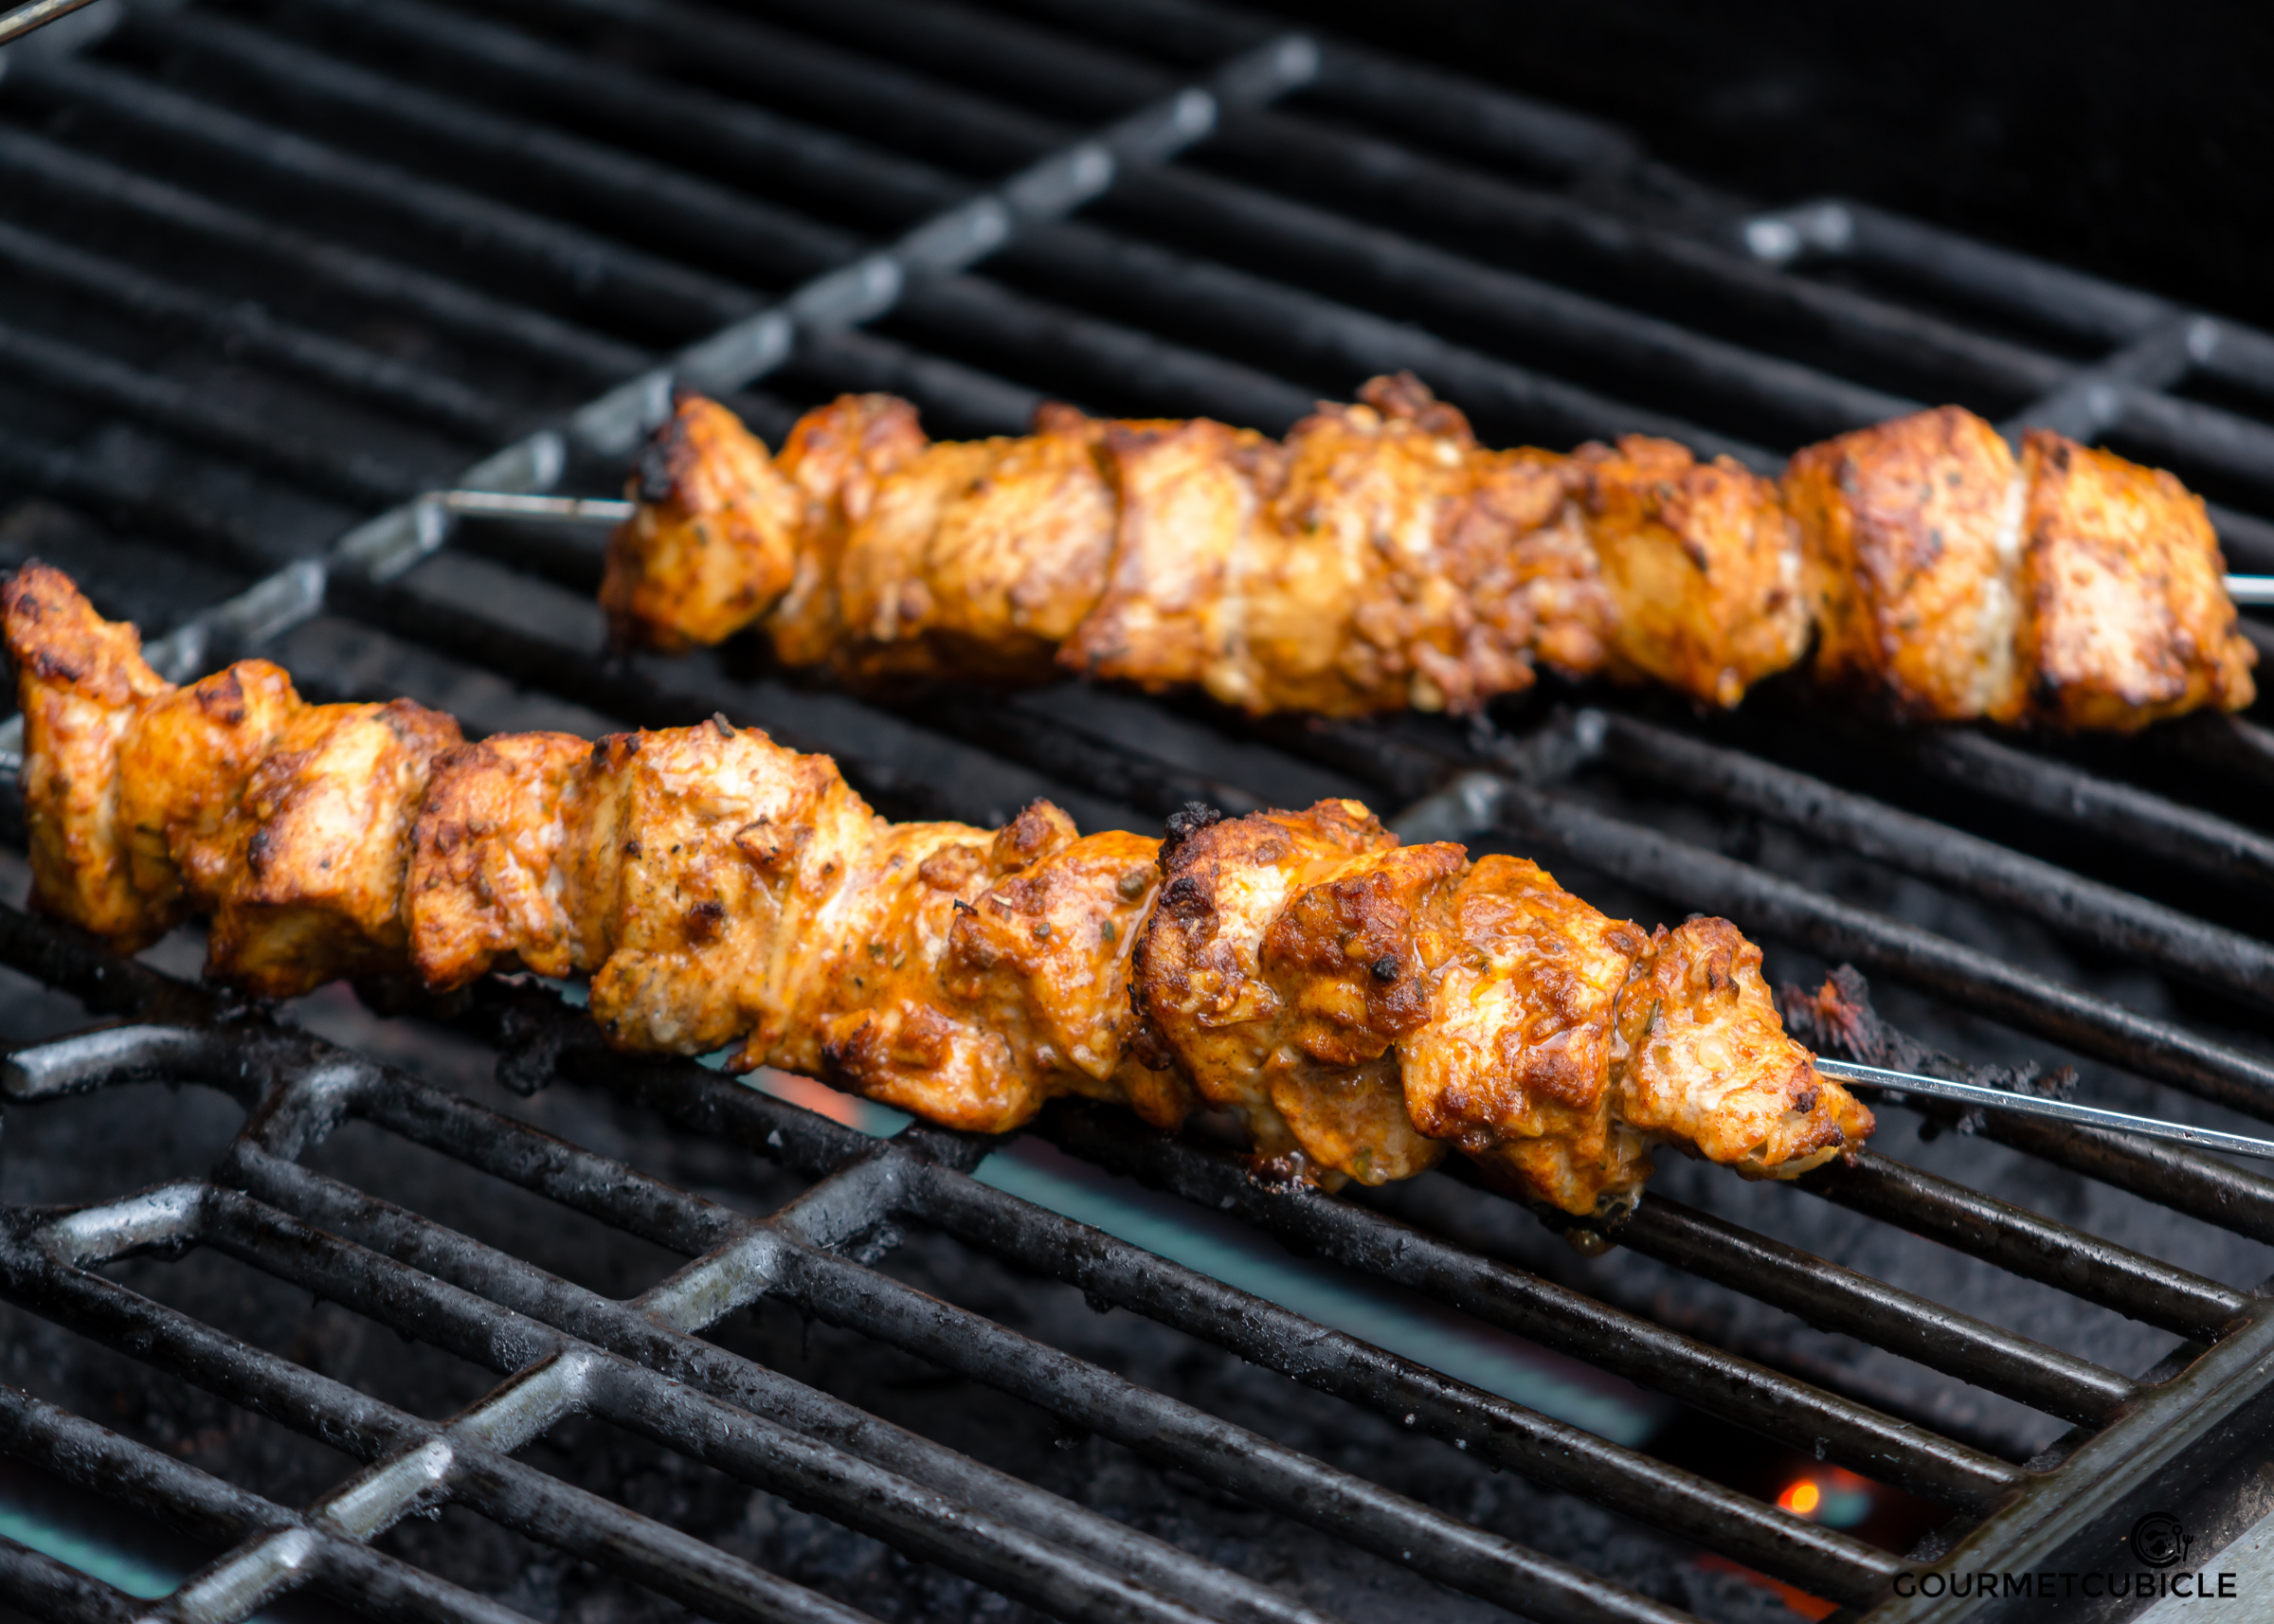
  • 3 lbs bone-in chicken (thighs, drums, or breast)
  • 3 Tbsp butter
  • 3 sprigs of basil
  • 1/2 tsp freshly ground black pepper
  • 1/2 tsp salt
  • 1/2 cup dry white wine

Instructions

  1. Open two cans of chickpeas, and drain the juice from one can only.
  2. In a food processor, combine the drained can of chickpeas, tahini, two crushed garlic cloves, basil leaves, one tablespoon lemon juice, salt, and white pepper. Pulse until you reach a smooth paste-like consistency. Congrats -- you just made hummus! Set aside.
  3. Preheat oven to 400F (200C) degrees.
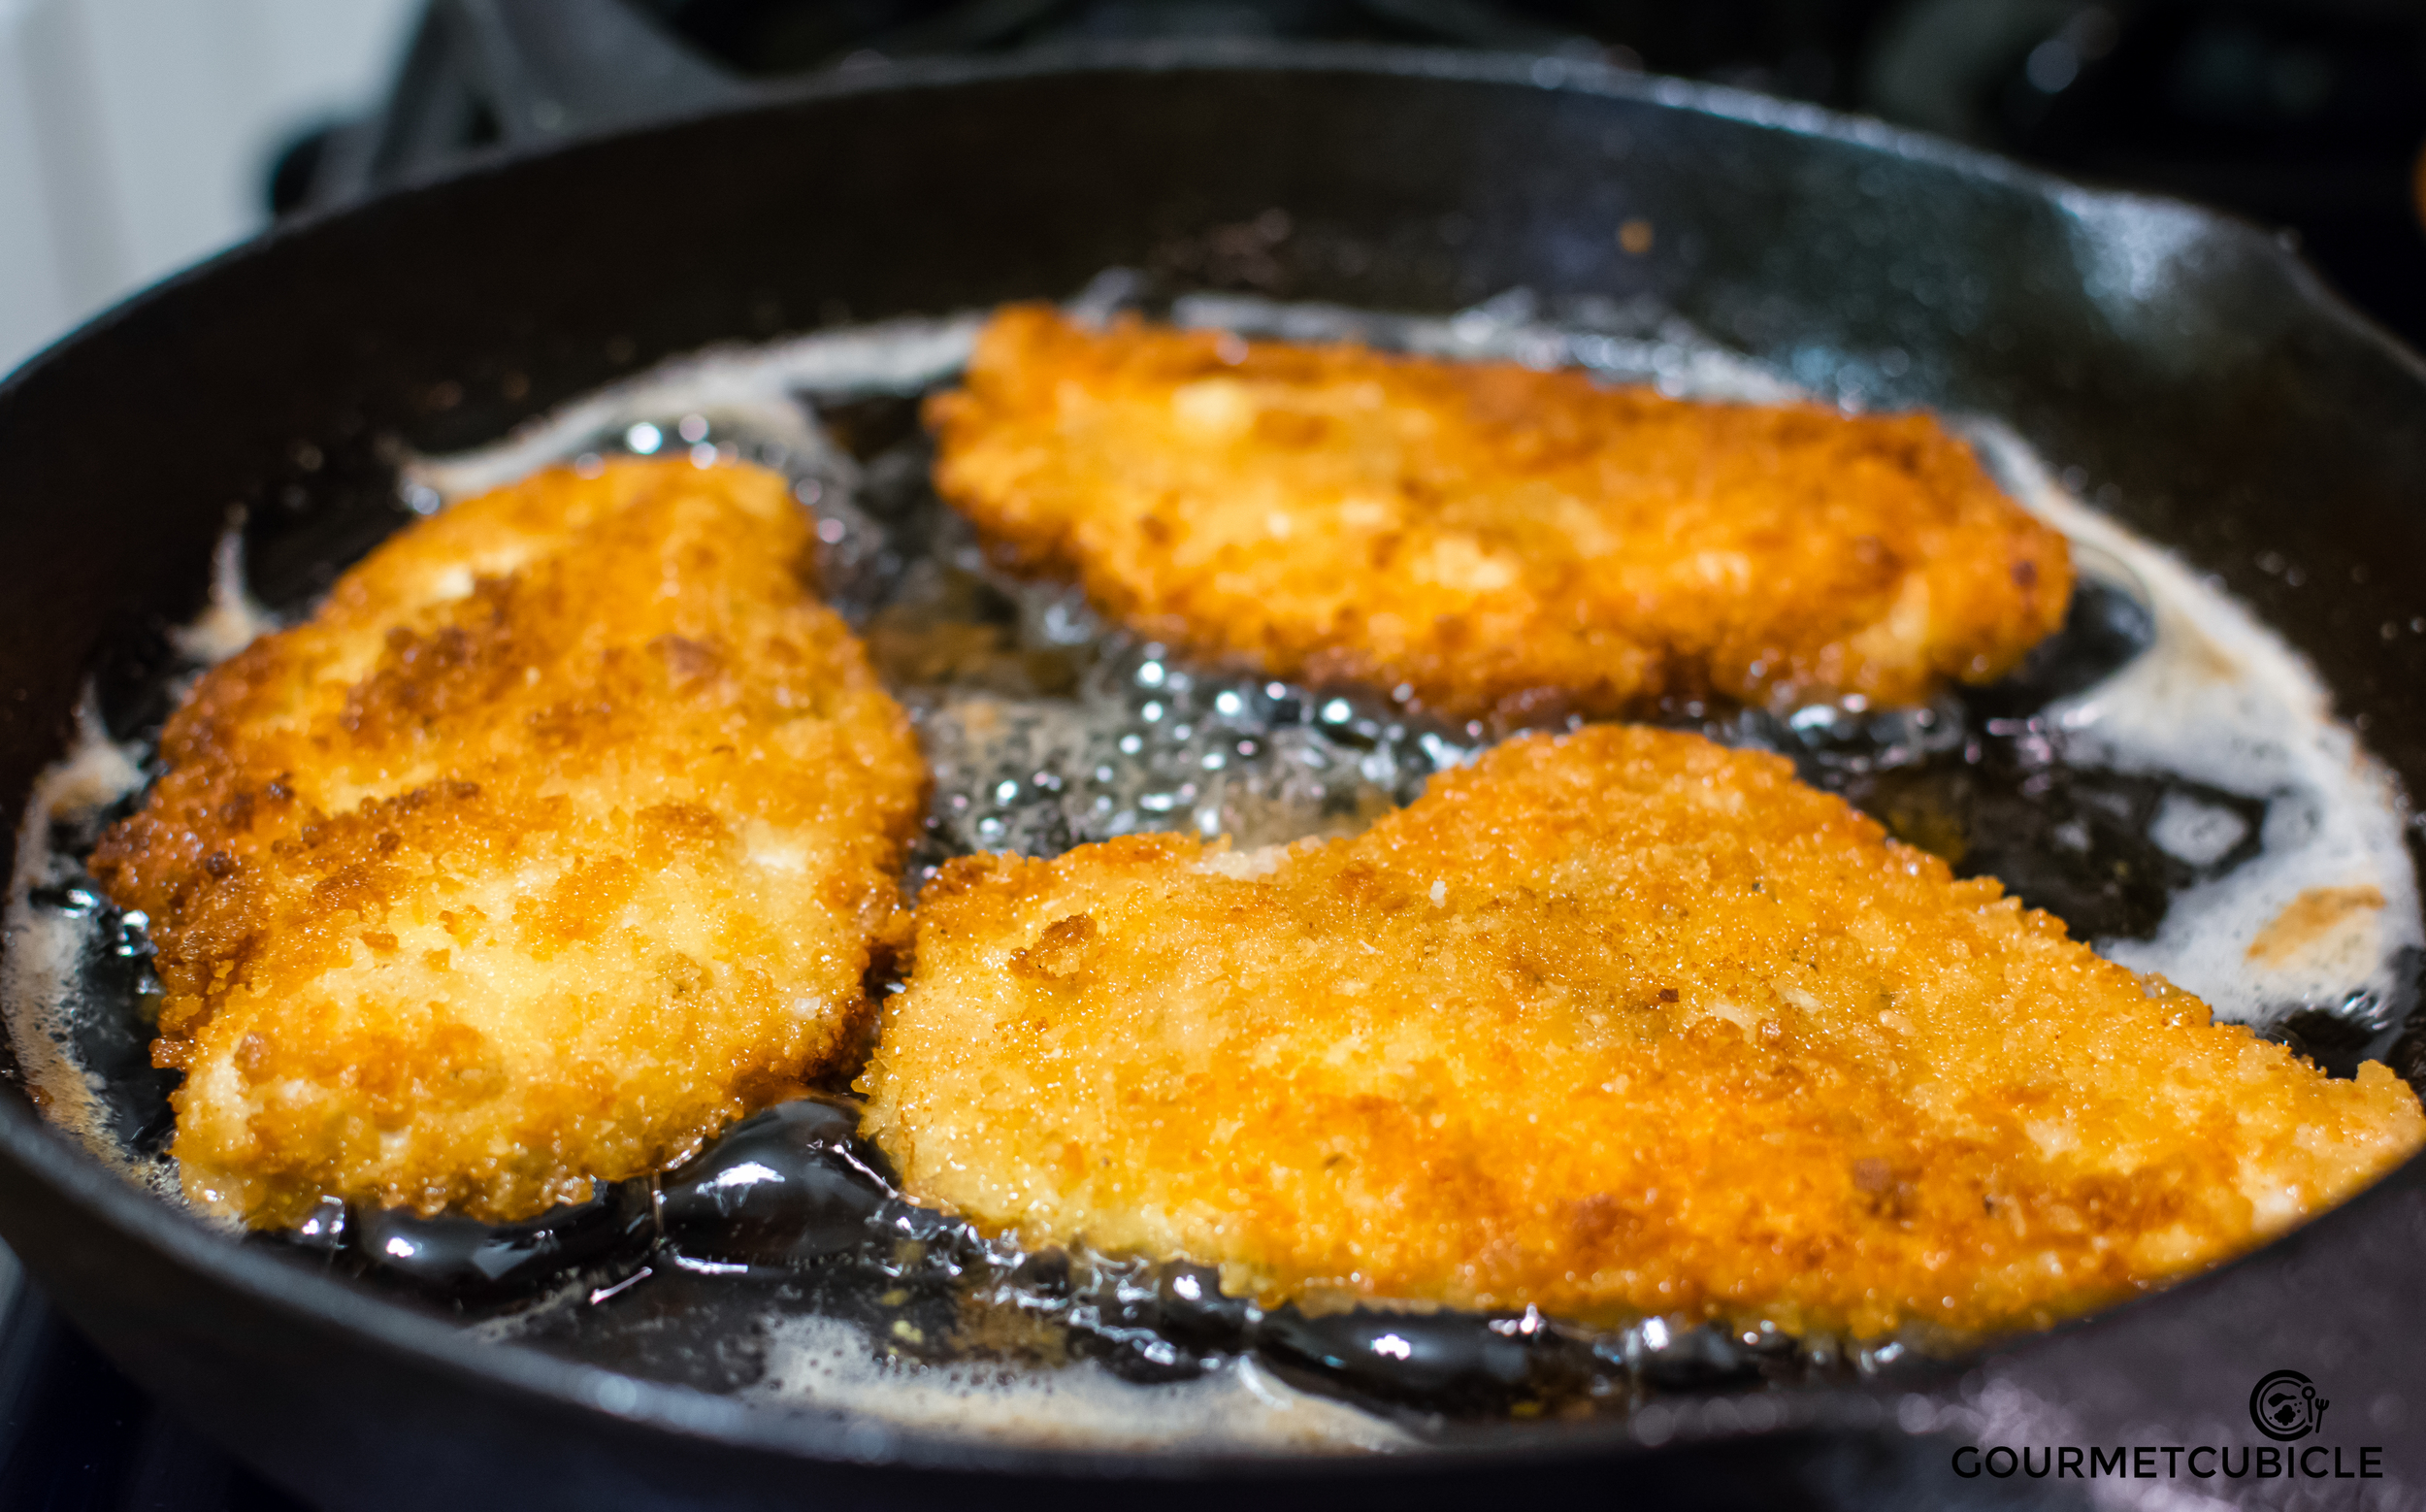
  4. In an oven safe heavy skillet bring canola oil to a shimmer over medium-high heat. When it easily slides across the skillet, carefully place the chicken pieces in the pan with the skin side down. Brown them for approximately 4-6 minutes.
  5. Flip the chicken on the other side and repeat the browning process so each side is nicely seared.
  6. Add butter, the remaining clove of crushed garlic, and the basil sprigs. Using a big spoon, baste the chicken pieces for about 3 minutes on each side.
  7. Using a thermometer, check the internal temperature of the chicken. At this point it should be at around 130-140F (55-60C). If not, cook until it reaches that temperature.
  8. Transfer the chicken to a plate and set aside. Discard the garlic and basil, but keep the skillet on the stove.
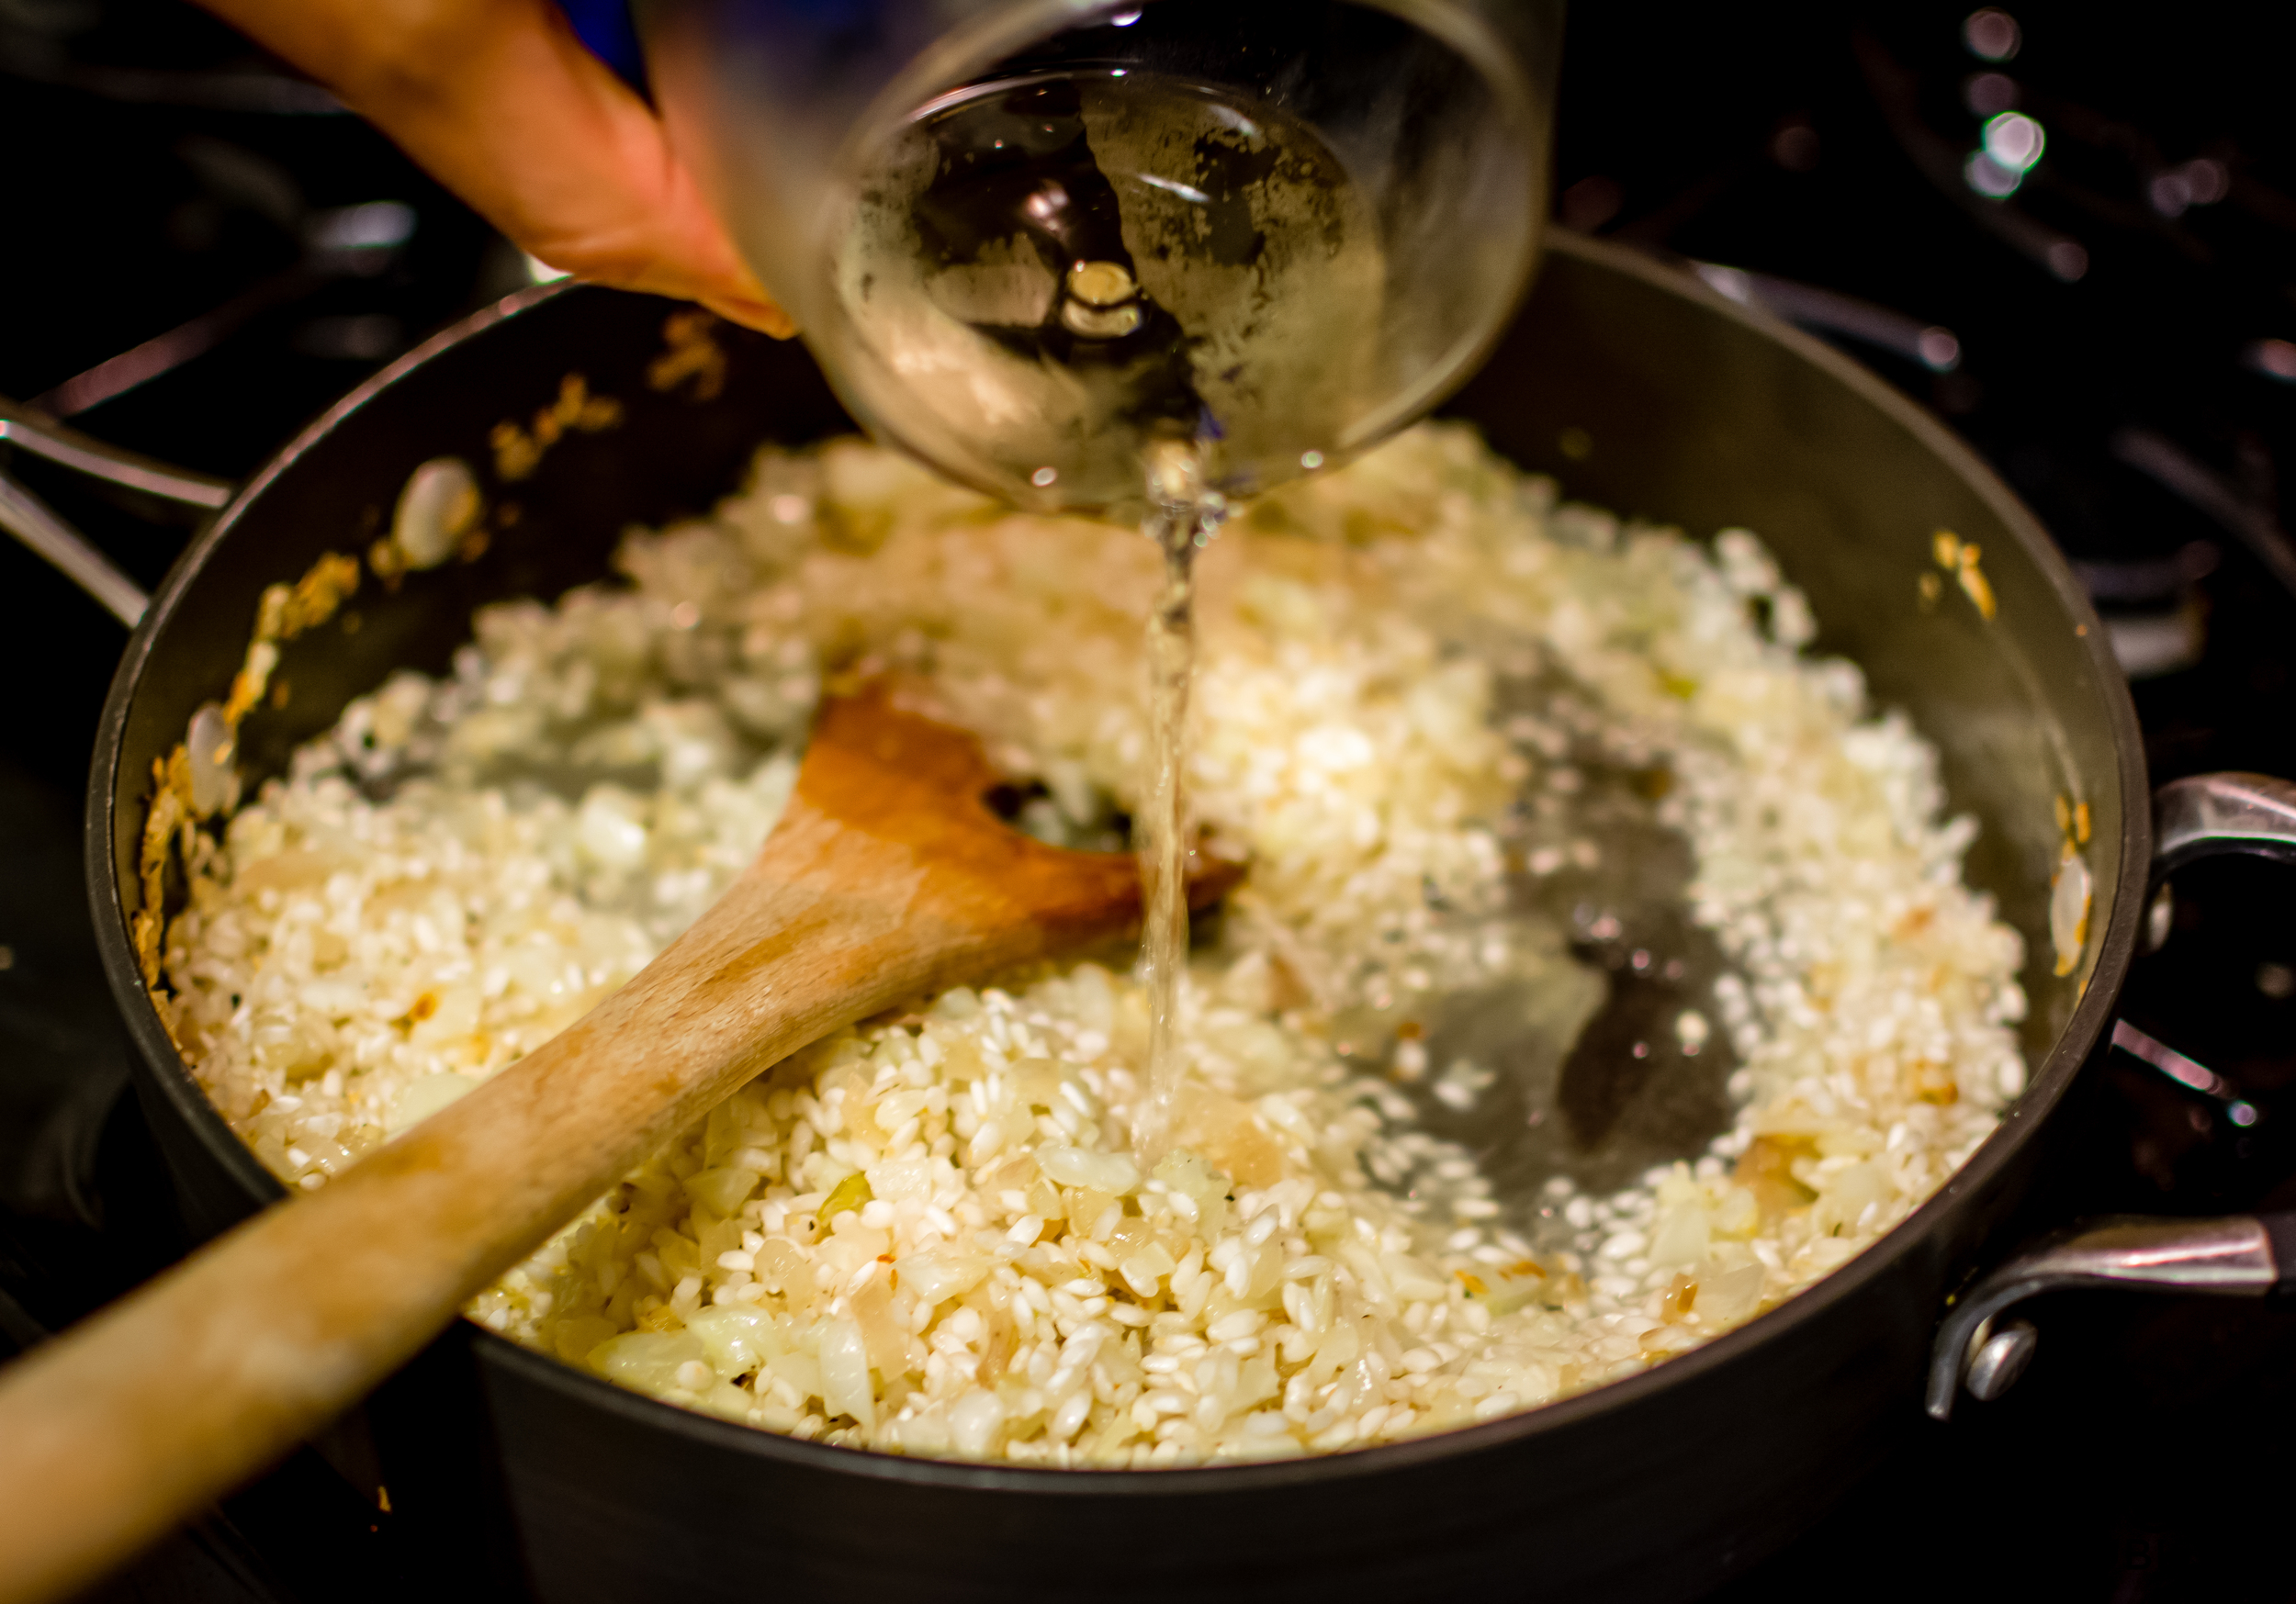
  9. Deglaze the skillet with white wine and cook until the wine thickens and the alcohol evaporates, about 3 minutes. Add the hummus and reduce the heat to medium. Cook for 5 minutes, stirring occasionally.
  10. Add the remaining can of chickpeas with juice. Return the browned chicken pieces to the skillet.
  11. Put the skillet in the oven and cook for 15 minutes. Serve hot with baguette or pita bread. Optionally, sprinkle with freshly squeezed fresh lemon juice. 

Notes

  • Deglazing is a cooking technique that sounds a lot fancier and more difficult than it actually is. Deglazing simply means that after pan-frying or sautèing, you pour liquid of some sort (in our case wine) to the hot frying pan or skillet. Then you scrape and stir the browned bits (in our case browned chicken skin and garlic) from the pan to incorporate all cooking residues into a rich and flavorful liquid.
  • If you don’t have a thermometer, poke the chicken with the tip of a sharp knife, preferably close to bone, or, in case of the breast, where it is the thickest. If it’s bleeding red juice, keep cooking it for a few minutes.
  • Sprinkle the skillet with fresh basil leaves. Make sure you do it right before serving the dish, otherwise the basil will turn brown. 

February 02, 2016 /Aurel Pop
chicken, chickpeas, basil, poultry
Main Dish
Comment

Chicken Khao Soi

November 22, 2015 by Aurel Pop in Main Dish, Soup

I had never had khao soi prior to moving to the United States. As a matter of fact, Roni introduced me to it. It was right when we started dating that she told me about this insanely delicious Thai soup that I would love. She went on to explain that when she was backpacking in Thailand she went to Chiang Mai in the north almost exclusively to hunt the dish down in its native region. She kept going on and on about it, but honestly I just couldn’t wrap my head around it, until one day she took me to a Thai restaurant that she knew served a decent khao soi.

When I first tasted it I wasn’t that impressed. I think she got the vegetarian one, so it may have been that, but I recall thinking that the dish wasn’t anything special, or at least it wasn’t anything special to my sophisticated Eastern European palette. I think she got a bit offended by my indifference towards her favorite Thai dish, so she made it her mission to prove how good it was. She told me that there was another Thai place that was closed for remodeling at the time, but once it reopened she would take me there so I could have what she thought to be the closest to the khao soi in Chiang Mai.

After a few months the Thai place re-opened its doors so we went to check it out. As I was going through the menu I saw that their version of Khao Soi was actually made with chicken. It instantly got my attention. Funny thing is that I still didn’t order it anyway. I have this weird habit of not ordering what Roni does, even if it’s my favorite dish on the menu. The way I think about it is that I will taste it anyway if she’s ordering it so why not trying something else as well?

Well, my principle bit me in the ass this time. As soon as they brought out her khao soi I immediately knew I made a huge mistake. It looked so appetizing: fresh Thai basil, cilantro, bean sprouts and crisp red onions on top of this bright yellow fragrant soup. As she stirred it I saw noodles and a whole braised chicken leg which I thought I would surely get because Roni generally only eats white meat. I smelled it and was mesmerized by its curry fragrance. I managed to get a taste of it which finally led me to understand why she loved it so much and what a fool I was for not trusting her taste. To add to my misery, I didn’t end up getting the chicken leg, because apparently Roni’s dark chicken meat rules don’t apply when it comes to khao soi. 

I played it cool, finished my dish and said that I could make a better khao soi at home anyway. She challenged me to prove it, which lead me to come up with this recipe. I experimented with several recipes I found online, but none of them seemed good enough, so I created my own version. Most importantly, Roni—who has had many versions of the real deal in Thailand--loves my recipe. In fact I just watched her polish off the last bowl of leftovers. Gin Hai Aroy! 


Chicken Khao Soi


Serves 8
Prep time: 25 minutes
Cook time: 60 minutes


Ingredients

Curry paste

  • 4 dried guajillo chilies (or pasilla chilies)
  • 2 medium shallots, roughly chopped
  • 6 cloves garlic, crushed and roughly chopped
  • 2 inches ginger, crushed and roughly chopped
  • 2-4 Thai chilies, roughly chopped (amount depends on your desired spice level)
  • 1/2 cup cilantro stems, roughly chopped
  • 1 1/2 TBS ground coriander seeds
  • 2 tsp turmeric powder
  • 2 tsp garam masala
  • 1 TBS red curry paste

Soup

  • 2 1/2 lbs skin-on chicken leg quarters, bone in (about 4 whole legs or 4 thighs and 4 drumsticks)
  • 1 tsp kosher salt
  • 1 tsp freshly ground black pepper
  • 2 TBS vegetable oil
  • 28oz coconut milk (2x14oz cans)
  • 3 1/2 cups low sodium chicken broth
  • 1 tsp clam juice
  • 1 tsp fish sauce
  • 2 TBS soy sauce
  • 1/2 TBS palm sugar (or brown sugar), optional
  • 1 cup pickled mustard greens, roughly chopped 
  • 1/4 cup cilantro leaves, finely chopped
  • 1 medium lime juiced (about 3 TBS fresh lime juice)
  • 1 lb egg noodles
  • 1 TBS kosher salt

Garnish

  • bean sprouts
  • Thai basil leaves
  • red onions, sliced
  • cilantro leaves
  • lime wedges
  • crispy chicken skin

Instructions

  1. In a small sauce pan bring 2 cups of water to a boil over high heat. Place the dried chilies in the pan and using a spoon submerge them under the boiling water. Cover the pan with a lid, remove from heat and let the chilies soak.
  2. Using paper towels pat the chicken legs dry. Make sure you don’t miss a spot otherwise you risk burning yourself with splattering hot oil.
  3. Remove the skin from the chicken legs. For best results use a paper towel to grab the skin (that way it won’t slip out of your hand) at the bottom of the thigh and pull upwards.
  4. Set skin and chicken aside on a large tray and sprinkle with salt and pepper on both sides.
  5. Add oil to a large and deep stainless steel frying pan. Place chicken skin in the oil and heat the pan over medium-high heat. When the oil starts shimmering reduce the heat to medium and cook the skin for about 5 minutes. Turn on the other side and cook until it becomes brown and crispy.
  6. Transfer the skin to a paper towel lined plate and set aside.
  7. You should have enough fat in the pan, but if it’s running low add a tablespoon or two of vegetable oil. Raise the heat to high until the grease easily slides across the pan. 
  8. Carefully place the chicken legs in the pan and sear them for about 10 minutes on each side.
  9. While the chicken is searing, transfer the chilies from the hot water to a food processor removing the stems in the process. Keep 1/3 cup of soaking liquid. Discard the rest.
  10. Add the rest of the ingredients under Paste to the food processor. Puree until it reaches the consistency of a smooth paste, about 2-3 minutes. Set aside.
  11. When the chicken developed a nice brown sear on each side, transfer to a bowl and set aside.
  12. Add the curry paste to the hot pan and cook for 5 minutes stirring occasionally. Pour in coconut milk, chicken broth, clam juice, fish sauce, soy sauce, and sugar. Stir well to combine and bring to a boil.
  13. Place the chicken and juices from the bowl into the boiling sauce. Reduce heat to low and let it simmer for 25 minutes.
  14. Add pickled mustard greens, cilantro and lime juice. Give it a last stir, cover and cook for 5 more minutes. Remove from heat and set aside. It’s done!
  15. Fill a large pot halfway with water. Add a tablespoon salt and bring water to a boil over high heat. Add pasta and cook per the instructions on the package. It usually takes about 3-5 minutes to cook egg noodles so be careful not to overcook them.
  16. When the noodles are done, drain them and discard the water.
  17. Time to prepare the bowls for serving. Divide the noodles and place them in large soup bowls. Using a large spoon or ladle transfer soup and chicken on top of the noodles. Serve hot.
  18.  Add the toppings of your choice. Using your hands crush the chicken skin into bite sizes and sprinkle on top of the soup.

Notes

  • For a vegetarian version replace chicken with tofu, vegetables or a mix of the two and the chicken stock with low sodium vegetable broth. Also, replace the clam juice and fish sauce with vegetarian options.
  • Palm sugar, red curry and pickled mustard greens can be purchased at most Asian stores.
  • I prefer using air chilled chicken, especially when pan frying it. The regular one has a high water content and will splatter hot oil when placed in a hot pan.
November 22, 2015 /Aurel Pop
chicken, curry, Thai, spicy
Main Dish, Soup
3 Comments

Moroccan Chicken with Jalapeño Garlic Yogurt Dipping

August 10, 2015 by Aurel Pop in Appetizer, Condiment

Nothing says summer like grilling and a cold beer. Grilling meats ranks very high up on the "manliest things to do" list. It's such an ego boosting experience to serve your partner or friends a perfectly cooked piece of sizzling meat. If you think about the amount of effort that goes into grilling you realize that it's the best possible return on time and skills investment. I'm not to say that grilling is the most simple type of cooking, but in all honesty, I strongly believe that any man is able to do it. Especially if there is cold beer involved.

In my opinion, the secret to perfectly grilled meat lies in the marinade or rub that you used. This recipe calls for an exotic North African mix of fragrant spices like cumin, cinnamon and coriander that will elevate the bland flavor of the chicken breast. Chicken breast is actually one of my least favorite meats to cook. It's bland and hard to cook. If you undercook it, you risk getting yourself and your guests sick with salmonella. If you overcook  chicken breast, it gets dry and ends up tasting how I imagine a rubber shoe sole tastes.

Personally I prefer making these kabobs with boneless chicken thighs or lamb. If you decide to use lamb, you'll need to marinade it a bit longer, preferably overnight. As far as cooking is concerned, grilling lamb may take less than 15 minutes if you like it medium or rare. If you're afraid of the strong and bold gamey flavor, be assured that the fragrant spices in this recipe will neutralize it a bit.

I usually serve these kebobs with warm pita bread and a garlicky, slightly spicy yogurt sauce that contrasts well with the sweetness of the meat. Besseha!


Moroccan Chicken with Jalapeño Garlic Yogurt Dipping


Serves 2-3
Prep time: 5 minutes
Cook time: 20 minutes
Inactive time: 2 hours


Ingredients

  • 1 lb boneless chicken, cut into 1-inch cubes (breast or thighs or lamb)
  • 1 lemon, juiced
  • 2 garlic cloves, crushed and finely chopped
  • 1/2 inch ginger, crushed and finely chopped
  • 3 TBS olive oil
  • 1/2 tsp  dried oregano
  • 1 tsp coriander 
  • 1 tsp cumin
  • 1/2 tsp chili
  • 1 tsp Spanish paprika
  • 1/2 tsp smoked paprika, optional
  • 1/2 tsp cinnamon
  • 1/2 tsp black pepper, freshly ground
  • 1/2 tsp kosher salt
  • 1 tsp olive oil
  • 1/3 cup fresh parsley, roughly chopped
  • coarse sea salt, to taste

Jalapeño Garlic Yogurt Dip

  • 1 garlic clove, crushed and roughly chopped
  • 1 tsp kosher salt
  • 1 tsp sunflower seed oil (or peanut, canola, or vegetable)
  • 1/2 tsp Dijon mustard
  • 1 medium lime, juiced (juice of 3 key limes or 2-3 TBS fresh lime juice)
  • 2 tsp sunflower seed oil (or peanut, canola, or vegetable)
  • 1 cup plain yogurt
  • 1/2 jalapeño, seeded and finely chopped
  • 1/4 cup fresh parsley, finely chopped
  • 2-3 fresh mint leaves, finely chopped
  • 1/2 tsp black pepper, freshly ground

Instructions

  1. Put the chicken chunks in a large ziplock bag or in a non-metalic medium sized bowl. Add lemon juice, garlic, ginger, olive oil, dried oregano, coriander, cumin, chili, Spanish paprika, smoked paprika, cinnamon, black pepper and salt. Mix them well, massaging the marinade into the meat. Put the ziplock in the refrigerator and let it rest for at least two hours. 
  2. While the chicken is marinating, mix garlic, salt and one teaspoon oil with a pestle and mortar. Crush garlic and mix until you get a smooth garlic paste. Add  mustard, lime juice and remaining oil. Mix well. Move the paste into a small bowl and mix in yogurt, jalapeño, parsley, mint and black pepper. Give it one more stir, taste and adjust seasoning. Let the sauce cool in the refrigerator while you take care of the chicken.
  3. Preheat grill to 450F (230C ) degrees. Prepare a few metal skewers or bamboo sticks. Remove chicken from the marinade. Discard the marinade. Thread an equal amount of chicken chunks on the skewers. Make sure you're not threading them too tightly, as they won't cook evenly and you don't want to serve uncooked chicken.
  4. Place skewers on a hot grill and cook for 15-20 minutes turning them every now and then. If you have a thermometer make sure the inside temperature of the chicken reaches 162-165F (72-73C) degrees.
  5. When done, remove the skewers from the grill, cover with aluminum foil and let them rest for 5-10 minutes.
  6. Sprinkle with olive oil, parsley and coarse sea salt. Serve warm with garlic jalapeño sauce.

Notes

  • If using bamboo skewers, make sure you soak them in cold water for at least half an hour. That will prevent the sticks from burning while grilling the meat. 
August 10, 2015 /Aurel Pop
chicken, poultry, Maroccan
Appetizer, Condiment
4 Comments

Cauliflower Risotto with Chicken Schnitzel and Pangrattato

May 07, 2015 by Aurel Pop in Main Dish, Side Dish

Roni and I got really hooked on MasterChef, specifically season 6. I love cooking shows, but for some reason this competitive cooking shows were never my cup of tea. I generally go for shows like Pepin's Essentials. In the competitive shows,zz drama out-shadows the essence of the show- the cooking itself. It should be about food and preparing interesting dishes and not about how a contestant passes out during cooking and another one cries her heart out because she's being sent home. 

Drama aside, I started watching it and turned Roni into a MasterChef junkie for a week. I found inspiration for a couple of new recipes and overall it was really entertaining up until the Final Five. That is when Roni decided that she needed to find out if a contestant had a food blog or not. Needless to say that when she Googled the name, the first search result was about that person winning the competition.

Her reaction spoiled it for me too, so from then on we just pretended to be thrilled when that cook was in the elimination challenges. After this incident I'm thinking about introducing a house rule where neither of us is allowed to google anything while watching this type of show. 

The inspiration to cook risotto came from the show. One contestant cooked a green apple risotto, and when I saw it I was immediately intrigued. I mean seriously? How did that idea even crossed her mind?

I was set on making risotto but since we didn't have green apples at home I started to think about alternatives. Whenever we go to the grocery store Roni has a funny habit of putting a cauliflower in the cart regardless of if the plan is to cook cauliflower or not. And that's how a great recipe was born! (Roni says, "You're welcome.")

I have cooked risotto several times before, but never with cauliflower. I started searching for recipes and oddly enough not too many of them popped up. The top one was Jamie Oliver's, so I looked there for inspiration and found his idea of using pangrattato (flavored, toasted breadcrumbs) to sprinkle over the risotto to be really smart and creative. For the breadcrumbs, instead of going the spicy route with red chili, I chose to make it more Italian by using basil, oregano, lemon zest and Parmesan cheese.

Schnitzel on the other hand, didn't require much research for this Eastern European. It may not be the healthiest food, but it's definitely one of the tastiest. Who doesn't like meat fried in a crispy and flavorful crust? When cooking chicken breast, I learned from my mom to season the flour with paprika and black pepper to add that extra flavor to the otherwise bland and boring meat. In the breadcrumbs, I like to mix in a bit of crushed nuts--almonds, walnuts or even hazelnuts--and some parmesan for an extra nutty aroma. 


Cauliflower Risotto with Chicken Schnitzel and Pangrattato


Serves 4
Prep time: 15 minutes
Cook time: 60 minutes


Ingredients

Cauliflower Risotto

  • 1 small cauliflower
  • 5 cups stock (vegetarian or chicken)
  • 4 TBS olive oil
  • 2 shallots, finely chopped
  • 1 1/2 cups arborio rice
  • 1/2 cup dry white wine
  • 1/2 cup fresh parsley, finely chopped
  • 5 fresh basil leaves, finely chopped
  • 1/2 cup parmesan, freshly grated
  • 4 TBS unsalted butter
  • 1 tsp black pepper, freshly ground
  • salt, to taste

Pangrattato

  • 1/2 cup bread crumbs
  • 5 anchovy fillets and 1 TBS anchovy oil
  • 1 clove garlic, crushed
  • 1 tsp lemon zest
  • 2-3 fresh basil leaves, chopped
  • 5 fresh oregano leaves, chopped
  • 1 TBS parmesan, freshly grated
  • 1/2 black pepper, freshly ground
  • 1 tsp olive oil

Chicken Schnitzel

  • 1 pound skinless, boneless chicken breast
  • 1/2 tsp black pepper, freshly ground
  • 1/2 tsp kosher salt
  • 1 cup all purpose flour
  • 1 tsp black pepper, freshly ground
  • 1 TBS paprika
  • 2 large eggs, pasture raised
  • 3 TBS whole milk or heavy cream
  • 1/4 cup parmesan, freshly grated
  • 1 cup breadcrumbs 
  • 1/4 cup almonds, crushed
  • salt, to taste
  • 1 cup oil, sunflower seed or peanut

Instructions

Pangrattato

  1. Add all the ingredients to a food processor and pulse until the breadcrumbs are evenly coated. Heat olive oil in a frying pan and toast the breadcrumbs until they become golden brown, about 5-7 minuets. Stir and toss often so they don't burn.

Cauliflower Risotto

  1. Trim the leaves off the cauliflower and remove the stalk. The cauliflower will naturally fall apart into large florets. Cut these into small florets and save the tender stems. Finely chop the stems into small pieces.
  2. Bring stock to a boil in a medium pot over medium-high heat. Add the florets and continue boiling for about 5 minutes. Remove pot from the heat. Do not discard the stock.
  3. In a large saucepan sauté the shallots with olive oil over medium heat for about 3-4 minutes and then add the chopped cauliflower stems and continue to sauté for another 10 minutes, stirring frequently until soft. The vegetables should become translucent, not browned.
  4. Add rice and turn up the heat to high. Cook for a minute or two until the rice becomes translucent. Add white wine and cook until absorbed, stirring frequently.
  5. Reduce the heat to low. Using the stock in which you boiled the cauliflower, add stock to the rice one ladle at a time. Stir until the stock is absorbed to make sure the rice releases the creamy starch. Allow each ladle of stock to be absorbed before adding another one.
  6. When the rice is al dente add cauliflower florets with each ladle of stock crushing them into the risotto. Continue until rice is cooked. Taste as you go and adjust seasoning to your preference, but be careful with the salt. You will add parmesan next which will make it saltier. 
  7. When the risotto is done, remove from the pan from the heat and stir in the parsley, basil, parmesan cheese and butter. Mix well, taste again and adjust the seasoning. 
  8. Cover with a lid and let it rest until you finish the schnitzel.

Chicken Schnitzel

  1. Cut the chicken breast into 1/4 inch thick cutlets. Place them between two strips of plastic wrap. Pound the breasts with a meat tenderizer until the breasts become slightly thinner. Season with salt and freshly ground pepper.
  2. Mix flour, pepper and paprika and place mixture on a plate. Beat eggs and add milk or heavy cream in a shallow and wide bowl. On a third plate mix the breadcrumbs, almond crumbs and parmesan.
  3. Working with one chicken breast at a time, dredge meat in flour, shaking off excess, then dip into egg mixture, turning to coat evenly and then carefully coat with breadcrumb mixture. Transfer the breaded chicken to a plate.
  4. Pour oil into a large skillet and heat over medium flame. When the oil is shimmering- the temperature should be around 400F (200C) if using sunflower seed oil- add the coated chicken breast and fry in a single layer. 2 or 3 breasts should fit into your skillet depending on the size of the schnitzel and skillet.
  5. Fry for about 5-6 minutes on each side until the breading becomes golden brown. If you used thicker breasts make sure that the inside temperature is over 155F (65C), but not more than 160F (70C). 
  6. Remove schnitzel from the skillet and place them over a paper towel patting off the excess grease.
  7. Serve with risotto sprinkled with pangrattato and a lemon wedge. 
May 07, 2015 /Aurel Pop
chicken, rice, German, Italian
Main Dish, Side Dish
Comment

Copyright ©2017 Aurel Pop & gourmetcubicle. All rights reserved. Don't steal, ask.