gourmetcubicle

Tech by day. Cook by night.

The food blog of an engineer. Whether you're a tech nerd like me who wants to eat homemade meals and experiment with reproducing that amazing restaurant dish you ate, or a seasoned cook who wants to find inspiration for your next meal, you're in the right place.

  • home
  • blog
  • about
  • recipes
  • pantry essentials
  • contact

Cucumber and Avocado Gazpacho

May 25, 2015 by Aurel Pop in Soup, Appetizer

Even though it's Memorial Day weekend, Roni and I decided to stay at home, relax, catch up on our passion projects and ultimately save some money. It all worked out great, except for the relaxation part. It feels like it's been one of my busiest weekends lately and without realizing it time flew by and it's Monday already. It's crazy how fast long weekends seem to pass. The good news is that long weekends are followed by short work weeks, so at least we've got that going for us.

It's been raining nonstop here in Austin lately. I can't remember the last rain-free day. I have never experienced something like this in the four years that I spent in this town. It's as if monsoon season made its way across the Pacific and into the Gulf of Mexico. I know it's beneficial for the lakes around town, but I'm tired of waking up to thunder shaking our house in the middle of the night. I’m especially sick of the swarms of mosquitoes that eat you alive as soon as you step foot outside. 

I can't wait for the sunny days when we can go to Barton Springs (which by the way is currently flooded). I want to lay in the sun and take a plunge in the cold water afterwords. I want to get a nice tan, play soccer in Zilker Park, and to be finally able to play fetch with Popsi in the backyard without having to hose the mud off of her.

That is the spirit I cooked this soup in- the hot days of summer when all you crave is a cold and refreshing meal. This soup recipe may be my most simple one. It requires just a little bit of effort: chop the ingredients, let them marinate in the refrigerator and lastly puree them to a silky smooth consistency. 

Cold vegetable soups are not too common in Eastern Europe. In Hungary we have cold summer soups, but usually they are made out of fruit. The sour cherry cream soup is one of my favorites and I plan on sharing the recipe sometime soon.

As far as gazpacho is concerned, I didn't know too much about it until about 5 years ago when I was visiting a good friend of mine in Barcelona. It was an eye opening experience. “How have I never thought to make this before?", I thought to myself. It was so delicious that I ate it every single day that I spent there and every time I return to Barcelona I begin my trip with a cold bowl of gazpacho.

The idea of this soup came to me when Roni and I were having friends over for dinner. I made Beef Bourguignon as the entrée, so I wanted a very light appetizer. My Romanian heritage makes me almost always choose soups over salads, so I decided to go with this gazpacho as an appetizer. I served it with pickled shrimp (recipe to come soon), but if you're vegetarian, skip the shrimp and serve it with roasted sunflower seeds and smoked paprika. The nuttiness and crunchiness of the seeds will bring out the sweet taste and smooth texture of the gazpacho. 

The recipe is easily modifiable to accommodate vegans, too. Just skip the yogurt and you've got yourself a vegan delight! The final result will taste as good as the original recipe, but it won't be as creamy. Enjoy!


Cucumber and Avocado Gazpacho


Serves 6-8
Prep time: 30 minutes
Inactive time: 1 hour
Total time: 1 hour 30 minutes


Ingredients

  • 2 English cucumbers, peeled, deseeded and roughly chopped
  • 1 large avocado, pitted and diced
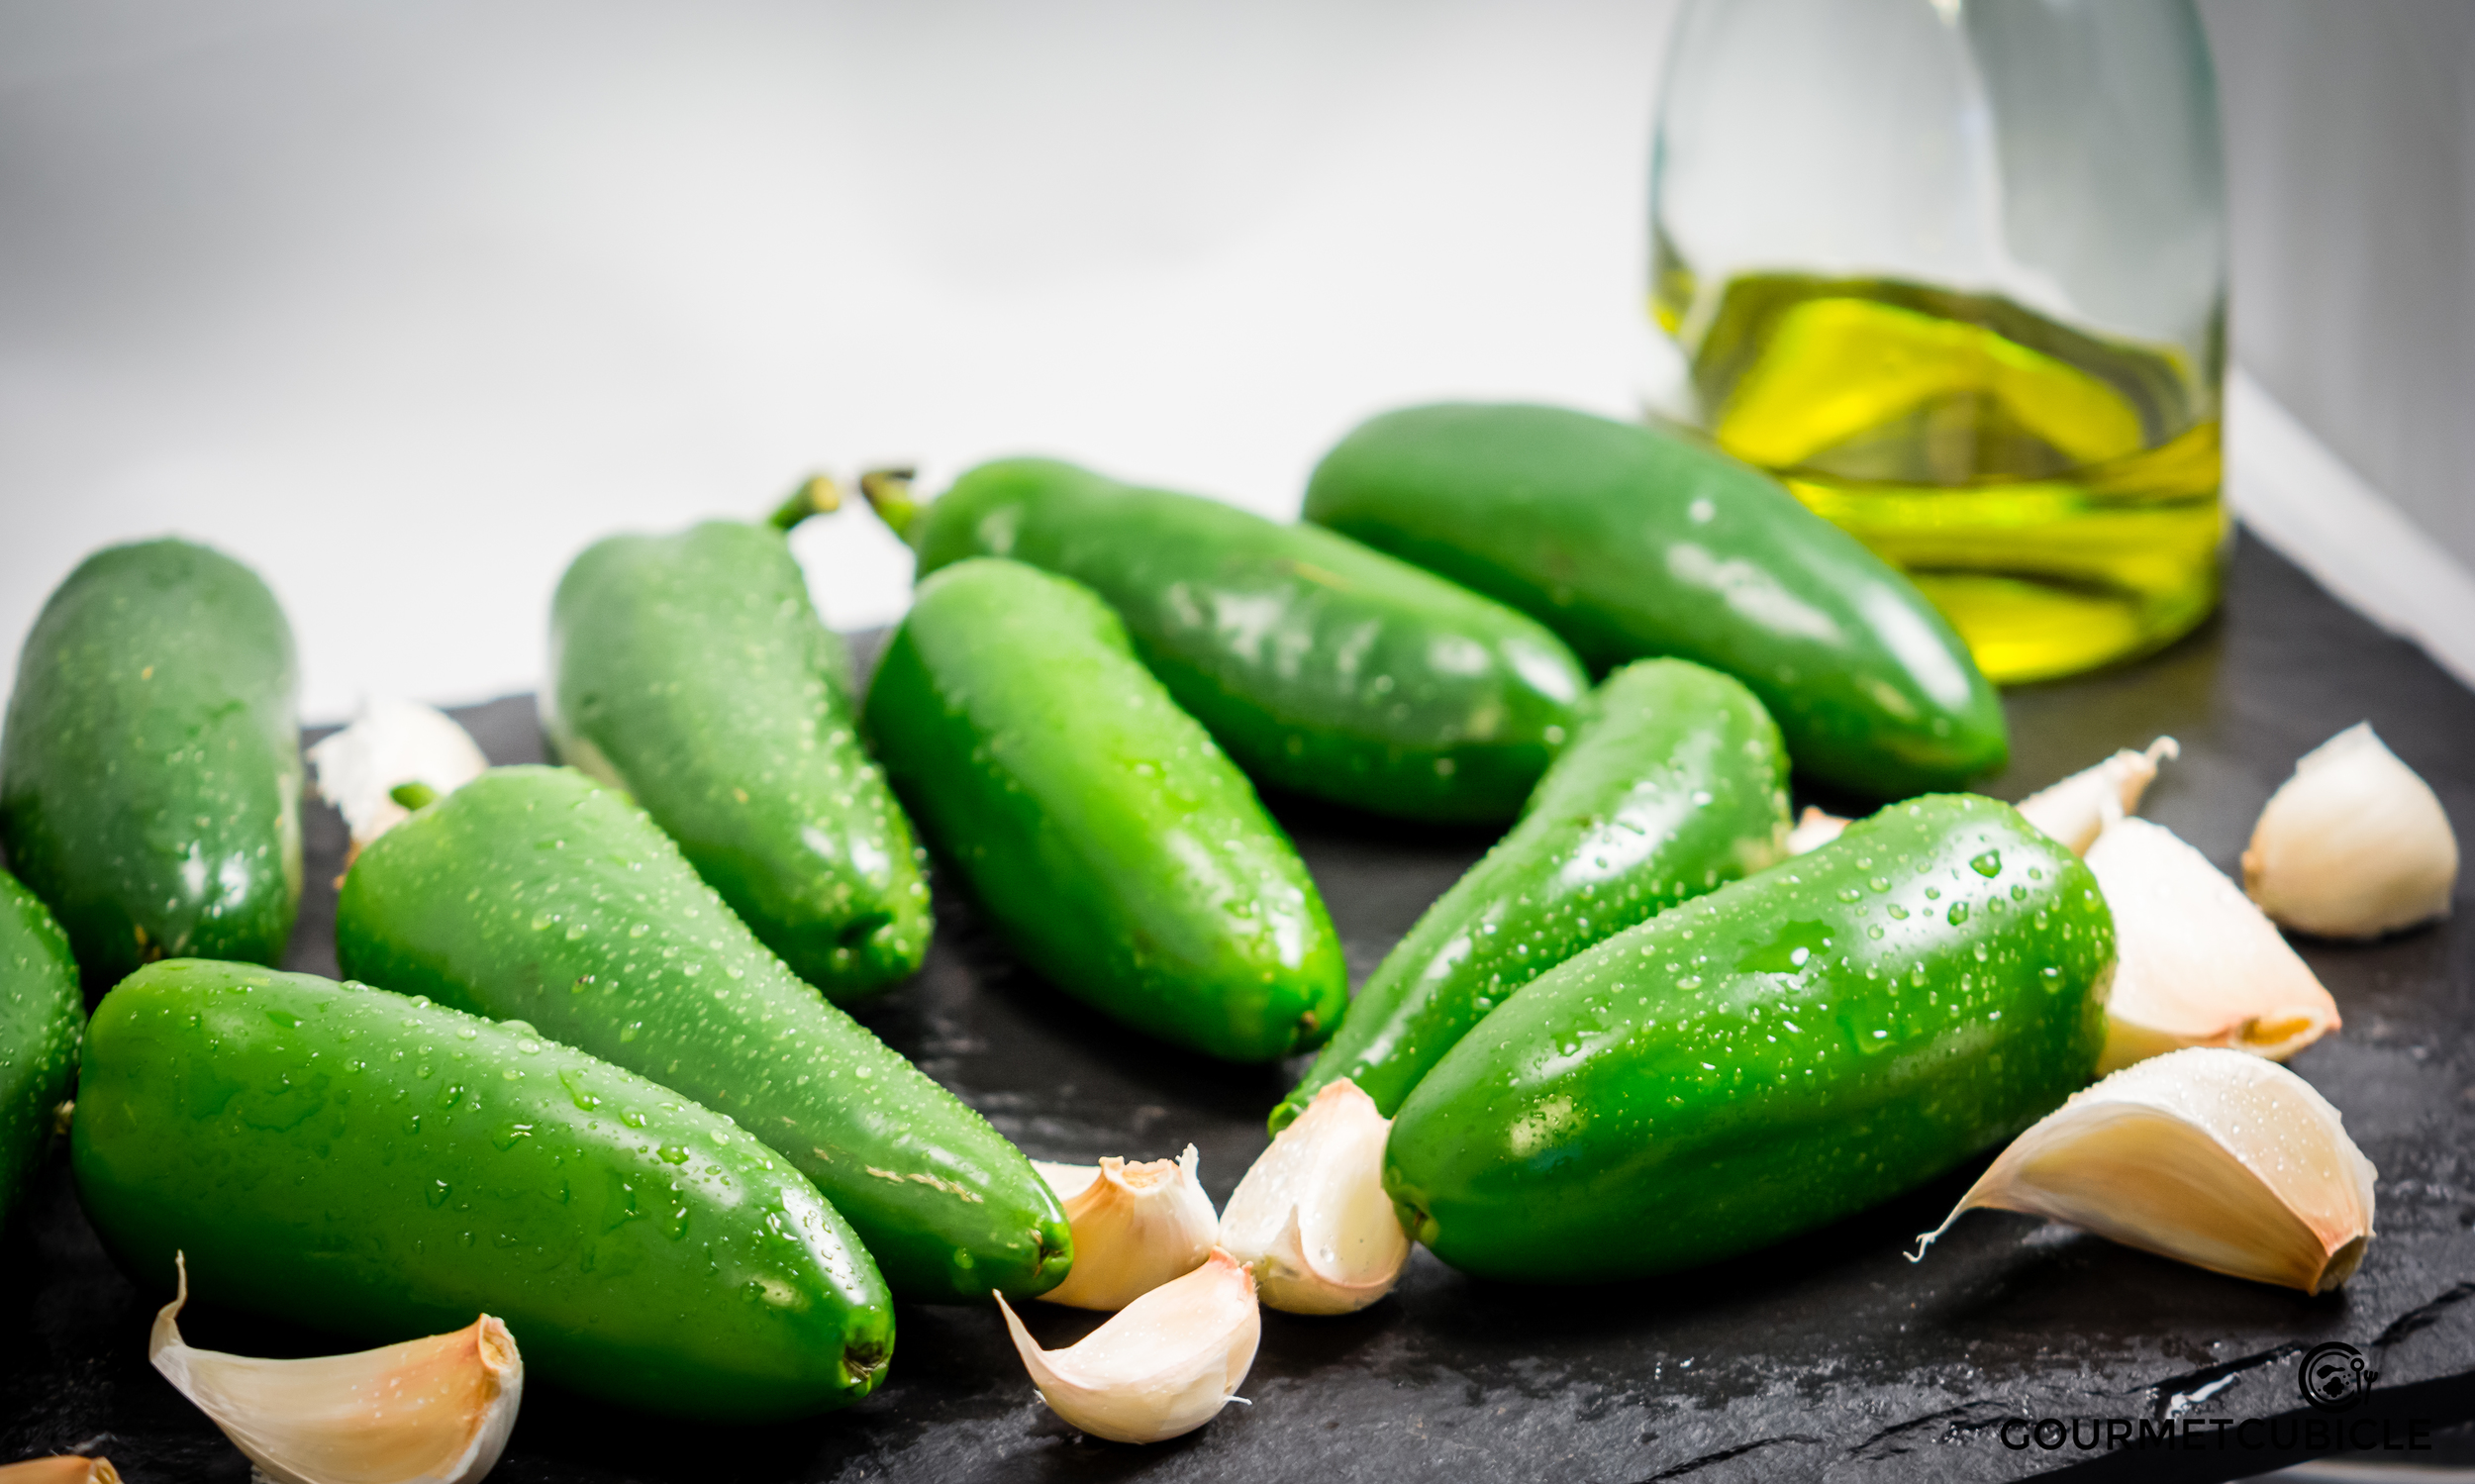
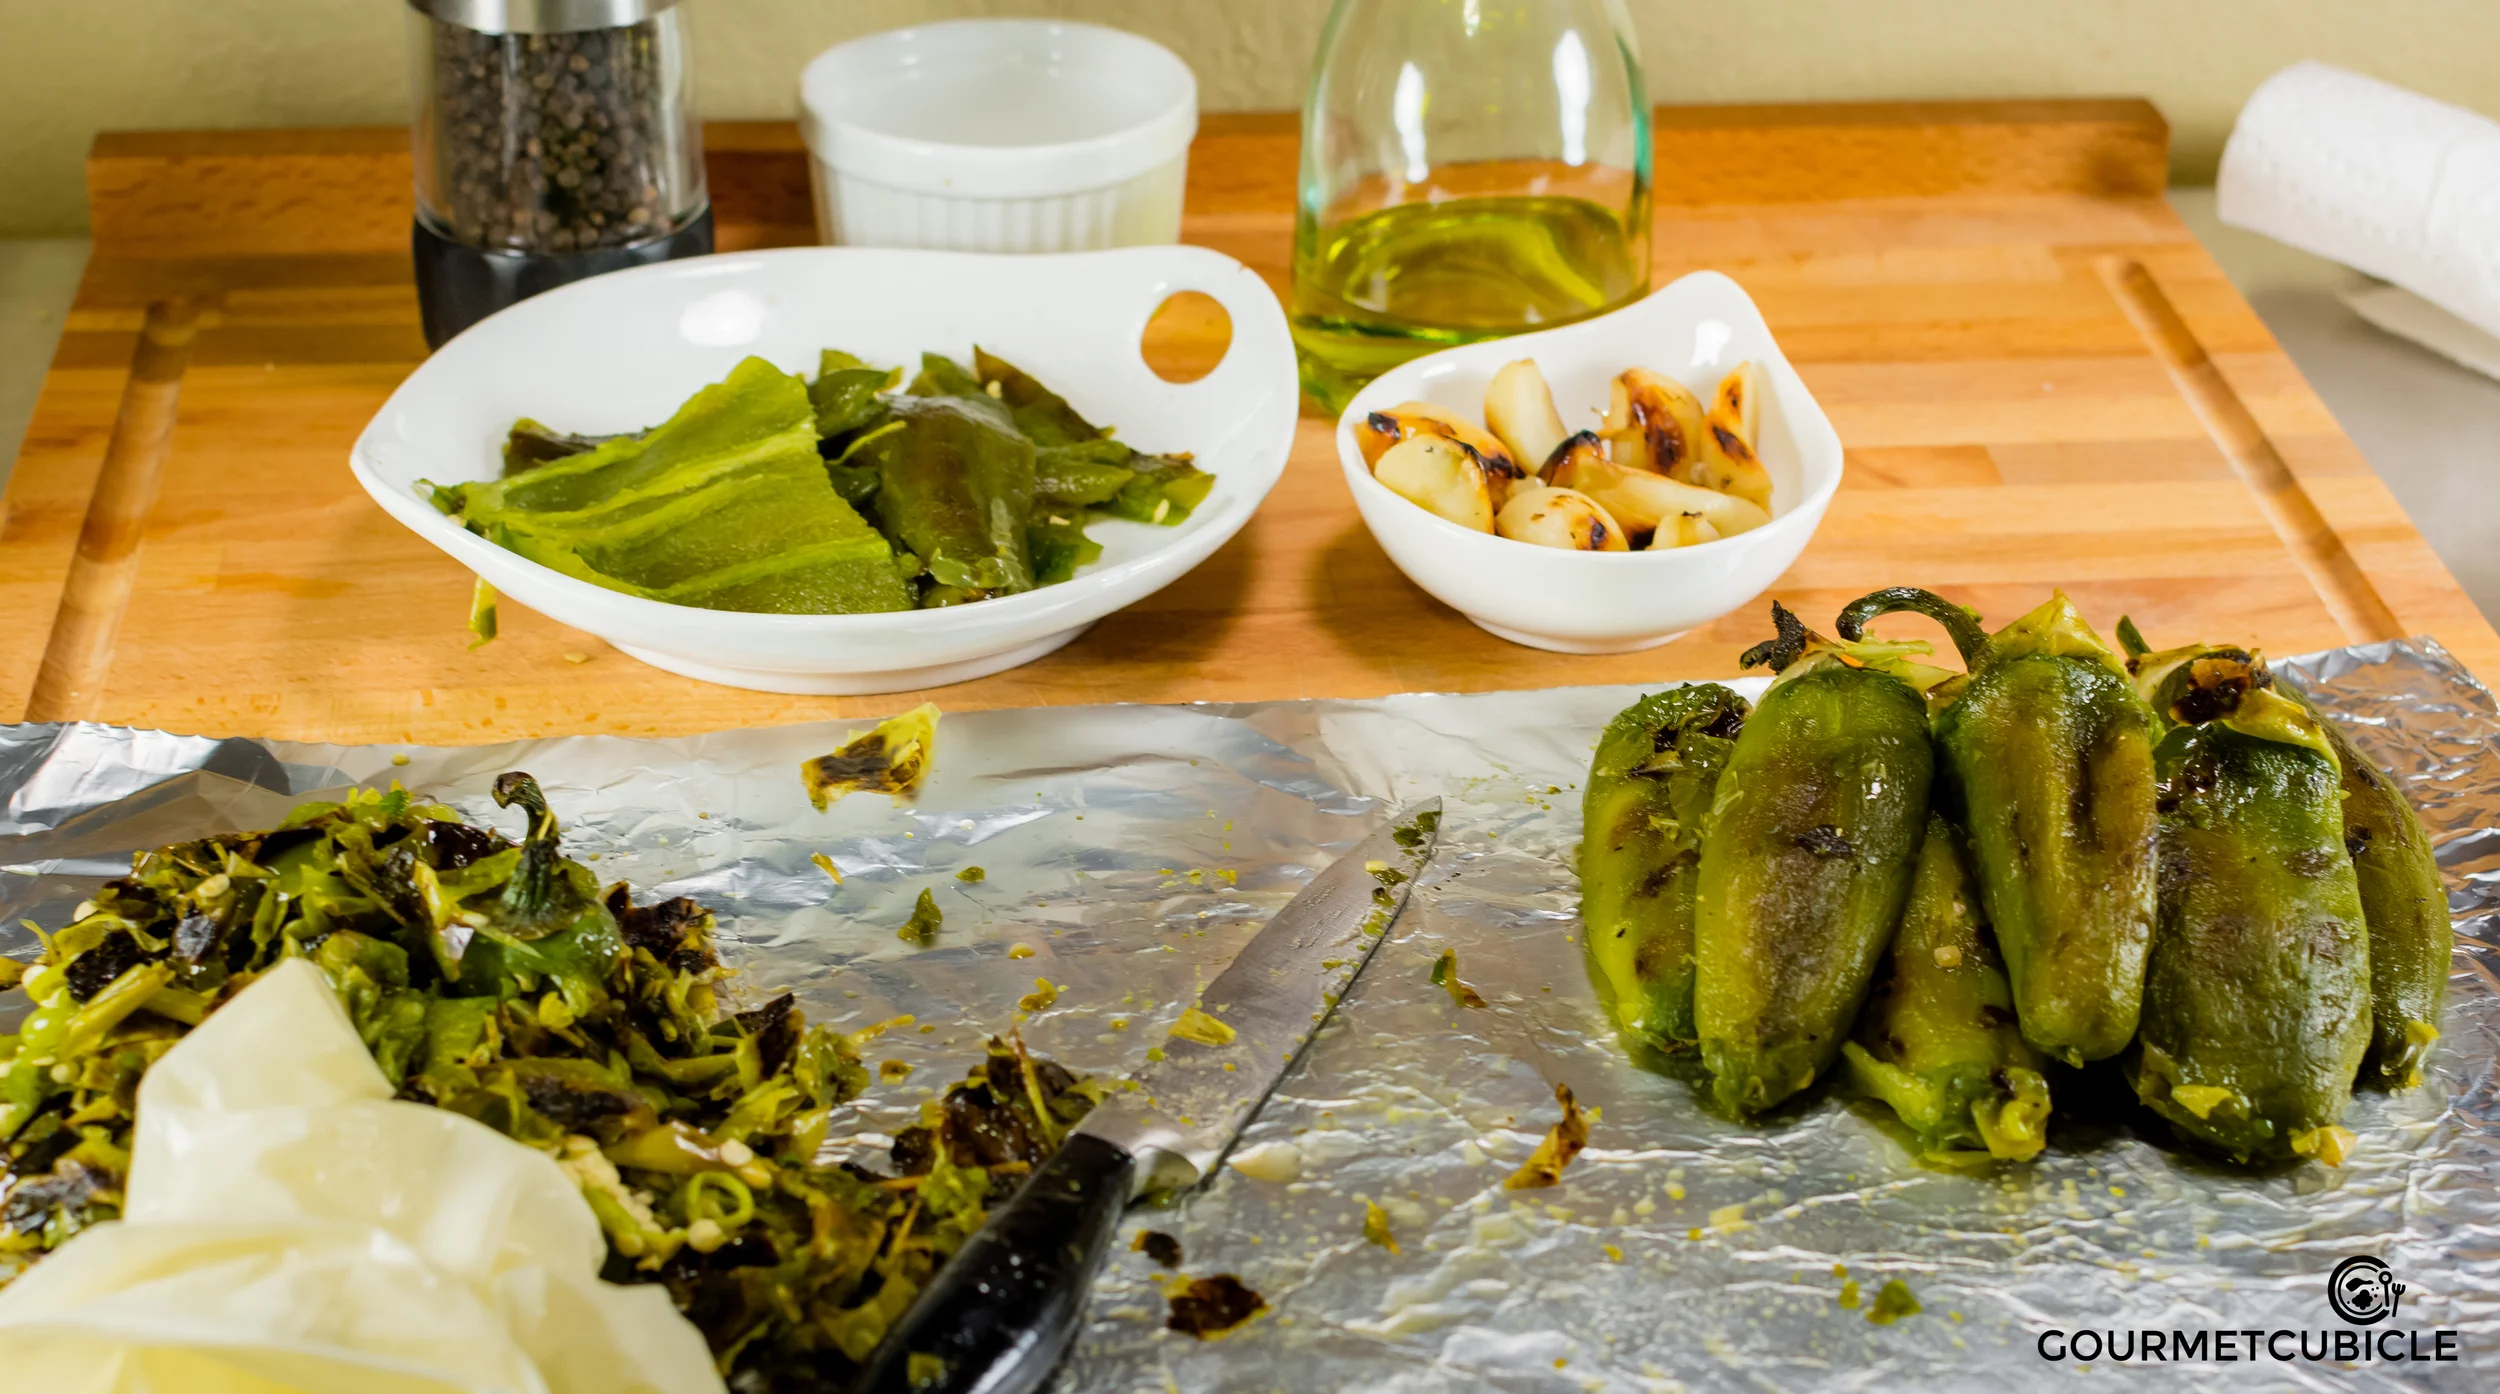
  • 1 jalapeño, deseeded and chopped
  • 4 fresh basil leaves, roughly chopped
  • 1/2 lemon, juiced
  • 1 1/2 TBS honey
  • 1/4 cup rice vinegar, mirin, or a mix of both
  • 1/4 cup yogurt, optional
  • 1/4 cup extra virgin olive oil
  • 1 tsp salt
  • 1 tsp black pepper, freshly ground
  • 2 1/2 cups cold water
  • 1/2 tsp smoked paprika
  • 1/2 cup roasted sunflower seeds

Instructions

  1. In a large bowl combine cucumbers, avocado, jalapeño, basil, lemon juice, honey, vinegar, yogurt, olive oil, salt and pepper. Mix well until cucumbers are evenly coated. Cover with plastic wrap and let it rest in the refrigerator for at least an hour. 
  2. Transfer mix to a food processor and puree until it becomes smooth. Add water and pulse for an extra minute. Taste and adjust seasoning. 
  3. Serve gazpacho cold with smoked paprika and roasted sunflower seeds on top.
May 25, 2015 /Aurel Pop
tapas, avocado, cucumbers
Soup, Appetizer
Comment

Curried Cauliflower and Chickpeas with Tahini Sauce

May 21, 2015 by Aurel Pop in Appetizer

Not even a month has passed since I posted my last cauliflower recipe. Last time it was the creamy and flavorful cauliflower risotto with schnitzel, now it's the fragrant roasted cauliflower and crispy chickpeas inspired by middle eastern cuisine. If you like this amazing and underrated vegetable, you're in the right place. Chances are that it will be the most featured vegetable on the blog, not only because of my endless love for cauliflower, but also because of Roni. 

As mentioned in my previous post, Roni has this habit of sneaking cauliflower in our shopping cart every time we go grocery shopping. And we go once a week. On top of that, our local CSA also included a few of them in our recent delivery. At this pace, I'm afraid I'll run out of ideas for recipes before the end of the year. 

My mom used to cook cauliflower a lot. It was very easy to grow, which meant that my grandfather, Bunu, would always have them in his garden. Luckily it isn't green like broccoli so it didn't scare me and my sister away from eating it when we were kids. My mom would take advantage our our fondness for cauliflower and get creative by making cauliflower soup, roasted cauliflower, fried cauliflower, cauliflower soufflé or even mashed cauliflower. And we'd eat it all without thinking twice.

I find that often people who eat something in huge quantities as kids will start hating that taste so much that when they grow up they lose interest in it completely. It was the opposite for me with cauliflower. Its taste reminds me of my mom. It reminds me of the good old days when I would hang around the kitchen while she cooked.

My dad on the other hand is not the biggest fan of cauliflower, so you can imagine the joy he had when we kept requesting it. He says that boiled cauliflower smells like fart. I think I will have to agree with him on that one, but cheeses smell bad too sometimes, but the taste compensates for the aroma.

One thing must be know about my dad- he has a very sensitive nose. I remember that one time while I was in high school I went to France with a friend of mine to a small town near the Swiss border called Besançon. My mom asked me to bring her back some cheeses. I brought home Camembert, Roquefort, Brie de Meaux, Époisses de Bourgogne and a few others. When my dad entered the house, he immediately turned around, refused to come back in and told us that we had to choose which stayed, him or the cheeses. And he wasn't joking. So we took all the goodies to my grandparents' place and had a huge cheese feast with fresh bread, honey and homemade jams.

The ingredients in this recipe shouldn't scare you away from trying it. I was intimidated at first by all the new spices and ingredients that I had access to in the US, but after a few failed attempts, I managed to get a good understanding of the flavors and uses. Don't be afraid to experiment with new flavors. You may discover a new favorite that you’ll wonder how you ever lived without it!

A few years ago, if you had asked me if I liked barberries I would've said, “Hell yeah!”—  not because I actually knew what they were (I’m stubborn and likely wouldn’t have admitted not knowing that word anyway), but mostly because it had the word berries in its name, and I love me some berries. Barberries are truly amazing. They are specific to Persian cuisine where they are mostly used in rice and couscous, or served with chicken. You may find them under the name of zereshk at Persian or Middle Eastern stores. They bring a burst of  color and an explosion of tartness to your dishes. I chose to add them to this recipe because their tangy and lemony flavor contrast well with the nuttiness of the chickpeas and tahini.

If you can't find them anywhere, worry not, replace them with dried red currants or dried sour cherries.


Curried Cauliflower and Chickpeas with Tahini Sauce


20150519-cauliflower8.jpg

Serves 4
Prep time: 10 minutes
Cook time: 35 minutes


Ingredients

Curried Cauliflower

  • 1 large head cauliflower
  • 1/2 cup dried barberries
  • 1/2 tsp turmeric
  • 1/2 tsp cardamom, ground
  • 1/2 tsp coriander, ground
  • 1/2 tsp cinnamon, ground
  • 1/2 tsp curry leaves, dried
  • 1/2 tsp black peppers, freshly ground
  • 2 cans chickpeas, drained (14 oz each can)
  • 2-3 TBS olive oil
  • 1/2 tsp smoked paprika
  • 1/2 lemon, juiced (1-2 TBS fresh lemon juice)
  • 6-8 fresh mint leaves, finely chopped
  • 1/4 cup parmesan cheese, freshly grated or shaved
  • salt, to taste

Tahini Sauce

  • 1/2 cup raw tahini
  • 1/2 tsp white pepper, ground
  • 1/2 lemon, juiced
  • 1/2 cup cold water
  • 2-3 fresh mint leaves, finely chopped
  • salt, to taste

Instructions

  1. Preheat oven to 425F (225C). Trim the leaves off the cauliflower and remove the stalk. The cauliflower will naturally fall apart into large florets. Cut these into small florets. Drain chickpeas and pat them dry with a paper towel. Soak barberries in warm water and set aside. Combine turmeric, cardamom, coriander, cinnamon, black pepper and curry leaves together. 
  2. Add cauliflower florets, chickpeas, olive oil, and curry spice mix to a large mixing bowl. Toss well and make sure the cauliflower and chickpeas are evenly coated with spices and oil.
  3. Transfer the cauliflower and chickpea mix to a parchment paper lined baking sheet. Spread it out evenly and sprinkle smoked paprika on top. Don't go too crazy with the paprika though. If burned, paprika becomes bitter. Put the sheet in the oven and let it roast for about 35-40 minutes. Make sure that you toss it every now and then so that the cauliflower browns evenly and the chickpeas don't burn.  
  4. In the meantime, combine raw tahini, white pepper and lemon juice in a medium mixing bowl. Whisk well. Don't be alarmed if the lemon juice will make your tahini thick and lumpy. Keep whisking and start adding cold water until the sauce becomes smooth and silky. You can adjust the consistency of the sauce by adding more water. If you prefer a really thick sauce reduce the amount of water mentioned in the recipe. Toss in the chopped mint, taste and adjust the saltiness.
  5. Remove the chickpeas and cauliflower from the oven and transfer the mix to a large bowl. Squeeze water out of the barberries and add it to the mix. Squeeze half a lemon, sprinkle chopped mint and grate parmesan on top. Add salt, taste and adjust seasoning.
  6. Serve with the tahini either drizzled on top or on the side in a dipping bowl. Enjoy!
May 21, 2015 /Aurel Pop
vegetarian, cauliflower, Middle Eastern, chickpeas, curry
Appetizer
2 Comments

Fiery Jalapeño Salsa

May 17, 2015 by Aurel Pop in Condiment

About a month ago I posted my roasted vegetable salsa recipe where I made a promise to publish my variation of Tacodeli’s famous Doña salsa. It is an Austin staple that should be included in every Austin guidebook. Words can't describe how good it is. It has a pale green color and creamy texture that will make you think that it's some sort of avocado salsa. But when you taste it you will first feel a subtle hint of roasted garlic and then instantly the heat of the jalapeños will take over your senses. It feels like a heatwave just blew through your mouth.

The good part about the recipe that you're about to read is that you can dictate the heat level by controlling the quantity of the seeds and the white membrane inside the jalapeños. If it still comes out too spicy for your taste you can cut the heat by using sour cream or heavy cream. I know Tacodeli doesn't use any of that (theirs is vegan), but if you have no problems with dairy, feel free to add a bit anyway. It will make the salsa's texture even smoother.

I personally like spicy food. My dad always had fresh, dried or pickled hot peppers at home and he would use them in every dish he ate. He would cut a few slices into his chicken noodle soup, which I found pretty weird at first, but over time I started to copy him, trying to build up to his amount of peppers.

In about a month I will be taking a trip to Hungary for a conference. My sister still lives there and, although my parents live in Romania, we usually all meet in Budapest. When I asked my dad what to bring him, the first request he had was jalapeños. My dad is at the age where he finds relaxation in gardening, watching cooking, fishing and hunting TV shows. He doesn't want to get all pumped up by watching news about corruption, politics, scandals and all that jazz, so he switched over to more pleasant activities. He now spends his evening growing vegetables in my grandmother's garden. 

My dad has an impressive collection of hot peppers from all over the world. He just loves to grow them and gets really serious about it. He nurses the seeds indoors, then takes the seedlings out in the garden. He even drilled a water well and build an irrigation system for his garden. He sometimes even Skypes me in the middle of the night asking me to explain why his water pump doesn't work, like I am some sort of a water pump expert. 

This Doña salsa variation of mine is pretty similar in taste to the Tacodeli one. The texture is slightly different, but mostly because I didn't emulsify the sauce for long enough and with as much oil and because I like my salsas on the chunkier side, and not on the completely smooth side.

I'm sure that Tacodeli's salsa doesn't have as much lime juice and cumin as mine, and no cilantro and sour cream at all, but these are twists that make it more to my liking. I hope you enjoy it as much as I do!


Fiery Jalapeño Salsa


Yields 1 cup
Cook time: 15 minutes
Total time: 45 minutes


Ingredients

  • 1 pound jalapeño
  • 1 bulb garlic
  • 2 tsp olive oil
  • 1/2 tsp kosher salt
  • 1/4 cup lukewarm water
  • 1 medium lime, juiced
  • 1 tsp black pepper, freshly ground
  • 1/2 tsp cumin
  • 1/2 cup olive oil (or peanut or mix of both)
  • 2 TBS sour cream, optional
  • 1/4 cup finely chopped cilantro
  • salt, to taste

INSTRUCTIONS

  1. Wash jalapeño peppers, pat them dry and then put them in a medium bowl. Break up bulb of garlic by hitting the top of it with the heel of your hand. Toss the garlic cloves into the bowl of jalapeños and lightly sprinkle with olive oil and a pinch of salt.
  2. Heat up your grill to medium. If using a stove-top cast iron grill, you need not worry about the garlic falling in between the racks. In case you're using an outdoors grill, use a layer of tin foil to prevent that from happening. Place the garlic on the colder side of the grill to avoid them from burning. Burned garlic tastes bitter.
  3. Grill jalapeños until they are blistered and charred, about 15-20 minutes, turning them occasionally. The grilling time will vary based on the size of the peppers. Same rule applies for the garlic cloves- the smaller ones will cook faster.
  4. Remove the vegetables from the grill starting with the garlic. The garlic should be soft when pierced with a knife. Set the garlic aside. Place the jalapeños in a container and cover for about 10 minutes. This will make your life easier when peeling them.
  5. In the meantime, peel the grilled garlic and place the cloves into a food processor.
  6. Start peeling the jalapeños, removing the skins with a knife. Use gloves. Trust me, you don't want to touch any part of your body after peeling jalapeños with your barehands. I learned it the hard way.
  7. Remove the seeds and the white membrane that holds the seeds (placental tissue). If you like it really spicy leave a few in the mix.
  8. Toss the peppers into the food processor along with the garlic. Add water, lime juice, salt, pepper and cumin and pulse. Slowly add oil to emulsify until the salsa becomes creamy and smooth. 
  9. Add sour cream for extra creaminess. I use more sour cream when the salsa comes out really hot and I want to cut the heat a bit. Sprinkle cilantro on top, or mix it in the salsa. 
  10. Store the salsa in a jar in the fridge. The texture will change a bit when cooled, but you can fix that by adding a tablespoon of warm water and shaking
May 17, 2015 /Aurel Pop
jalapeños, spicy, salsa, Mexican, Tex-mex
Condiment
1 Comment

Creamy Leeks with Pan Roasted Chicken

May 14, 2015 by Aurel Pop in Main Dish, Side Dish

When I started this blog I made a calendar where I mapped out the posts for the next few months. Although I'm not quite a planner, I really wanted to make this blog happen, so I had to set myself up for success.

I knew that cooking would not be a problem- that's how I relax after a long day at work and I'd do it anyway. What was scary was the commitment itself- the commitment of taking pictures while cooking, writing down the recipes and following them (instead of just winging it like I usually do), processing the pictures and last but not least, the scariest of all, writing. No matter how confident you feel about understanding and speaking a foreign language, the idea that you're committing to writing in it is intimidating.

Fortunately, I've always loved challenges and I'm adventurous and stubborn enough to think that it is indeed a good idea. Truth to be told, I do have an amazing editor/taste tester to help me.

I post two recipes a week: a simple one, like a breakfast, a brunch or a quick bite, and a second one that's more elaborate and time-consuming. There is a logic to the order in which I post as well, but the problem is that, more often than not, I derail from my own masterplan. I always find good reasons to- let it be my mood, the weather or the delivered veggie box from my the local CSA. 

The ice cubes are homemade chicken stock that I freeze in an ice maker tray. Whenever I need some stock I just pop a few out.

The ice cubes are homemade chicken stock that I freeze in an ice maker tray. Whenever I need some stock I just pop a few out.

This week was the weather. Initially, I wanted to transition to less hearty meals and more seasonal, lighter dishes like pastas, salads and such. Then the weather started playing tricks on me. Usually May in Austin is already unbearably hot, but for some reason this year it's been very mild and rainy. It’s been raining seemingly nonstop for weeks now. The flash flood alerts on my phone won't stop giving me a heart attack when they go off at random times.

The weather, combined with the leeks that I found in the weekly delivery, made me choose this recipe. I've done this dish several times before, but somehow it always manages to surprise me with its taste. 

When you're roasting the chicken you can go with different aromatic herbs if rosemary doesn't cut it for you. I personally would have used tarragon had my neighbor grown that instead of rosemary. Sometimes I take my dog on a walk with the intention of picking a few branches just to keep the otherwise invasive rosemary population under control. I may be renting, but I care about our neighborhood!

The situation with the green couscous was completely different, though. I had parsley from the CSA and my little herb garden started producing herbs to my surprise. They have to survive the weather and hurricane Popsi (a.k.a. the dog). The mint, sage, oregano and chives all came from there.

The inspiration for this side dish was Jacques Pepin's green couscous. Roni did the mistake of getting me the full edition DVD of Essential Pepin as a birthday gift last year. Ever since, I don't cook with 90's Euro techno music blasting in the background, but with Pepin telling stories with his cute French accent. Aww, I guess I'm getting softer as I grow older.

If you won't be able to get a hold of the same herbs as mentioned in the recipe, worry not! Replace them with what you like or what you have on hand. Whether it's thyme, basil, spinach or kale, it makes no difference. The point is to make the couscous more interesting and pleasant aesthetically by adding extra flavor to the rather bland semolina. Enjoy!


Creamy Leeks with Pan Roasted Chicken


Serves 4-6
Prep time: 10 minutes
Cook time: 60 minutes


Ingredients

Creamy Leeks and Pan Roasted Chicken

  • 4 large leeks
  • 6 cloves garlic, crushed
  • 1 sprig fresh thyme, oregano or tarragon
  • 2 sprigs rosemary
  • 4 cups chicken stock
  • 1 tsp black pepper, freshly ground
  • 1/2 tsp kosher salt
  • 2 lbs chicken with skin and bones (thighs and drums)
  • 1/2 black pepper, freshly ground
  • 1/2 tsp kosher salt
  • 2 TBS peanut oil (or canola, or sunflower seed oil)
  • 2 TBS butter
  • 1 sprig fresh thyme, oregano or tarragon
  • 1 sprigs rosemary
  • 1/2 cup dry white wine
  • 1/2 black pepper, freshly ground
  • salt, to taste
  • 1 cup heavy cream

Green Couscous

  • 1/2 cup parsley, roughly chopped
  • 6 mint leaves
  • 1 sprig oregano
  • 3-4 sage leaves
  • 1/4 cup chives
  • 1 clove garlic, crushed
  • 1/4 cup stock, saved from the braised leeks (or 2-3 TBS hot water)
  • 1 cup instant couscous
  • 1/2 tsp black pepper, freshly ground
  • salt, to taste
  • 1 cup boiling water
  • 1 TBS butter

Instructions

Creamy Leeks and Pan Roasted Chicken

  1. Preheat oven to 425F (220C).
  2. Clean each leek by cutting off the dark green woody leaves and the root end. Using a pairing knife slice the leek lengthwise starting from about 1/4 of inch from the root up to the leaves. Rotate the leek, and slice it again starting from the root. Fan the leeks open and place them under cold running water. Rinse out any dirt or sand until the leeks are clean.
  3. Place leeks,  garlic cloves, thyme, oregano or tarragon, two sprigs of rosemary and chicken broth in a deep oven proof skillet. Season with freshly ground pepper and a pinch of salt.
  4. When the oven heated up, put the skillet in and cook for 30 minutes. Check after 15 minutes and stir leeks so that the ones that aren't completely covered by the stock don't burn.
  5. In the meantime, pat the chicken dry with paper towels and season with salt and pepper.
  6. Heat up oil in a heavy cast iron skillet at medium-high heat. When the oil is shimmering, place the chicken pieces in the pan with the skin side down and brown for about 6-8 minutes. Flip the chicken on the other side and repeat the browning process. 
  7. Reduce the heat to medium and cook the chicken on the un-browned sides for about 5 minutes total.
  8. Add butter, crushed garlic and aromatic herbs (rosemary, thyme or tarragon) and baste occasionally for 3-5 minutes on each side. Check the temperature of the chicken. At this point it should be at around 130-140F (55-60C). 
  9. Remove the chicken from the skillet and cover with aluminum foil until the leeks are ready.
  10. Deglaze the pan in which you roasted the chicken by pouring in white wine. Sprinkle with a pinch of fresh ground pepper an cook for about 3 minutes. Add the cream and cook for another 3-4 minutes until the sauce thickens.
  11. Remove pan of leeks from the oven. Remove half of the stock that is left. Make sure you're not discarding it as you're going to use it for the couscous.
  12. Mix in the chicken with its juices and the cream sauce. Stir well until the meat is covered in leeks and the white sauce. Taste and adjust seasoning to your liking.
  13. Put the chicken back in the oven for about 10 minutes. 
  14. While the chicken is in the oven prepare the couscous. 

Green Couscous

  1. Put herbs, garlic and the stock you saved from the braised leeks in a food processor. If you don't have it just, add 2-3 TBS hot water. Puree the herbs until the paste becomes smooth.
  2. Pour the herb paste into a medium bowl then add couscous, black pepper and a pinch of salt. Mix well until the couscous is well coated. 
  3. Add hot water, mix and cover for about 10 minutes. 
  4. Remove cover and add in butter while the couscous is still hot, mixing it thoroughly. Season with more salt to your liking.
  5. Serve couscous with the leeks, chicken and french baguette (for dipping). 

Notes

  • Do not overload the skillet with chicken. You risk reducing the heat in the pan to the point where the chicken will not brown and will become greasy. Instead, work in batches if you have to.
May 14, 2015 /Aurel Pop
coucous, leeks, poultry, creamy
Main Dish, Side Dish
2 Comments

Grilled Carrots and Parsnips with Orange Yogurt

May 11, 2015 by Aurel Pop in Salad

A few weeks ago I felt like I desperately needed a full day for myself to decompress and do only what I wanted to do, which was absolutely nothing. On days like this I sleep in, prepare a quick breakfast, play a bit with my dog, then get cozy on the couch with a book or Netflix and Popsi snoring at my feet until it's my own nap time.

To the amusement of my friends, I still take naps. They constantly remind me that they quit taking naps when they were 7. I'm 31, but I still do it and get excited about it just like I did when I was a kid. Probably even a little bit more because it’s much harder to find time to do so now than when I was young.

I feel like in this fast paced world that we are living in, we barely have time to allow ourselves a little downtime. When was the last time you didn't have plans on a given weekend?

I used to think that I was wasting my day by doing nothing and even felt guilty for doing so. Not anymore though. Nowadays I just embrace these lazy days and enjoy them while they last.

On my days off, I rarely want to cook at home and prefer to go out and look for new ideas and recipes that inspire. I'm not pretentious when it comes to food, but I have certain expectations. I want simple dishes cooked with fresh ingredients.

The inspiration for this recipe came on one of these days at a local Italian food truck called Patrizi's. Although I almost always go with their roasted garlic bruschetta for the appetizer, this time I decided to try one of their specials- Roasted Carrots with Orange Yogurt. It sounded so light and refreshing that I couldn't pass on it.

I was so blown away by the sweet and tart combination of the carrots and orange that I knew I wanted to try to make something similar at home sometime soon. That time came earlier than expected when we received our CSA box of veggies from Johnson's Backyard Garden that week. It was loaded with gorgeous, fresh organic carrots and parsnips. 

In my recipe, I'm using both carrots and parsnips, and instead of roasting them I decided to grill them for that added charred flavor that develops while grilling. I also added fresh oregano and orange zest to the yogurt sauce, and mint and orange juice to the grilled vegetables. The idea of adding fresh herbs came mostly out of convenience as not long ago I started to grown my own herbs in small pots outside on the patio. 

I served this appetizer with a side of arugula salad sprinkled with olive oil and topped with sour cherries, walnuts and goat cheese, but it stands well served on its own. It's delicious, healthy and flavorful. Enjoy!


Grilled Carrots and Parsnips with Orange Yogurt


Serves 4
Prep time: 10 minutes
Cook time: 35 minutes


Ingredients

Grilled Carrots and Parsnips

  • 2 bunches carrots (10-12 whole), scrubbed or peeled
  • 1 bunch parsnips (4-6 whole), scrubbed or peeled
  • 2 TBS olive oil
  • 1 tsp kosher salt
  • 1 tsp black pepper, freshly ground
  • 1/4 cup fresh orange juice
  • 8 fresh mint leaves, finely chopped
  • 1 TBS olive oil

Orange Yogurt

  • 1 cup plain yogurt
  • 1/4 cup fresh orange juice
  • 1 TBS orange zest
  • 1 TBS fresh oregano, finely chopped
  • 1 tsp caraway seeds, ground
  • 1/2 tsp black pepper, freshly ground
  • kosher salt, to taste 

Instructions

  1. In a medium-large mixing bowl combine cleaned carrots, parsnips, 2 TBS olive oil, salt and pepper. Mix well until the root vegetables are evenly coated.
  2. Fire up the grill to medium-high heat, around 425-475F (220-245C). If using a stovetop cast iron grill, set burners to medium-high heat.
  3. Place carrots and parsnips on the grilling grate. Cover (use aluminum foil if grilling on stove top) and grill for 5-10 minutes until the vegetables develop sear marks. Flip them over and continue grilling them until the crunch is gone but the resistance remains, about 20-25 more minutes. Make sure you're flipping them every 10 minutes so they don't get burned.
  4. In the meantime, prepare the orange yoghurt by combining all the ingredients in a medium mixing bowl. Stir them together and let it sit in the refrigerator until the carrots are cooked. This way the flavors will blend and the sauce will taste better.
  5. Once cooked, remove the vegetables from the grill and toss them in a mixing bowl with the orange juice, chopped mint leaves and the rest of the olive oil.
  6. Serve the carrots and parsnips at room temperature over 2-3 tablespoons of yoghurt and sprinkle more mint on top.
May 11, 2015 /Aurel Pop
vegetarian, carrots
Salad
3 Comments
  • Newer
  • Older

Copyright ©2017 Aurel Pop & gourmetcubicle. All rights reserved. Don't steal, ask.