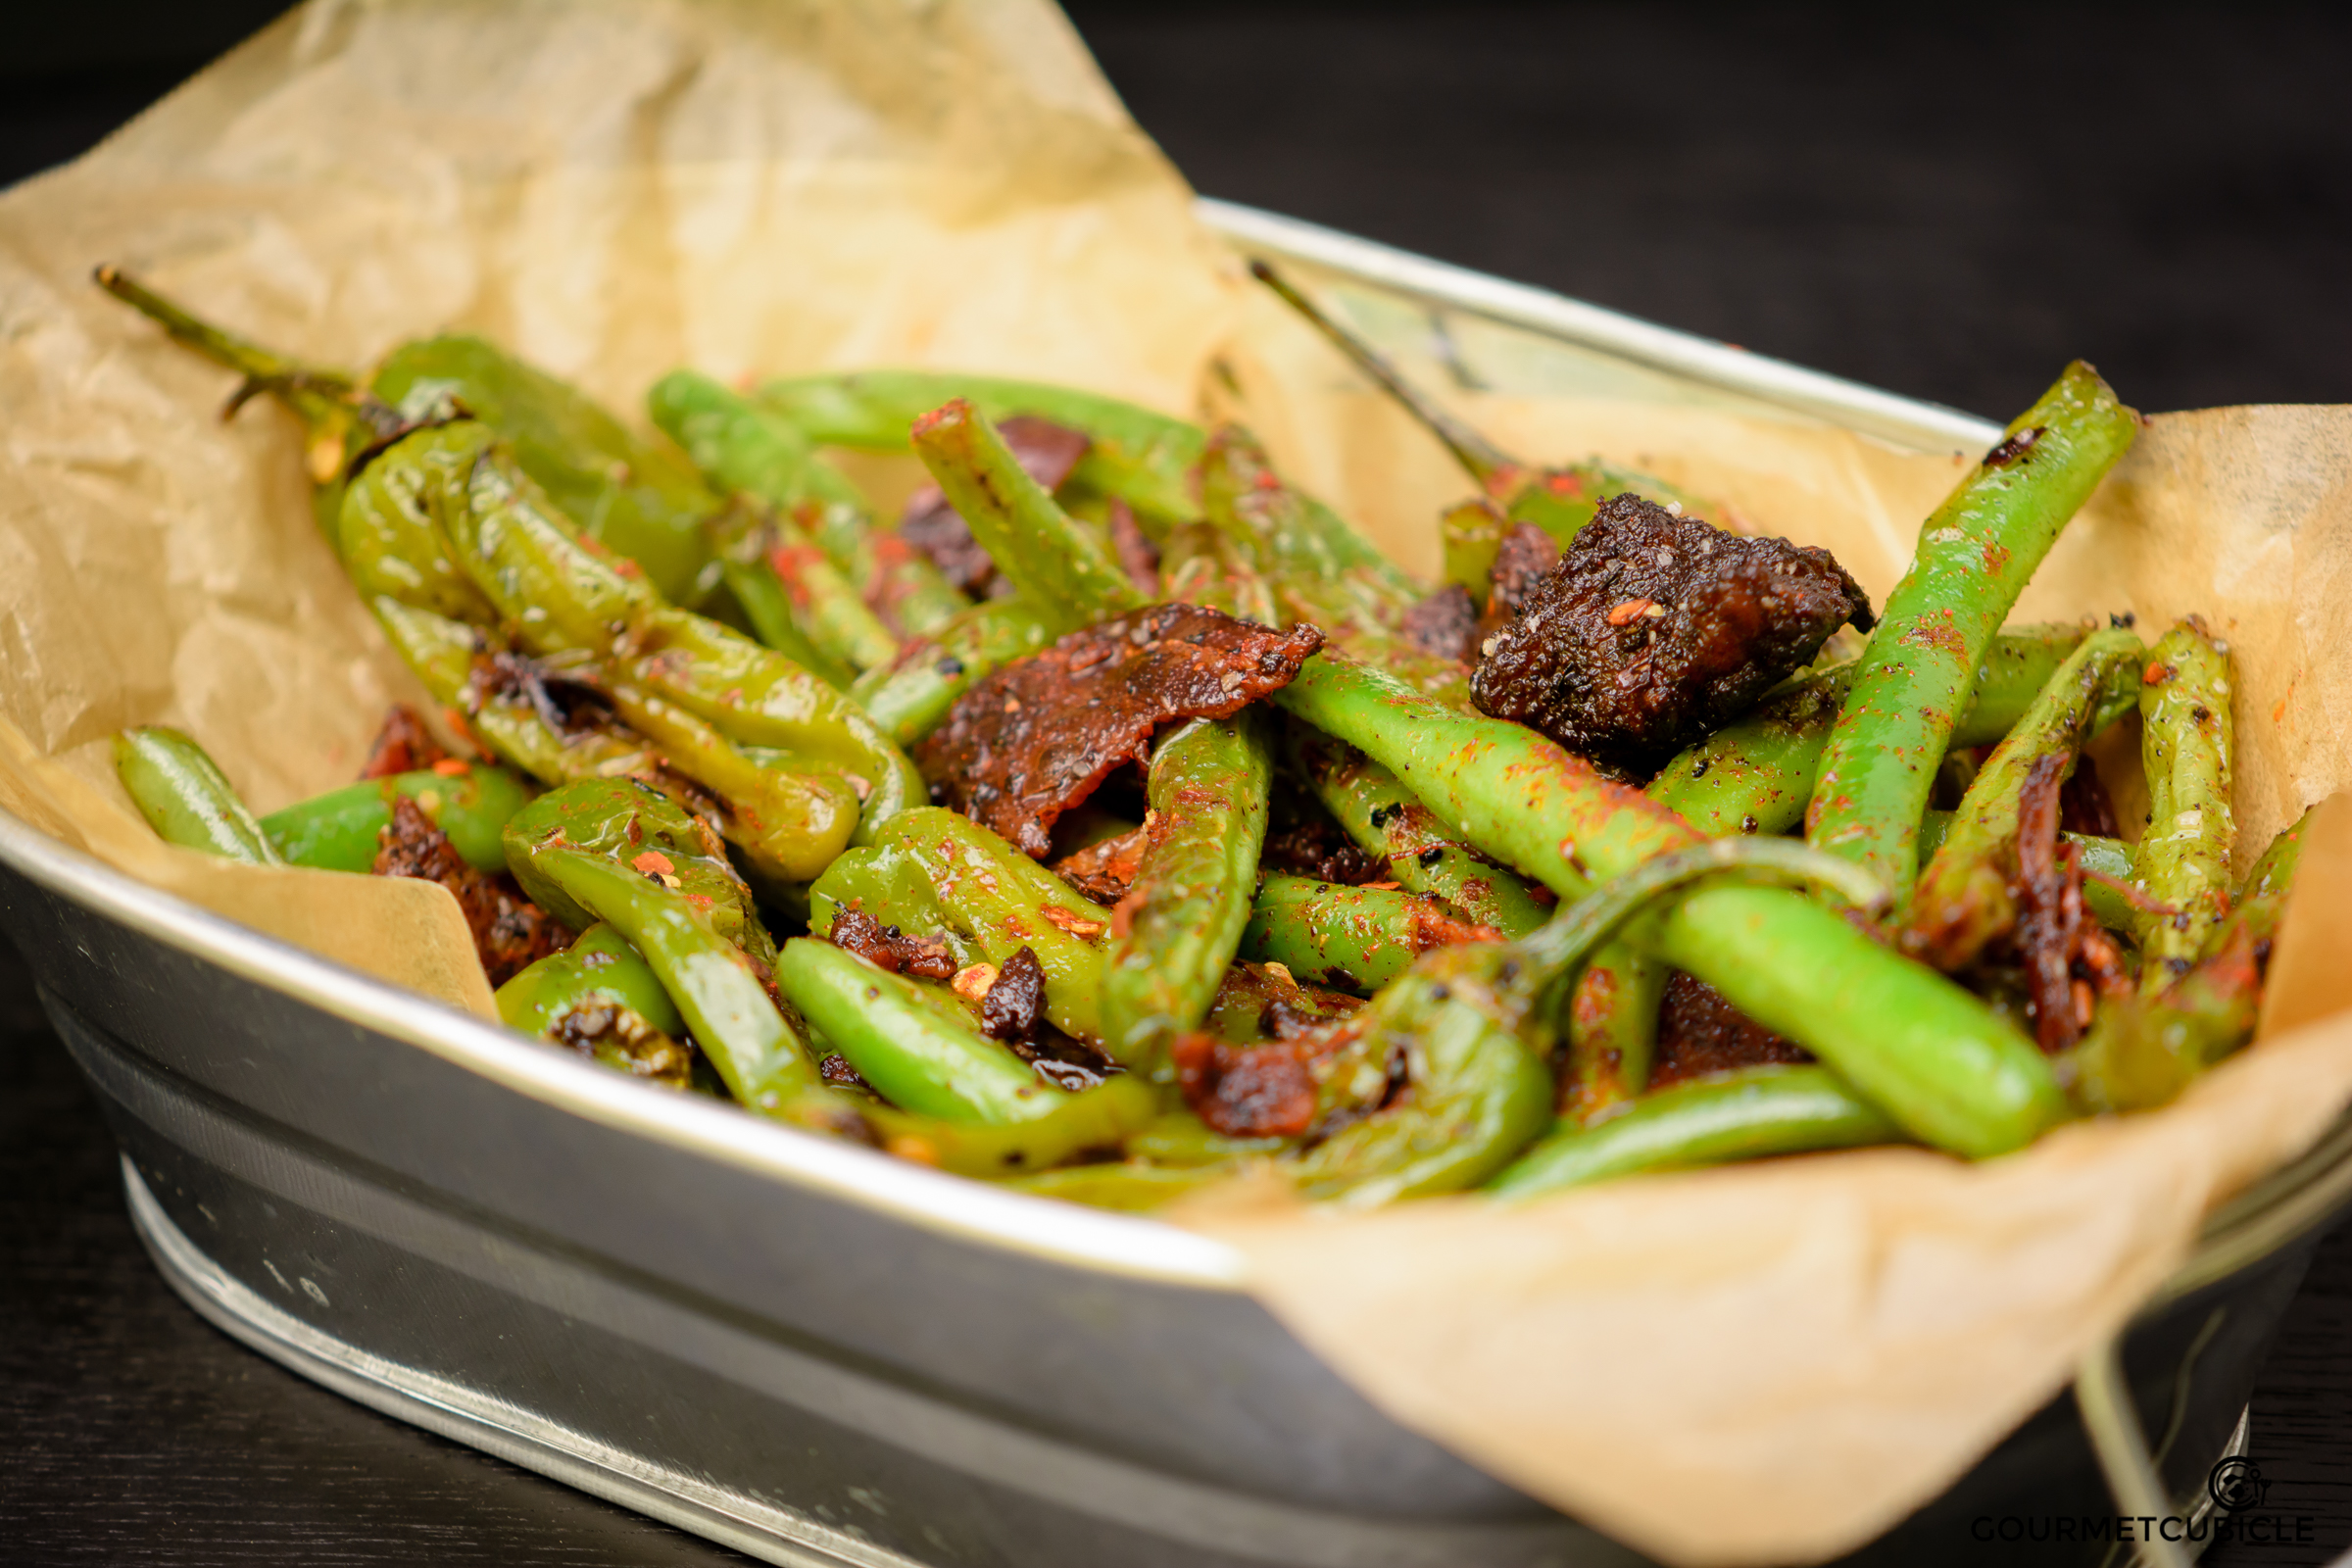
Blistered Green Beans and Shishito Peppers with Crispy Bacon
This past week has been the most rewarding one to date in the short history of gourmetcubicle. If you've been following me on Instagram or Facebook, or you subscribe to the Austin American-Statesman, you saw that my Savarin Cake recipe was featured in this week's Austin360Cooks section. It is the first time my work has ever been published. When I launched this blog back in April I would have never guessed that I would be featured in a newspaper. The Statesman's food editor, Addie Broyles, found my picture on Instagram via the hashtag #austin360eats and reached out to me asking for permission to feature my recipe, pictures and story in the newspaper.

The timing of the event couldn't have been more perfect either. I was losing steam and got a bit overwhelmed by the constant juggling between my demanding day job as an engineer and my passion for cooking and sharing recipes with you. It felt reassuring to have my work validated in that way—it was definitely a milestone moment for me and my blog. When I saw Addie’s comment on Instagram I admittedly got a bit giddy. Initially I didn’t know how legit it was, but soon after she also reached out to me via email. "Holy paprikash, this is real! It's happening. I'm going to be the most famous Romanian in Austin for a day!", I said to myself.

I instantly texted Roni, telling her about what was happening. First she told me how happy and proud she was, followed by "Send me your reply email first so I can review it". It took a few attempts to get a draft done, but I made sure to first send it to my favorite editor per her demand. She told me it was the cutest email she had ever read, but we needed to take the excitement down a notch and sound a bit more professional. Eventually I replied, exchanged a few emails with Addie, and then counted the days until Wednesday. On Tuesday I went to sleep filled with the same excitement of Christmas Eve.
I woke up early and went to the nearest grocery store where I bought all the copies of the Statesman that they had on the newspaper stand. The timing was perfect since next week I'm going home to Romania and I will bring my parents, my grandma, and a few of my best friends a copy of my first published recipe. If only my grandpa Bunu could see this, I would be the happiest person on Earth. He'd probably make up a story about me becoming a famous chef in America.

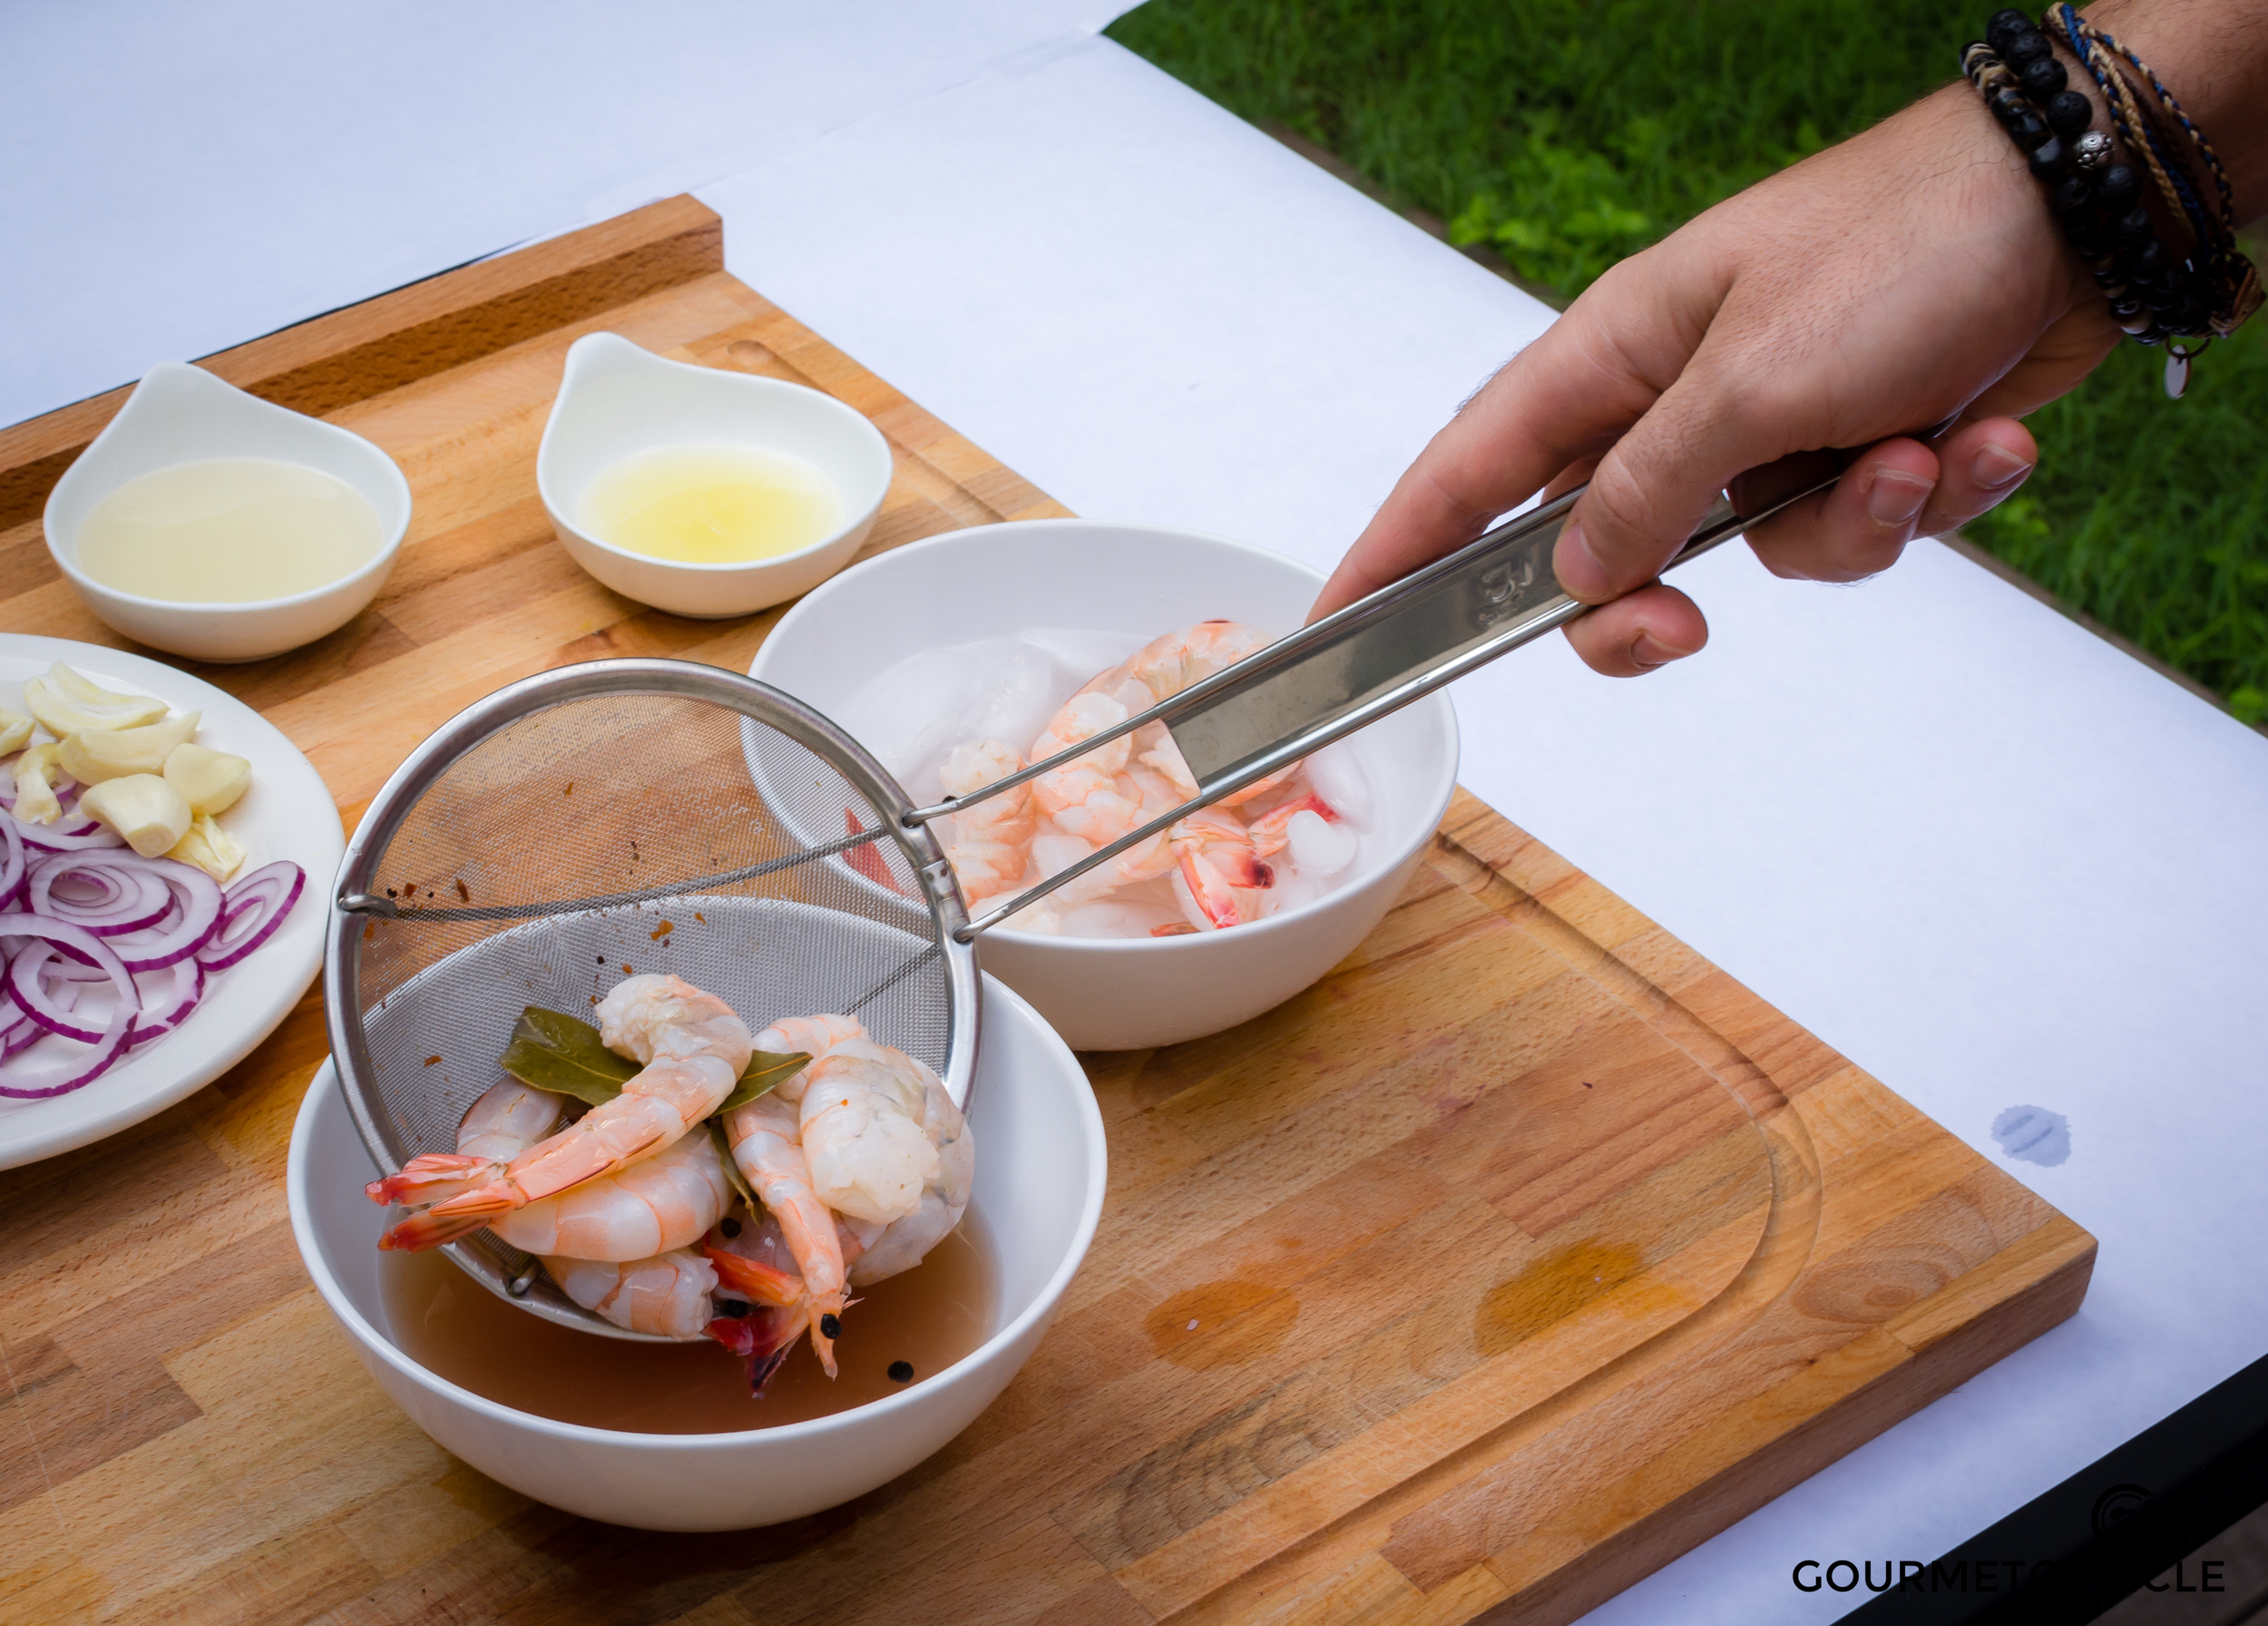
The idea for this recipe came a few weeks ago at a happy hour organized by the Austin Food Bloggers Alliance at The Highball. It was only my second time meeting with this fun and likeminded group of people, but I instantly felt welcomed (I also rented a karaoke room for myself where Roni later discovered me singing Oasis on my own for an hour, but that’s a whole other story…). Anyway, The Highball treated us like kings serving us at least 8 appetizers. All of them were delicious, but what got my attention was their Fried Brussels Sprouts and Shishito Peppers with White BBQ dipping sauce and candied bacon. It was everything a man can dream of while sipping on a cold beer. As soon as I saw green beans in my CSA box delivery that week, I knew I would have to make something similar. I tossed in some smoked pork bits from the pulled pork I made with my friend Guy (his personal recipe will soon be on the blog soon). It adds a nice smokey flavor, but if you don't have any that's fine, just make sure you used smoked bacon. Enjoy!
Blistered Green Beans and Shishito Peppers with Crispy Bacon
Serves 4
Prep time: 10 minutes
Cook time: 25 minutes
Ingredients
- 1/4 lb shishito peppers (about 10-12 peppers)
- 1 TBS oil (peanut or sunflower seed)
- 2 tsp fresh lemon juice
- 1/8 tsp kosher salt
- 1/4 tsp freshly ground black pepper
- 8-10 slices smoked bacon
- 1/2 cup smoked pork bits, optional (I had some leftovers from my smoked pork shoulder)
- 2 garlic cloves, crushed
- 1 lb green beans
- 1/4 tsp freshly ground black pepper
- 1/4 tsp chili flakes, optional
- 1/2 TBS butter
- 1 lemon, juiced (about 2-3 TBS)
- 1/4 tsp smoked paprika
Instructions
- In a small bowl combine shishito peppers, oil, lemon juice, salt and pepper. Toss until the peppers are evenly coated.
- Heat a stainless steel skillet over medium-high heat. When the skillet is hot, after about 2 minutes, add the shishito peppers and cook them until the skin gets blistered and charred, about 3-4 minutes. Toss every now and then to avoid burning them. Transfer to a plate and set them aside.
- To fry the bacon, start with a different cold skillet, preferably cast iron. Lay bacon strips in the skillet without overlapping them. Make sure the skillet is at room temperature when you start. You can crowd the skillet a bit as the bacon will shrink when cooked.*
- Turn the burner to medium-low and slowly cook the bacon. When it starts curling flip it over to the other side. Cook bacon for about 3-4 minutes on each side. When it is done, transfer bacon to a wire rack or a paper towel lined plate and let the excess grease drain. Do not dispose the bacon fat from the skillet.**
- Up the heat to medium-high under the skillet you used for frying the bacon. Dispose some of the bacon fat, but make sure you leave at least two tablespoons worth of grease.
- If using smoked pork bits, toss them in the skillet and cook them for 2-3 minutes. If you're not using any proceed to the next step.
- Add crushed garlic and green beans. Stir and toss until the green beans are well coated in oil. Cook for 4-5 minutes tossing occasionally.
- Season with more black pepper and chili flakes if you want to add a nice kick. Add the shishito peppers. Cook for 2 more minutes tossing every now and then.
- In the meantime, cut the bacon into bite size pieces and add it to the skillet.
- Add butter, let it melt then toss one more time. Remove from the heat.
- Transfer to a bowl, sprinkle with fresh lemon juice and smoked paprika. Serve warm.
Notes
* To achieve a crispy and evenly cooked bacon on the stovetop, lay the strips in a cold skillet and slowly raise the temperature. The secret is to cook it over medium-low heat. This method will also help the bacon not to curl up.
** If you like your bacon extra crispy cook a bit longer flipping them over every now and then. The time it takes to cook bacon depends on the level of crispiness you want to achieve.