Fiery Jalapeño Salsa
About a month ago I posted my roasted vegetable salsa recipe where I made a promise to publish my variation of Tacodeli’s famous Doña salsa. It is an Austin staple that should be included in every Austin guidebook. Words can't describe how good it is. It has a pale green color and creamy texture that will make you think that it's some sort of avocado salsa. But when you taste it you will first feel a subtle hint of roasted garlic and then instantly the heat of the jalapeños will take over your senses. It feels like a heatwave just blew through your mouth.
The good part about the recipe that you're about to read is that you can dictate the heat level by controlling the quantity of the seeds and the white membrane inside the jalapeños. If it still comes out too spicy for your taste you can cut the heat by using sour cream or heavy cream. I know Tacodeli doesn't use any of that (theirs is vegan), but if you have no problems with dairy, feel free to add a bit anyway. It will make the salsa's texture even smoother.
I personally like spicy food. My dad always had fresh, dried or pickled hot peppers at home and he would use them in every dish he ate. He would cut a few slices into his chicken noodle soup, which I found pretty weird at first, but over time I started to copy him, trying to build up to his amount of peppers.

In about a month I will be taking a trip to Hungary for a conference. My sister still lives there and, although my parents live in Romania, we usually all meet in Budapest. When I asked my dad what to bring him, the first request he had was jalapeños. My dad is at the age where he finds relaxation in gardening, watching cooking, fishing and hunting TV shows. He doesn't want to get all pumped up by watching news about corruption, politics, scandals and all that jazz, so he switched over to more pleasant activities. He now spends his evening growing vegetables in my grandmother's garden.

My dad has an impressive collection of hot peppers from all over the world. He just loves to grow them and gets really serious about it. He nurses the seeds indoors, then takes the seedlings out in the garden. He even drilled a water well and build an irrigation system for his garden. He sometimes even Skypes me in the middle of the night asking me to explain why his water pump doesn't work, like I am some sort of a water pump expert.
This Doña salsa variation of mine is pretty similar in taste to the Tacodeli one. The texture is slightly different, but mostly because I didn't emulsify the sauce for long enough and with as much oil and because I like my salsas on the chunkier side, and not on the completely smooth side.

I'm sure that Tacodeli's salsa doesn't have as much lime juice and cumin as mine, and no cilantro and sour cream at all, but these are twists that make it more to my liking. I hope you enjoy it as much as I do!
Fiery Jalapeño Salsa
Yields 1 cup
Cook time: 15 minutes
Total time: 45 minutes
Ingredients
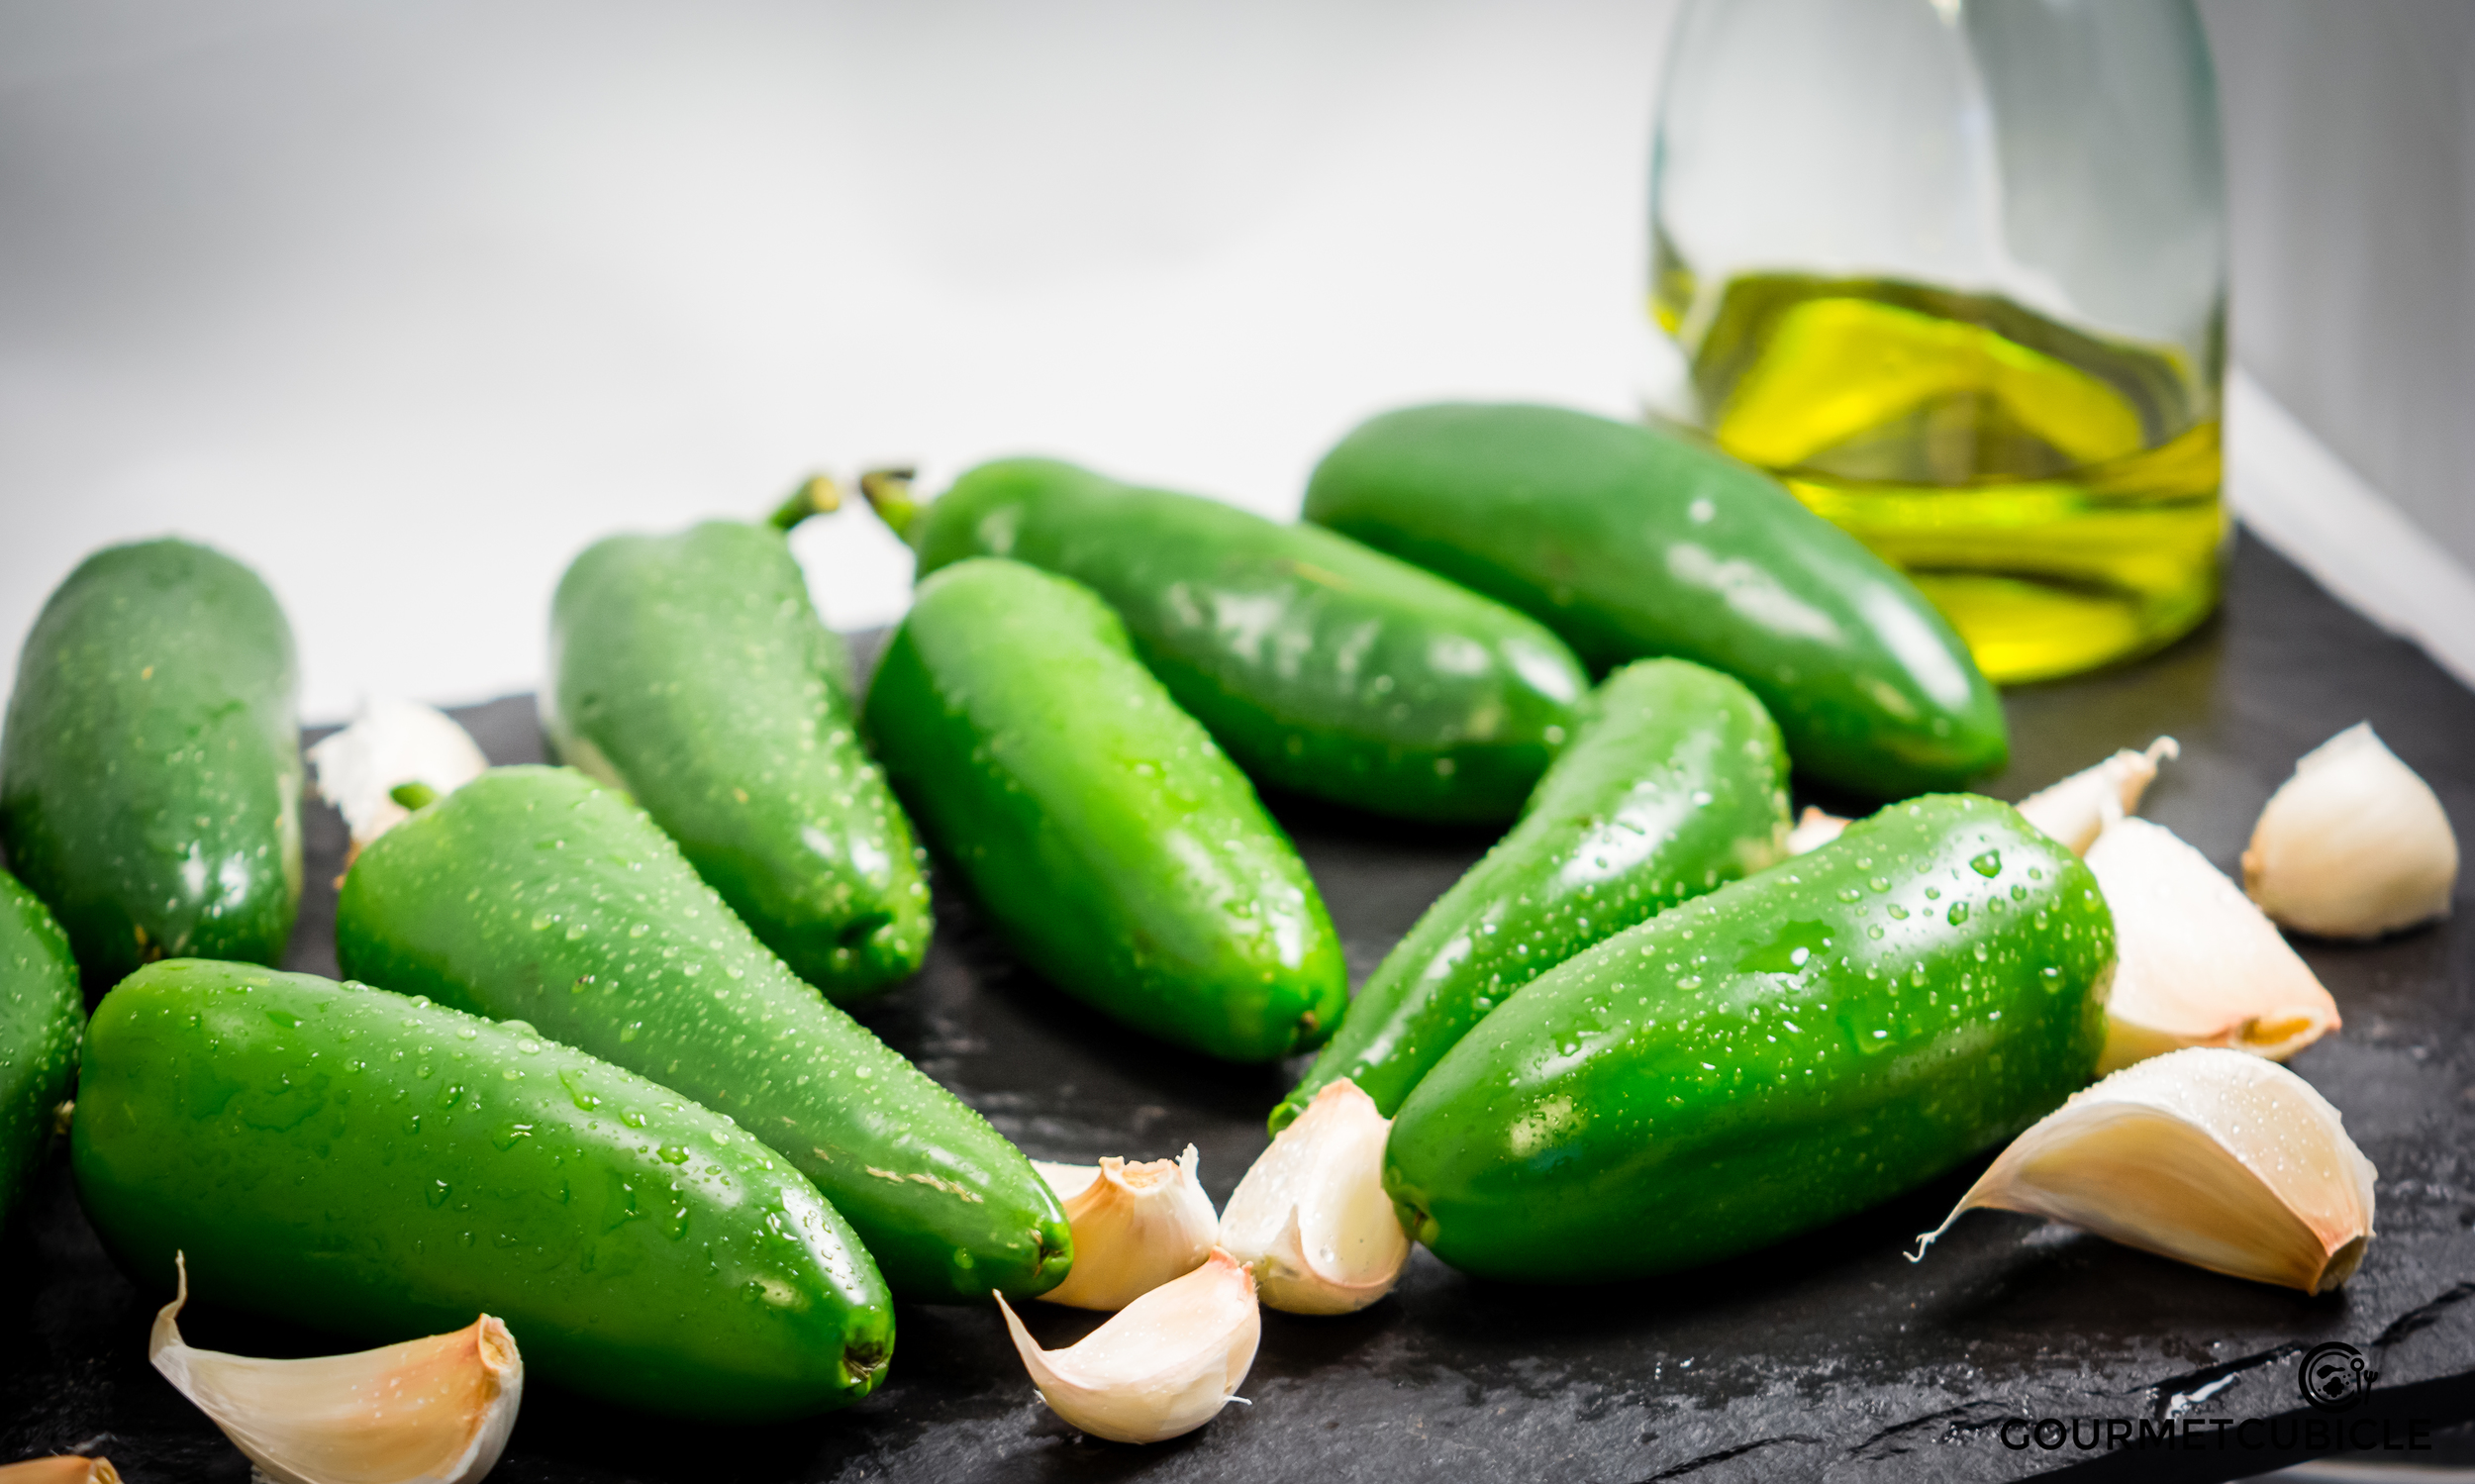
- 1 pound jalapeño
- 1 bulb garlic
- 2 tsp olive oil
- 1/2 tsp kosher salt
- 1/4 cup lukewarm water
- 1 medium lime, juiced
- 1 tsp black pepper, freshly ground
- 1/2 tsp cumin
- 1/2 cup olive oil (or peanut or mix of both)
- 2 TBS sour cream, optional
- 1/4 cup finely chopped cilantro
- salt, to taste
INSTRUCTIONS
- Wash jalapeño peppers, pat them dry and then put them in a medium bowl. Break up bulb of garlic by hitting the top of it with the heel of your hand. Toss the garlic cloves into the bowl of jalapeños and lightly sprinkle with olive oil and a pinch of salt.
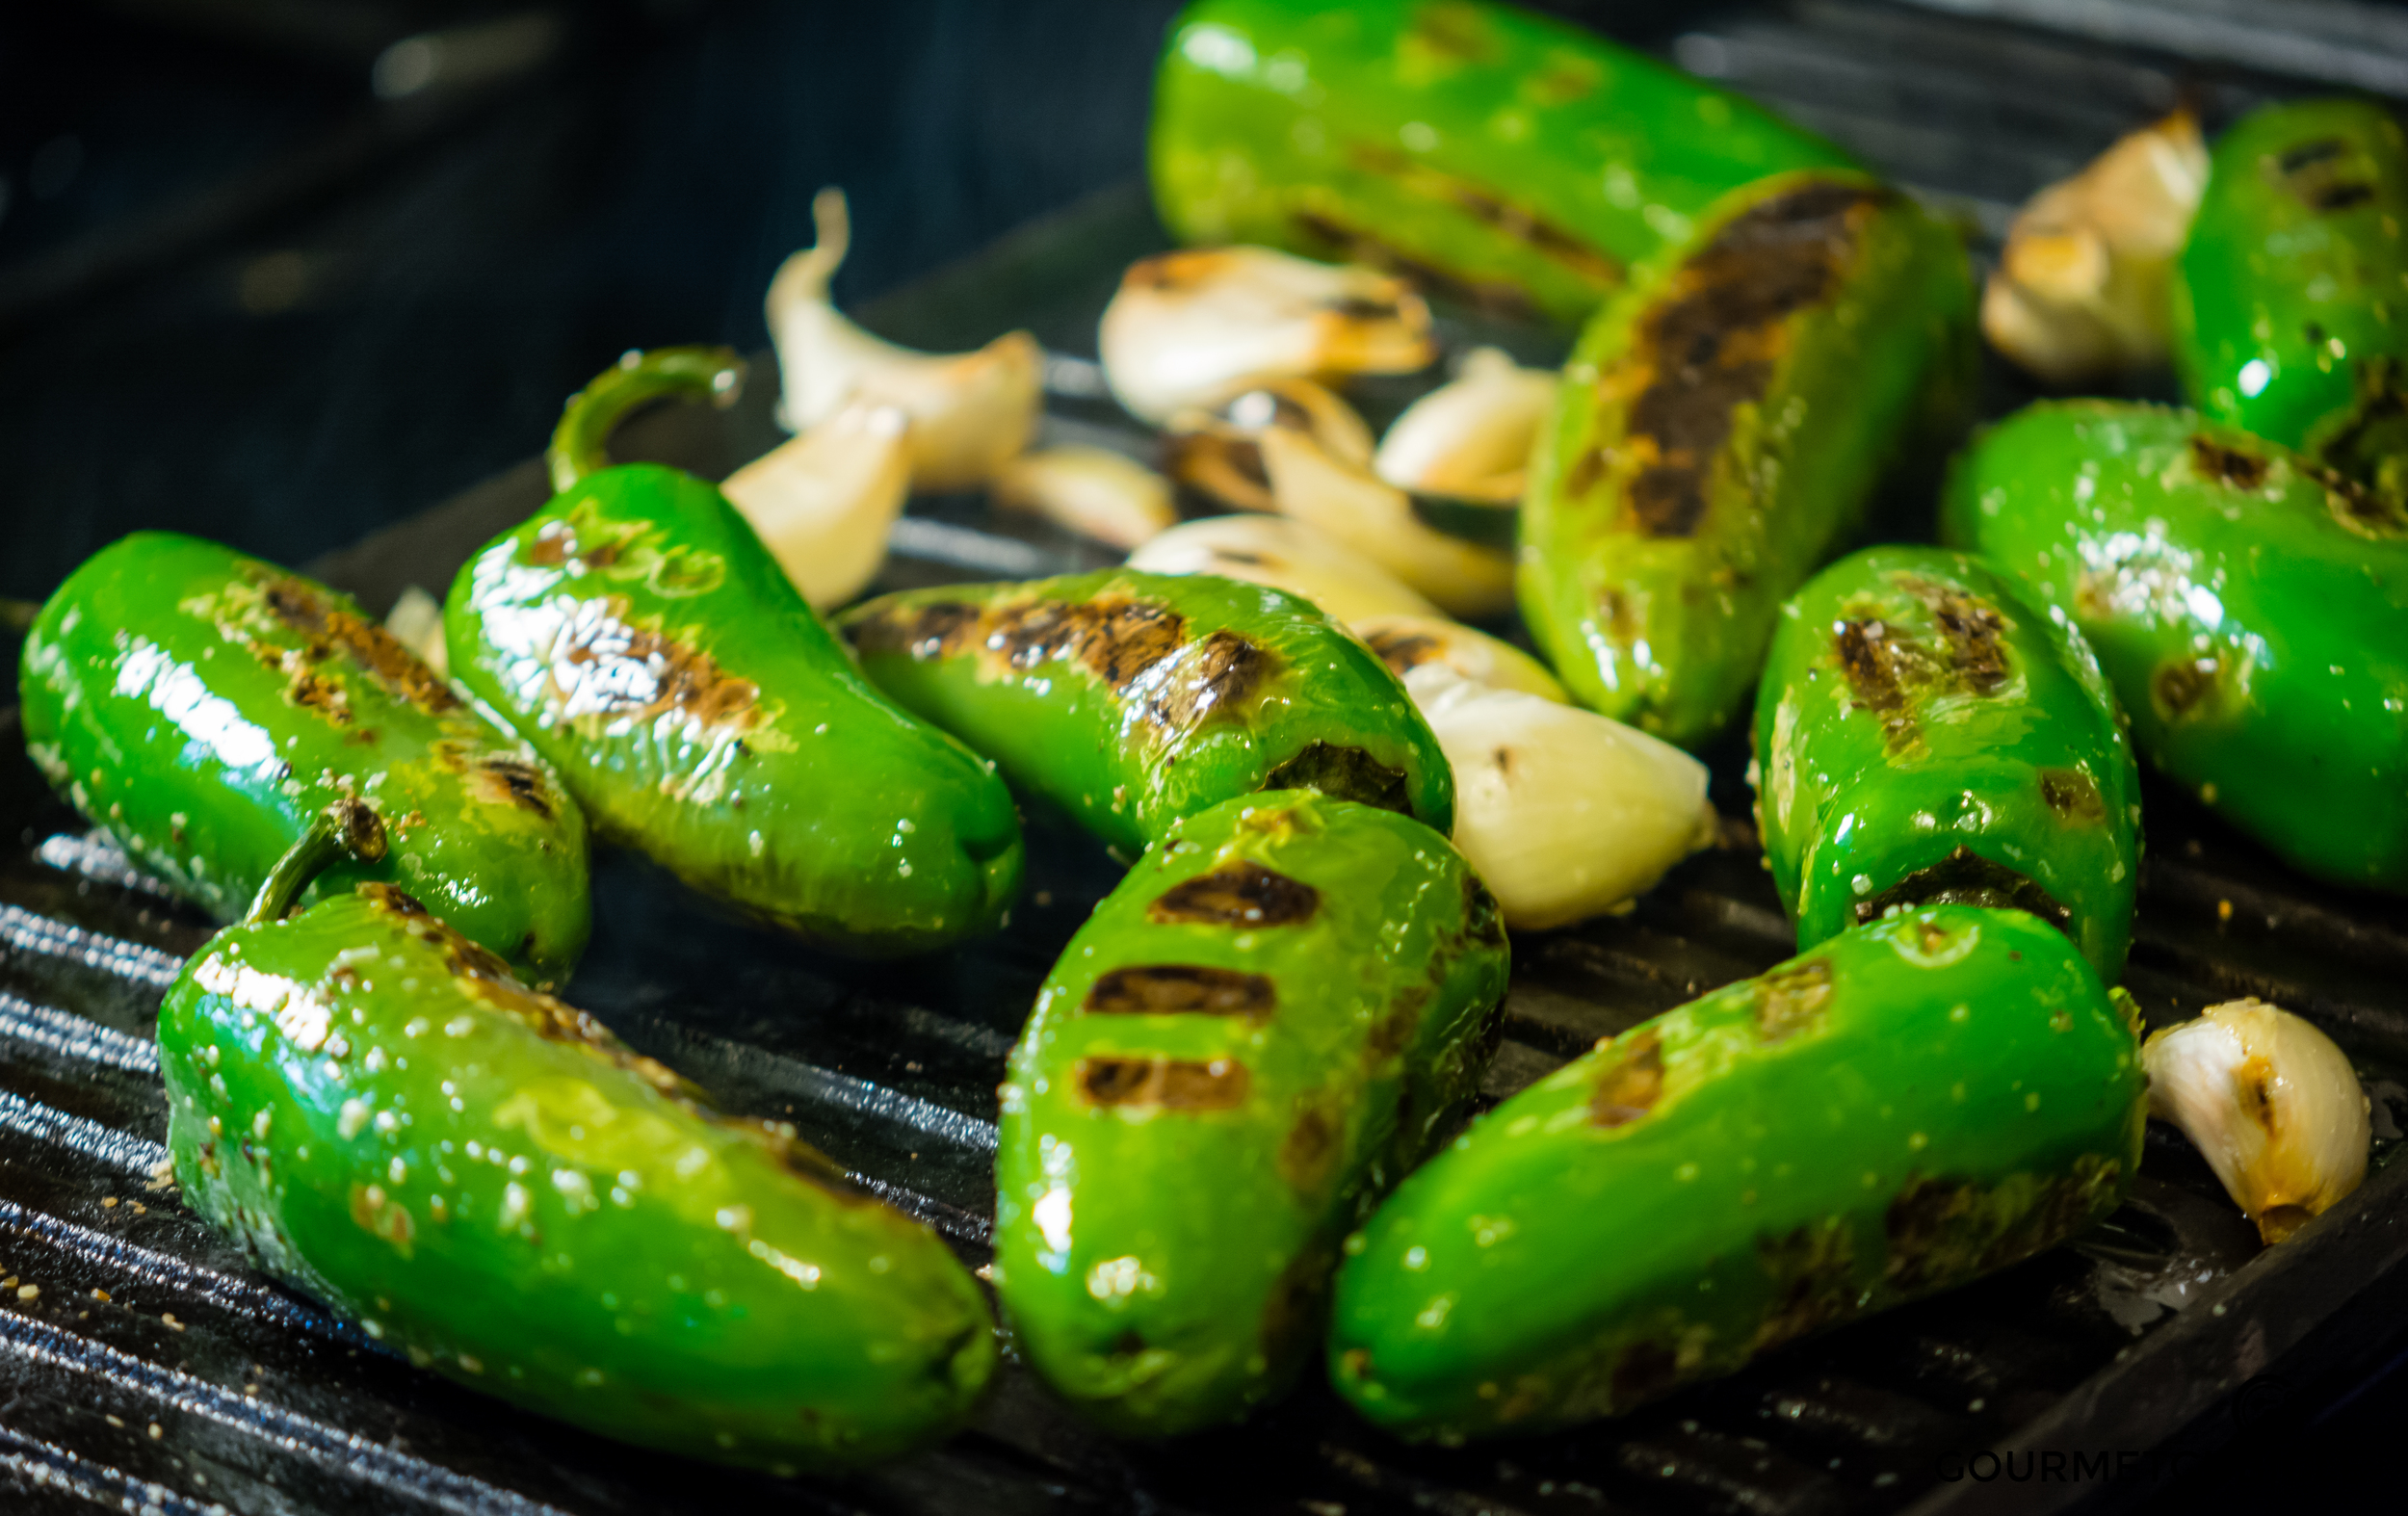
- Heat up your grill to medium. If using a stove-top cast iron grill, you need not worry about the garlic falling in between the racks. In case you're using an outdoors grill, use a layer of tin foil to prevent that from happening. Place the garlic on the colder side of the grill to avoid them from burning. Burned garlic tastes bitter.
- Grill jalapeños until they are blistered and charred, about 15-20 minutes, turning them occasionally. The grilling time will vary based on the size of the peppers. Same rule applies for the garlic cloves- the smaller ones will cook faster.
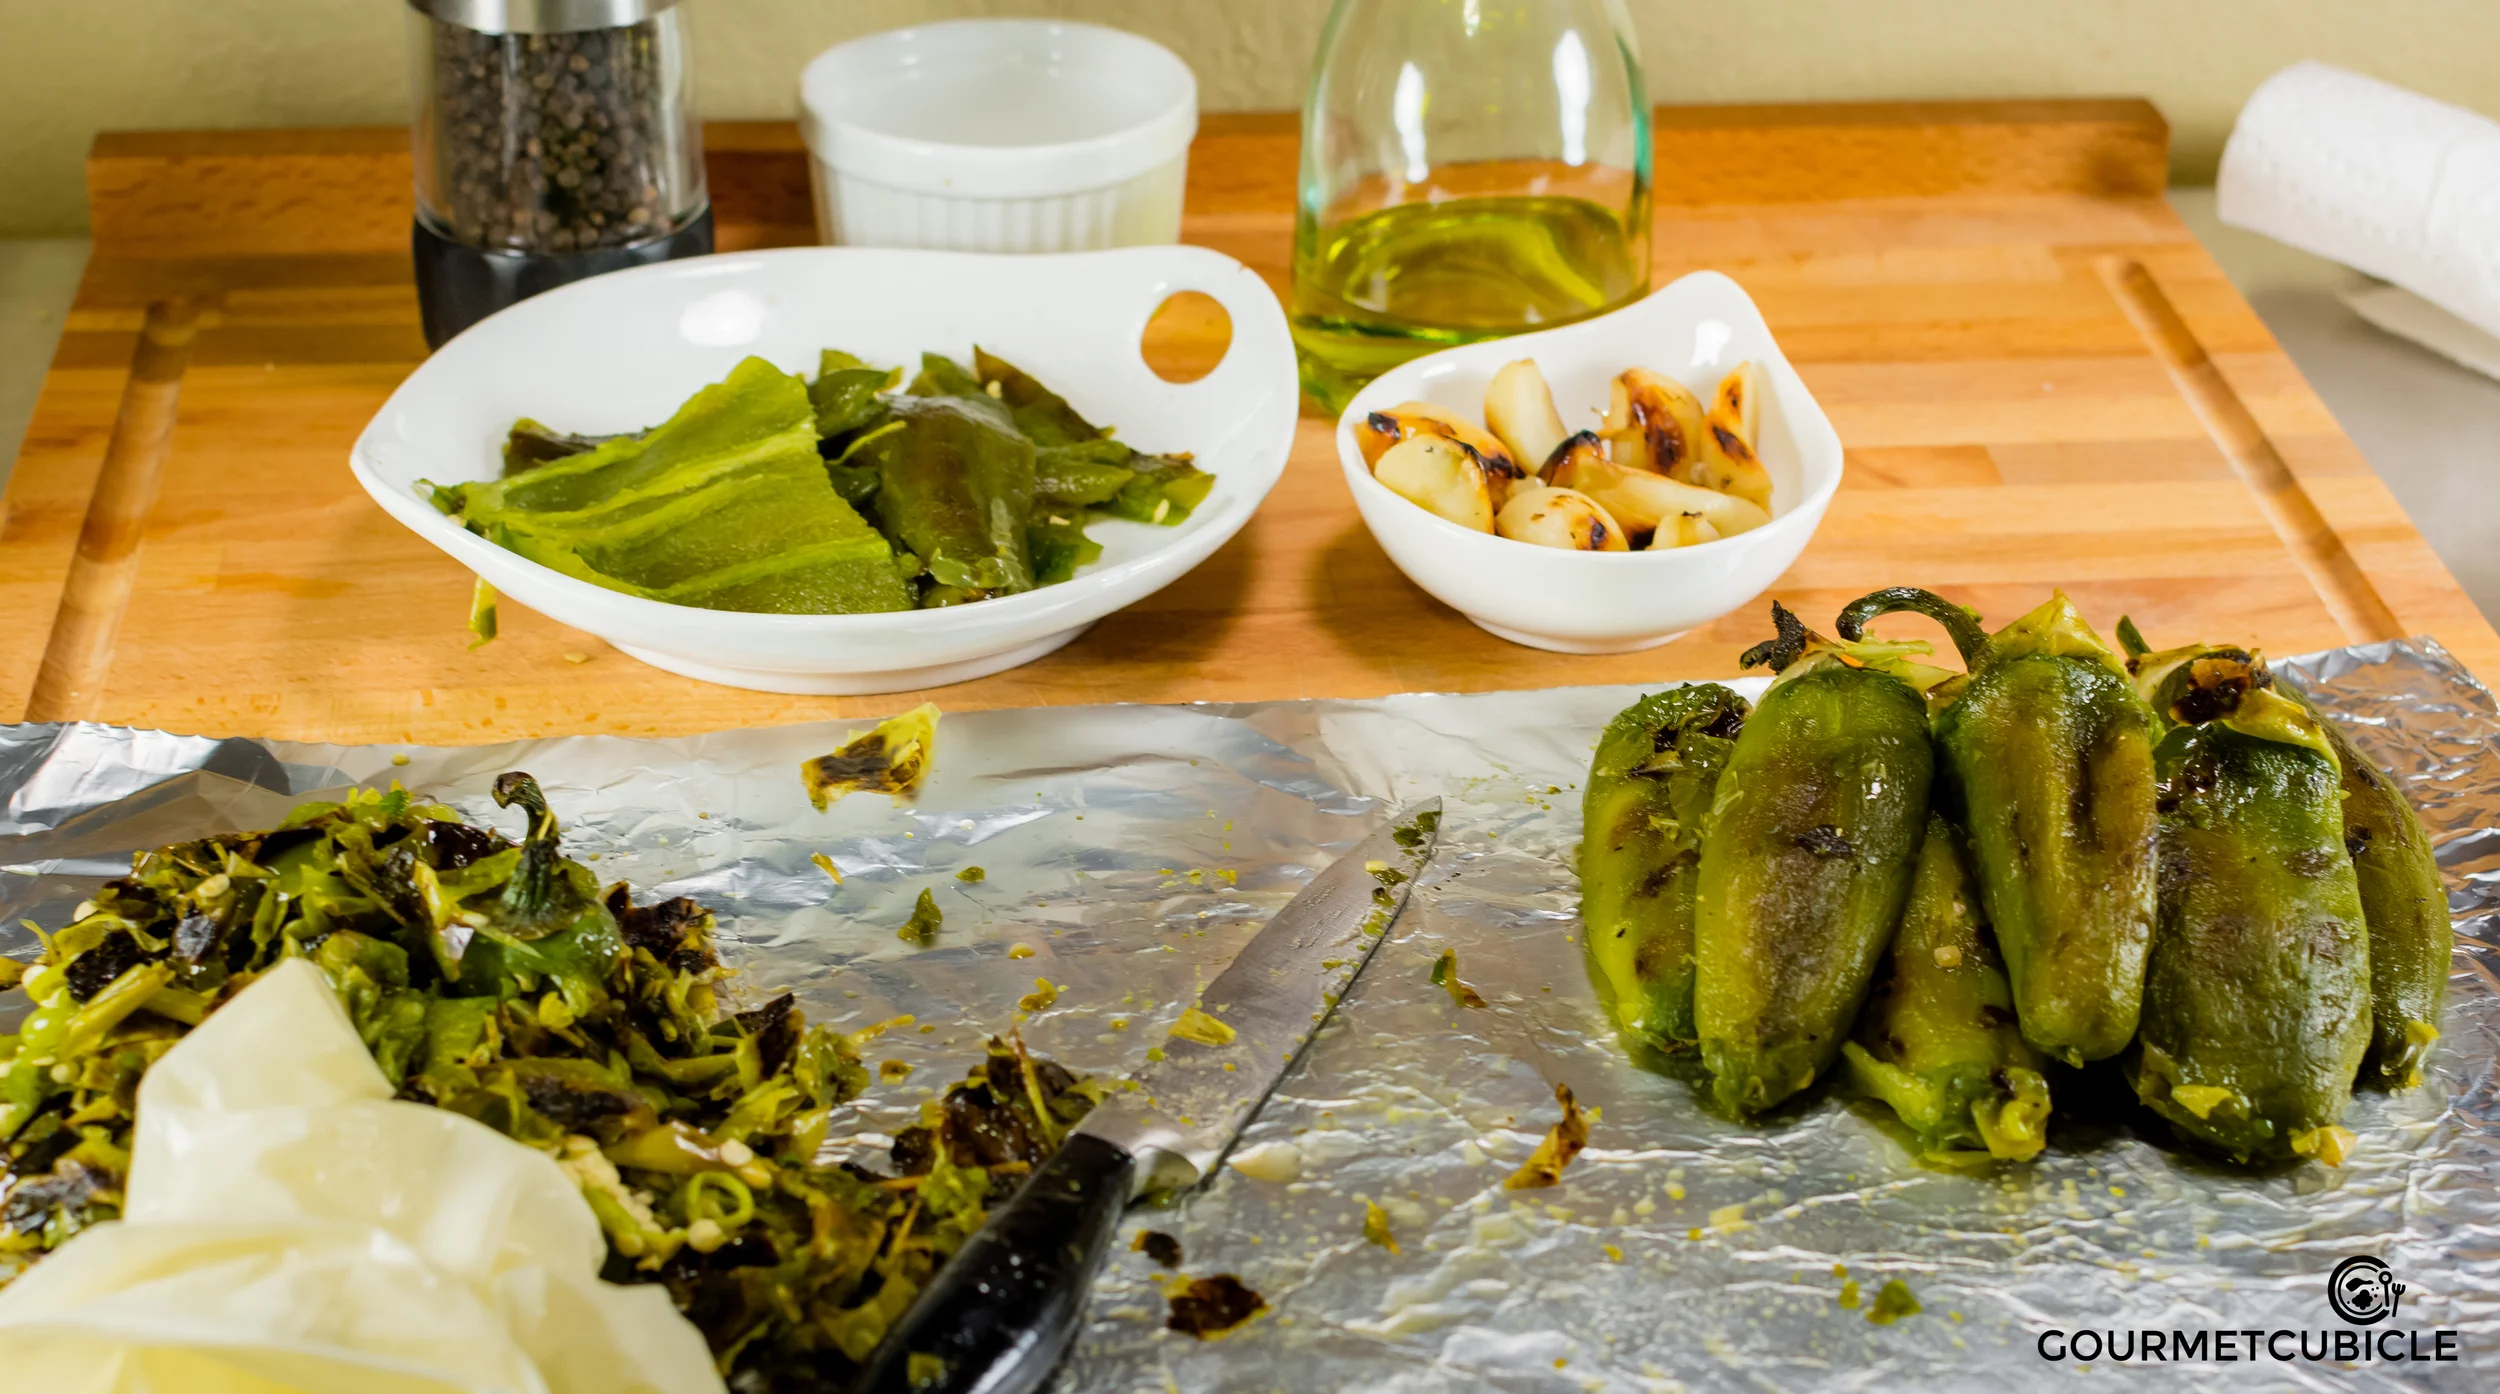
- Remove the vegetables from the grill starting with the garlic. The garlic should be soft when pierced with a knife. Set the garlic aside. Place the jalapeños in a container and cover for about 10 minutes. This will make your life easier when peeling them.
- In the meantime, peel the grilled garlic and place the cloves into a food processor.
- Start peeling the jalapeños, removing the skins with a knife. Use gloves. Trust me, you don't want to touch any part of your body after peeling jalapeños with your barehands. I learned it the hard way.
- Remove the seeds and the white membrane that holds the seeds (placental tissue). If you like it really spicy leave a few in the mix.
- Toss the peppers into the food processor along with the garlic. Add water, lime juice, salt, pepper and cumin and pulse. Slowly add oil to emulsify until the salsa becomes creamy and smooth.
- Add sour cream for extra creaminess. I use more sour cream when the salsa comes out really hot and I want to cut the heat a bit. Sprinkle cilantro on top, or mix it in the salsa.
- Store the salsa in a jar in the fridge. The texture will change a bit when cooled, but you can fix that by adding a tablespoon of warm water and shaking