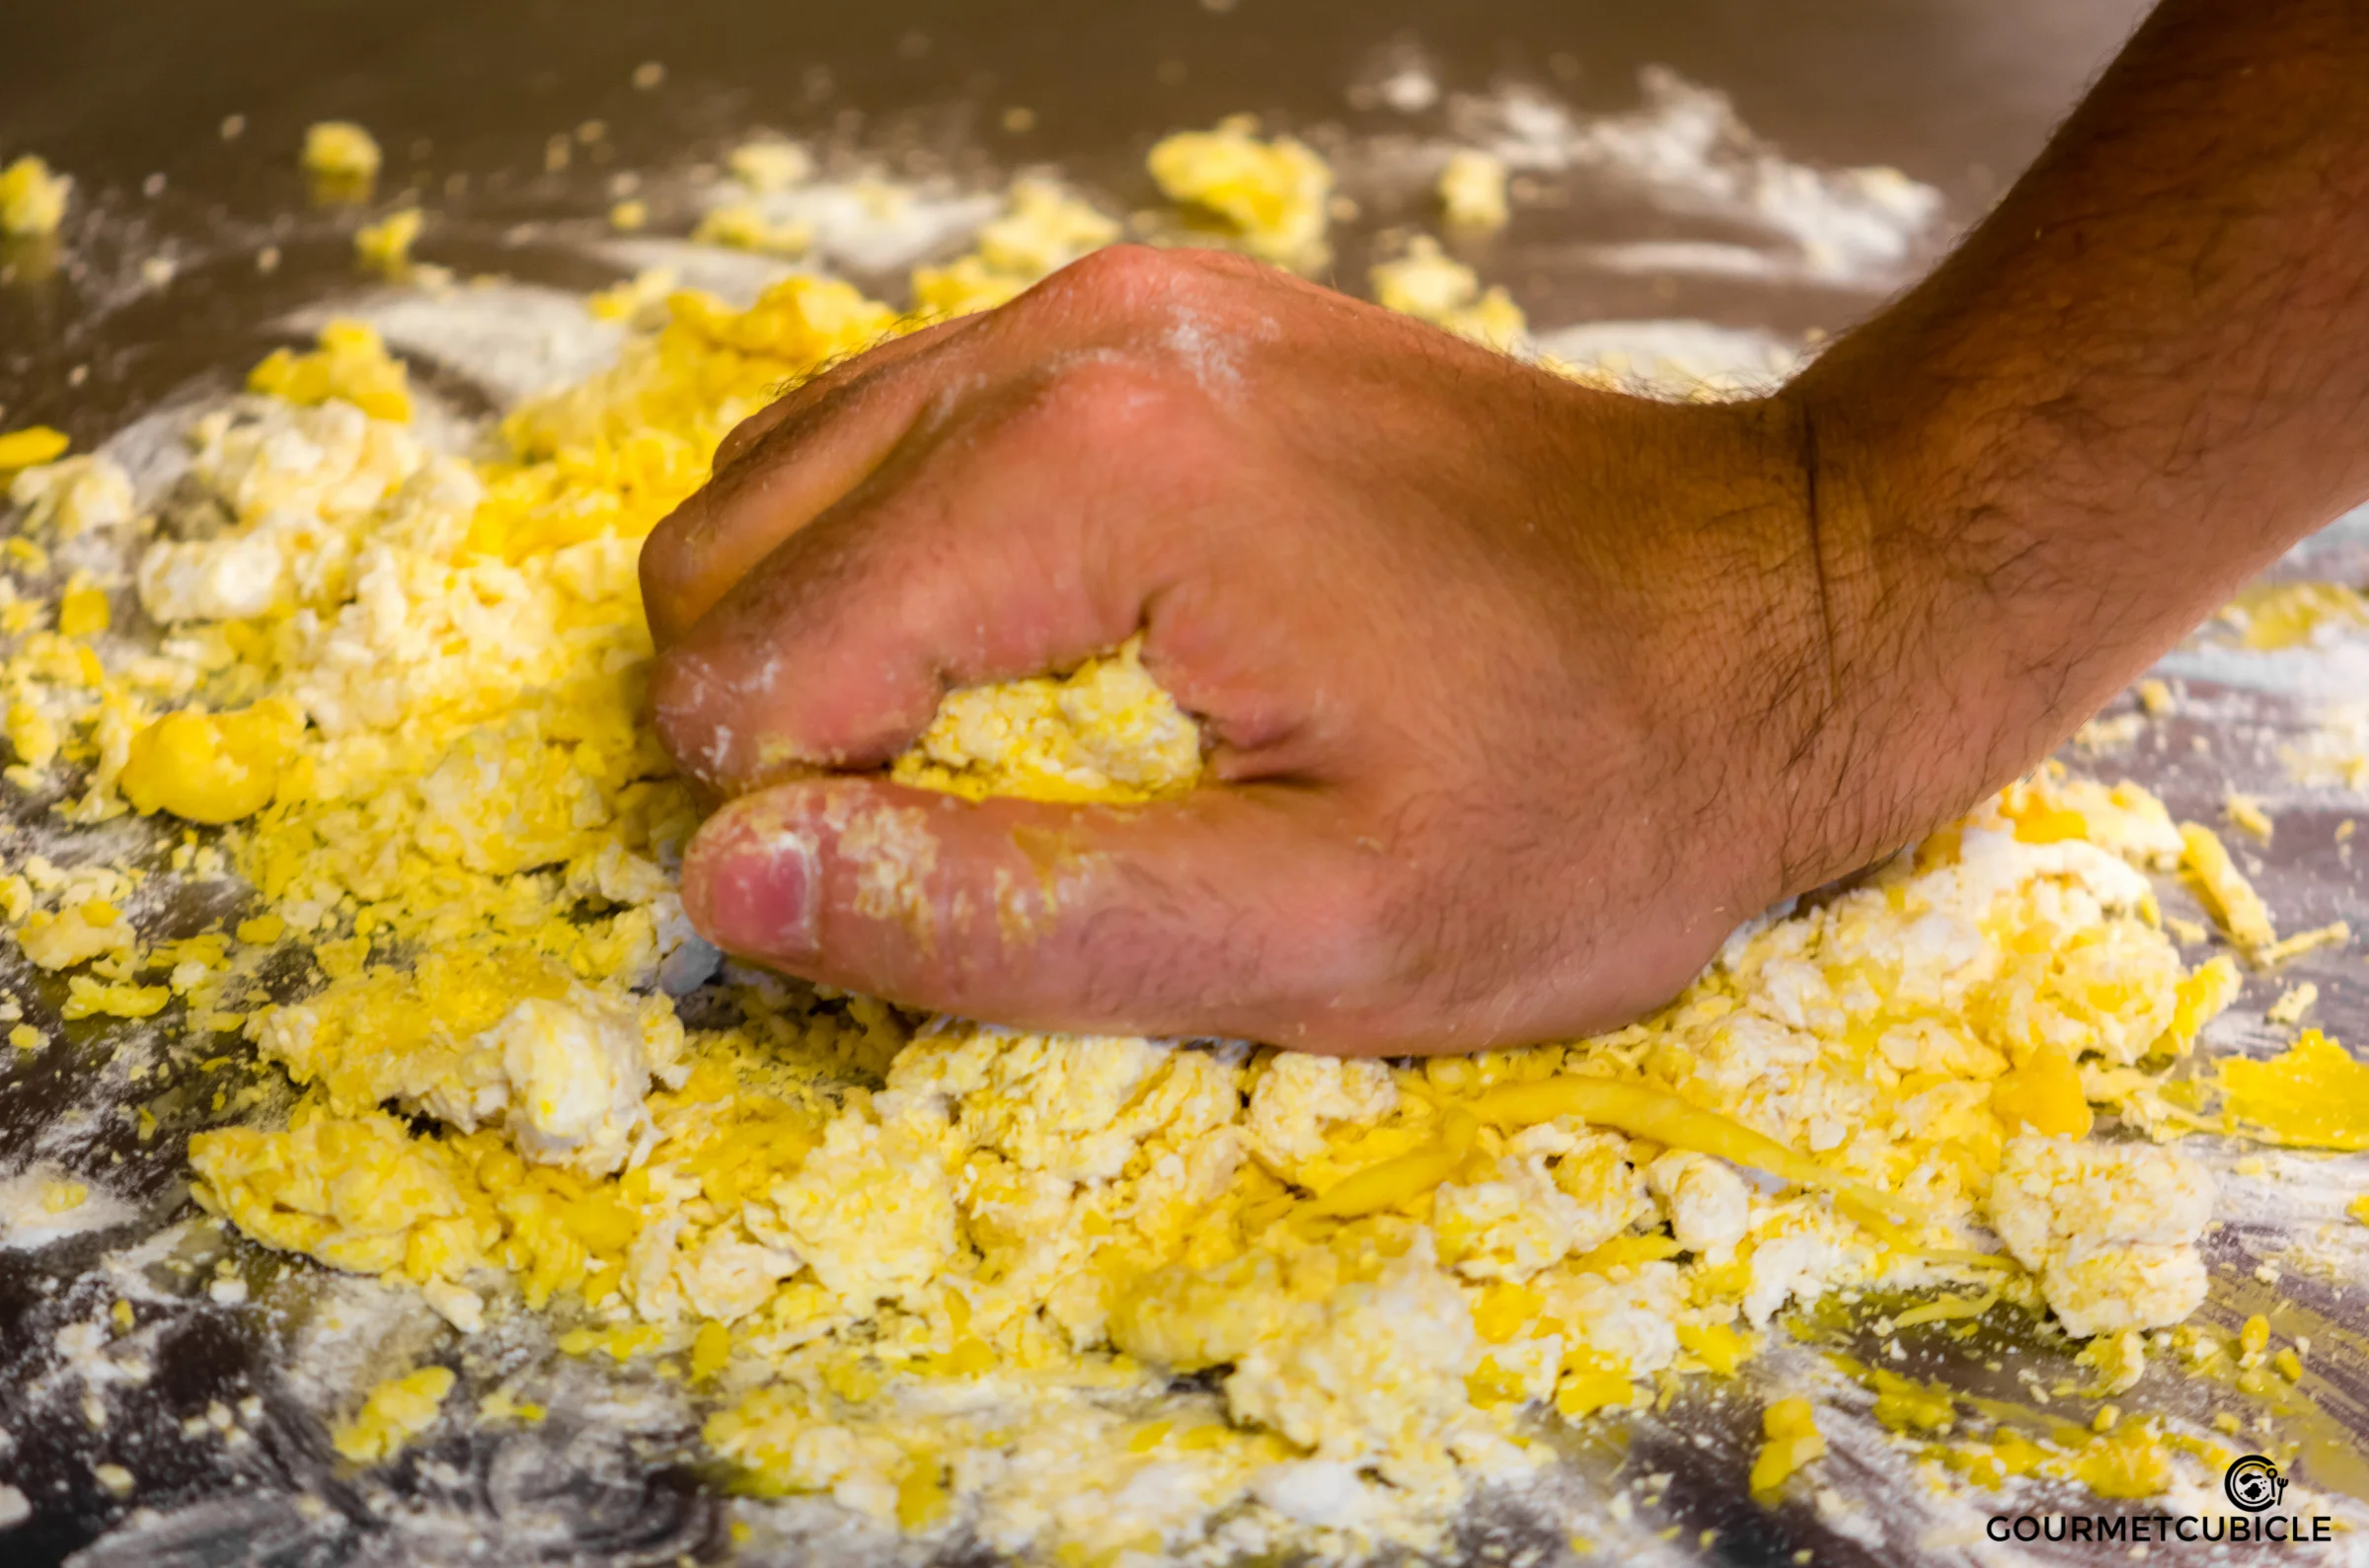
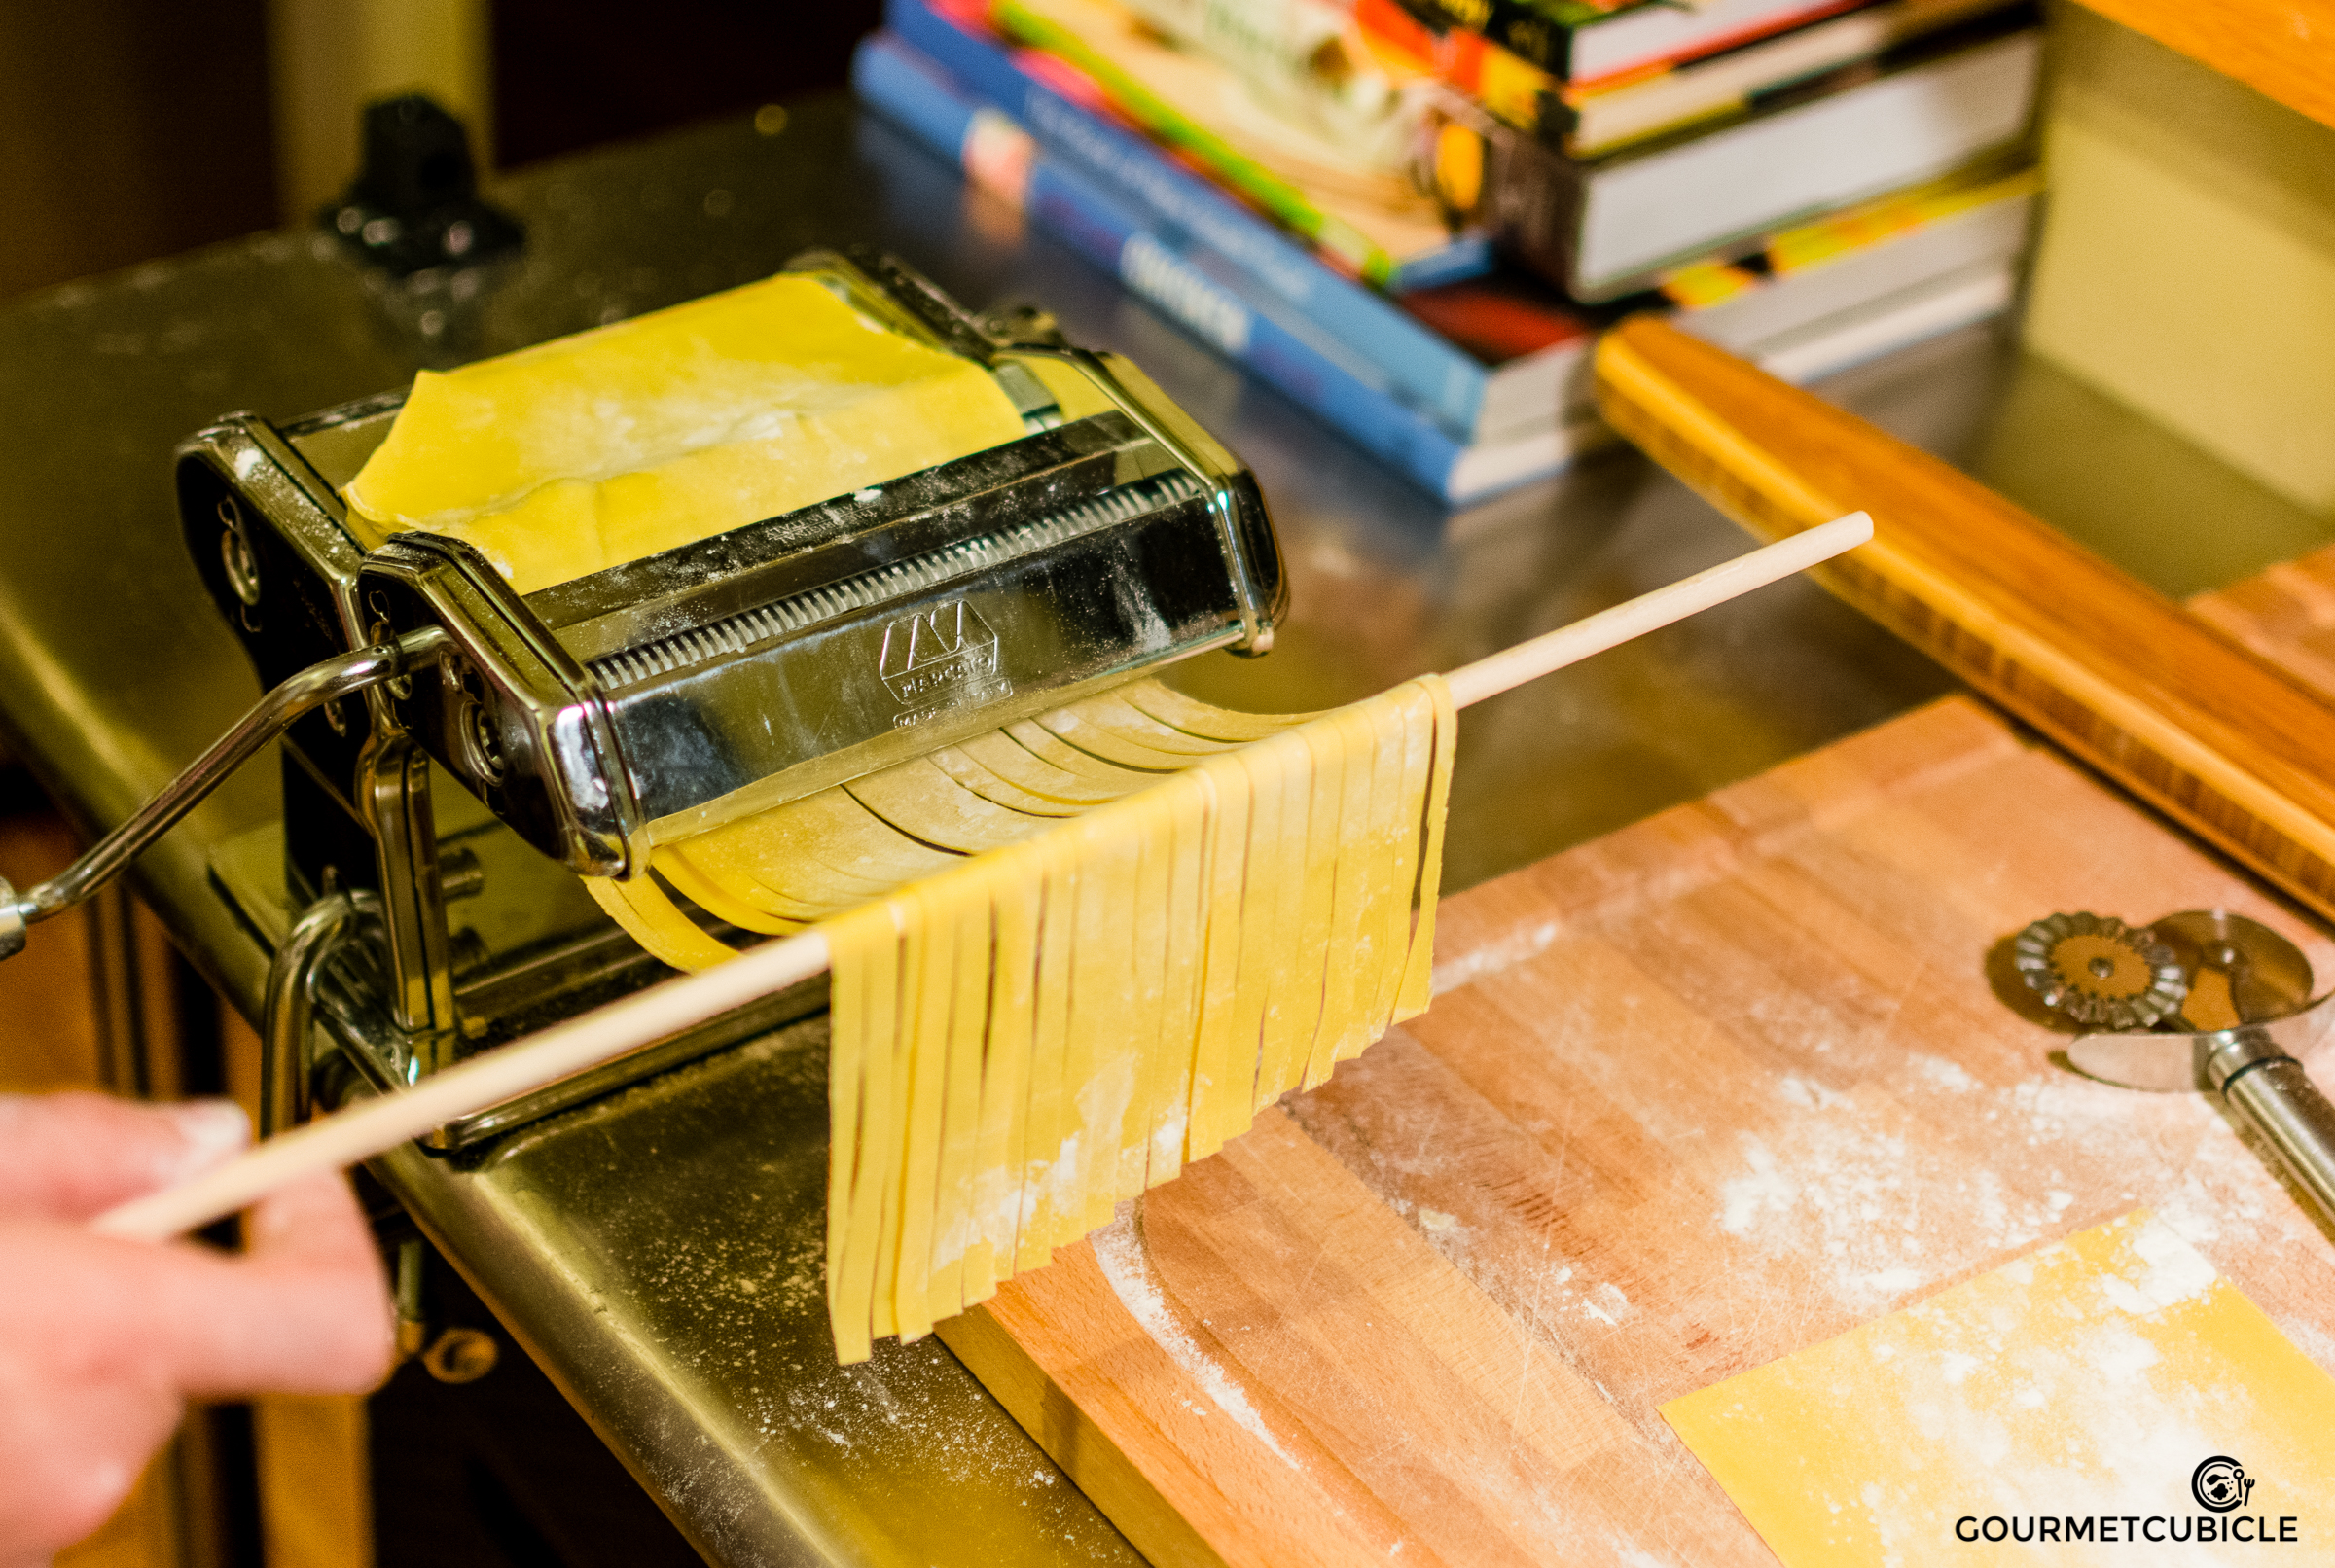
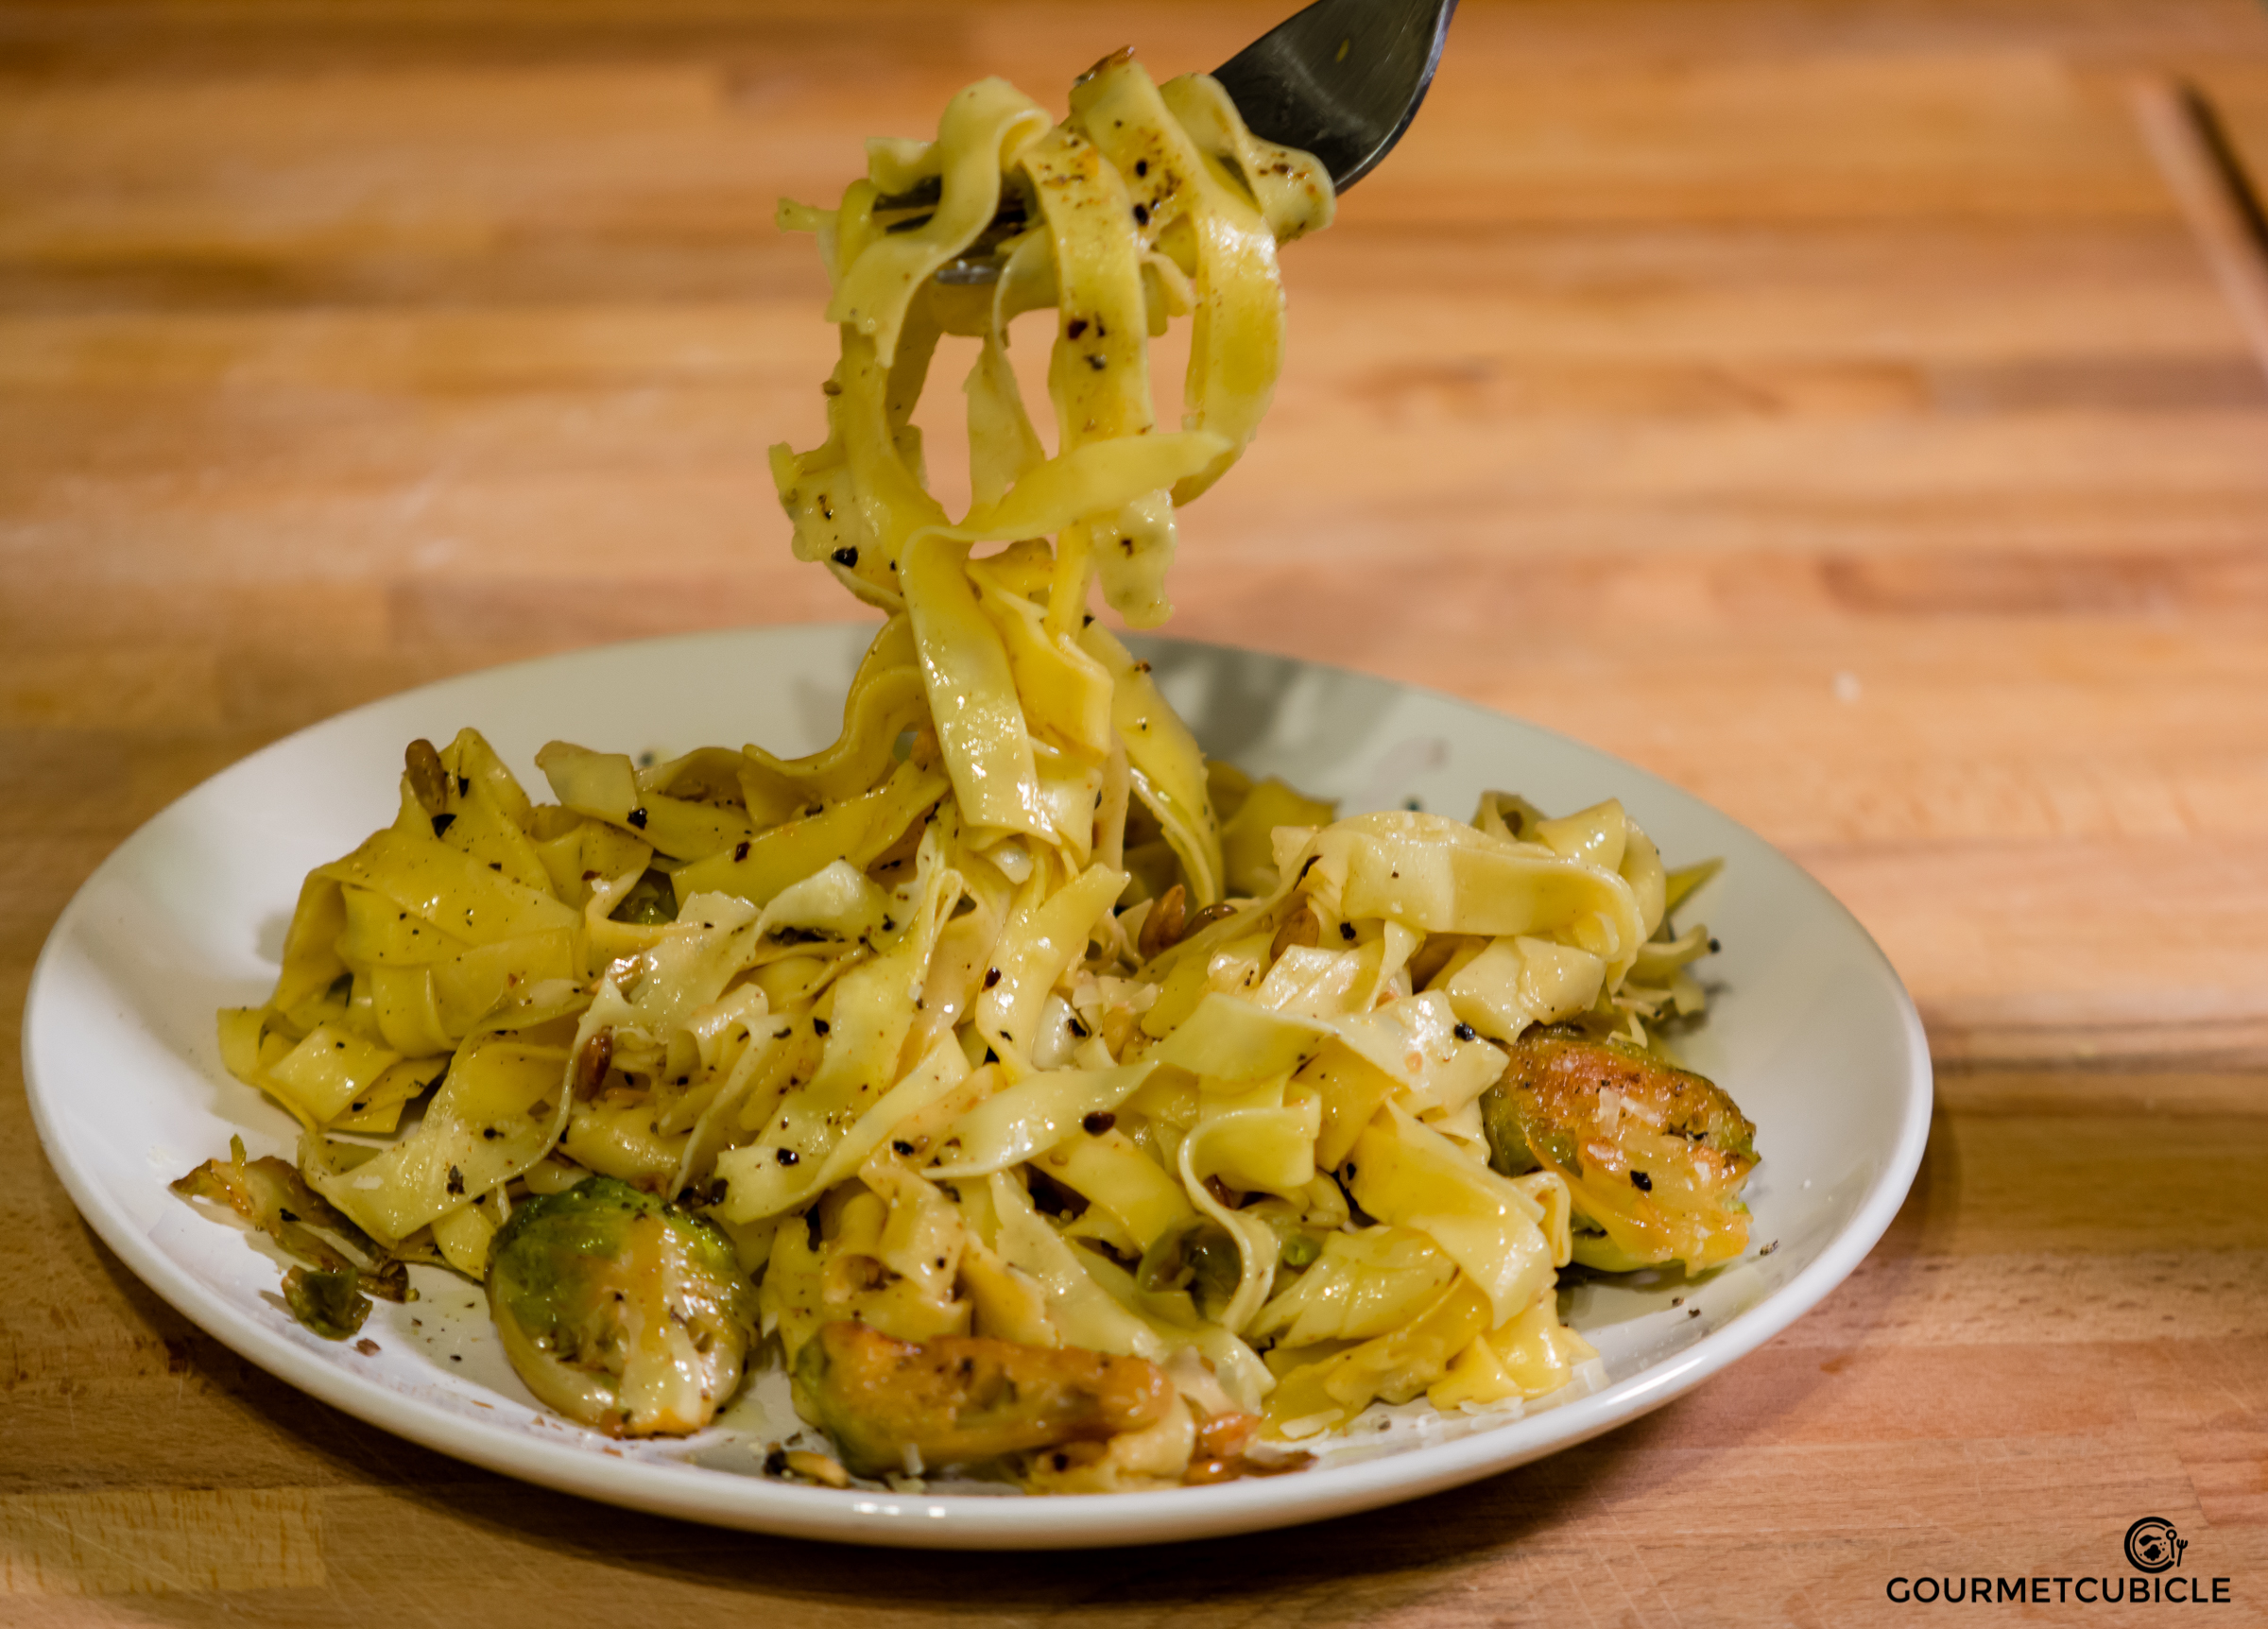
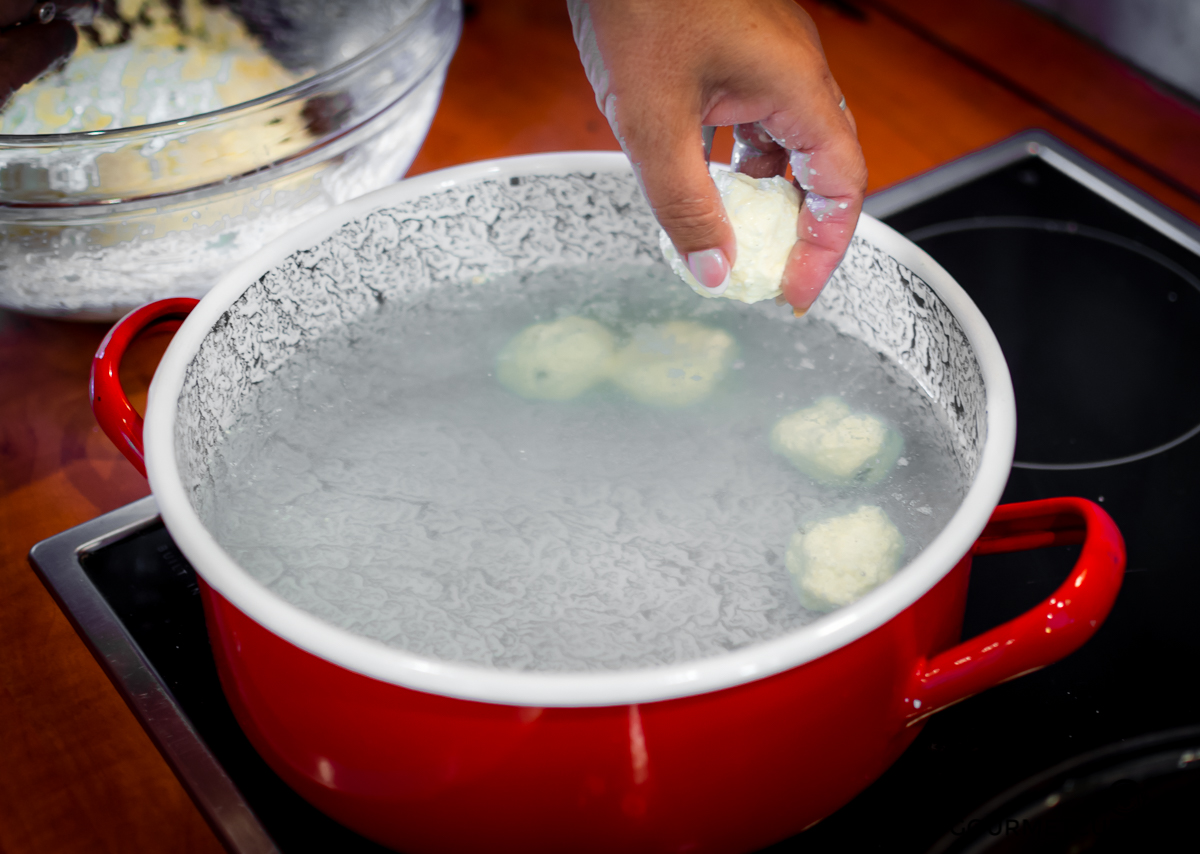
Vegetable Coconut Curry
A few weeks ago I was asked to participate in a curry cook-off fundraiser through which my dear friends Antonio and Nicole from Science in a Suitcase were raising money for volunteers to go on a trip to Dindigul, Tamil Nadu, India. Their organization sends engineer volunteers to third-world countries to expose children to science.

I got to know Nicole and Antonio through my job, but we really got to be friends when earlier this year I volunteered for them in Siem Riep, Cambodia teaching elementary school kids Lego Robotics. I spent three days at a local school teaching with legos and building cool stuff like motorized tuk-tuks and boats with a group of super shy yet creative kids. Even though it was exhausting spending 8-10 hours in a hot classroom with no A/C, it was so rewarding. It felt so good to share my passion for science and engineering with such a bright and eager group--they even came to school on a Saturday just so they could spend an extra day learning from me. Education isn't a given in that part of the world, and children don't take it for granted like is often the case here at home.
The trip to Cambodia wasn't work-related though. Everything was organized by my amazing girlfriend Roni, who singlehandedly made all the arrangements to make sure we had a great time there. I haven't mentioned it yet here, but Roni has a social business called krama wheel that empowers women in Cambodia to work from home and help kids get access to education: for each handmade scarf or beach throw sold she donates a school uniform to a child in need.
If you aren't familiar with recent Cambodian history, in the late 70's during the Khmer Rouge regime under the leadership of Pol Pot, over 25% (2-3 million out of 8 million people) of Cambodia's population was executed or died in forced labor camps due to strenuous working conditions, malnutrition and lack of medical care. Most of the victims were intellectuals ranging from doctors to teachers. Pol Pot's idea was to create an agrarian socialist country where only peasants were needed. According to his calculation, to achieve this utopia he needed only one or two million people.
The effects of those horrible crimes are still noticeable in Cambodia. Literacy and education rates are low and poverty is peaking. On this trip I had the chance to experience what fuels Roni's drive to succeed with krama wheel. She took me to some of the most isolated villages in rural Cambodia where families cannot afford to send their children to school for various reasons, one common one being that they don't have the funds to buy school uniforms (which are mandatory), another being that families require their children to help in the fields to ensure a successful harvest to make ends meet.
I come from a poor country and lived under the communist regime of Ceausescu. I know what is it like to have meager food rations. I know what is it like to have no freedom of speech, to live in fear of the secret police agency (Securitatea). It was bad, but at least I had access to education. Education is what helped me be the person I am today. That's why I feel so strongly about education and wanting to help others in need. I truly feel that education is the most powerful tool for changing the world.
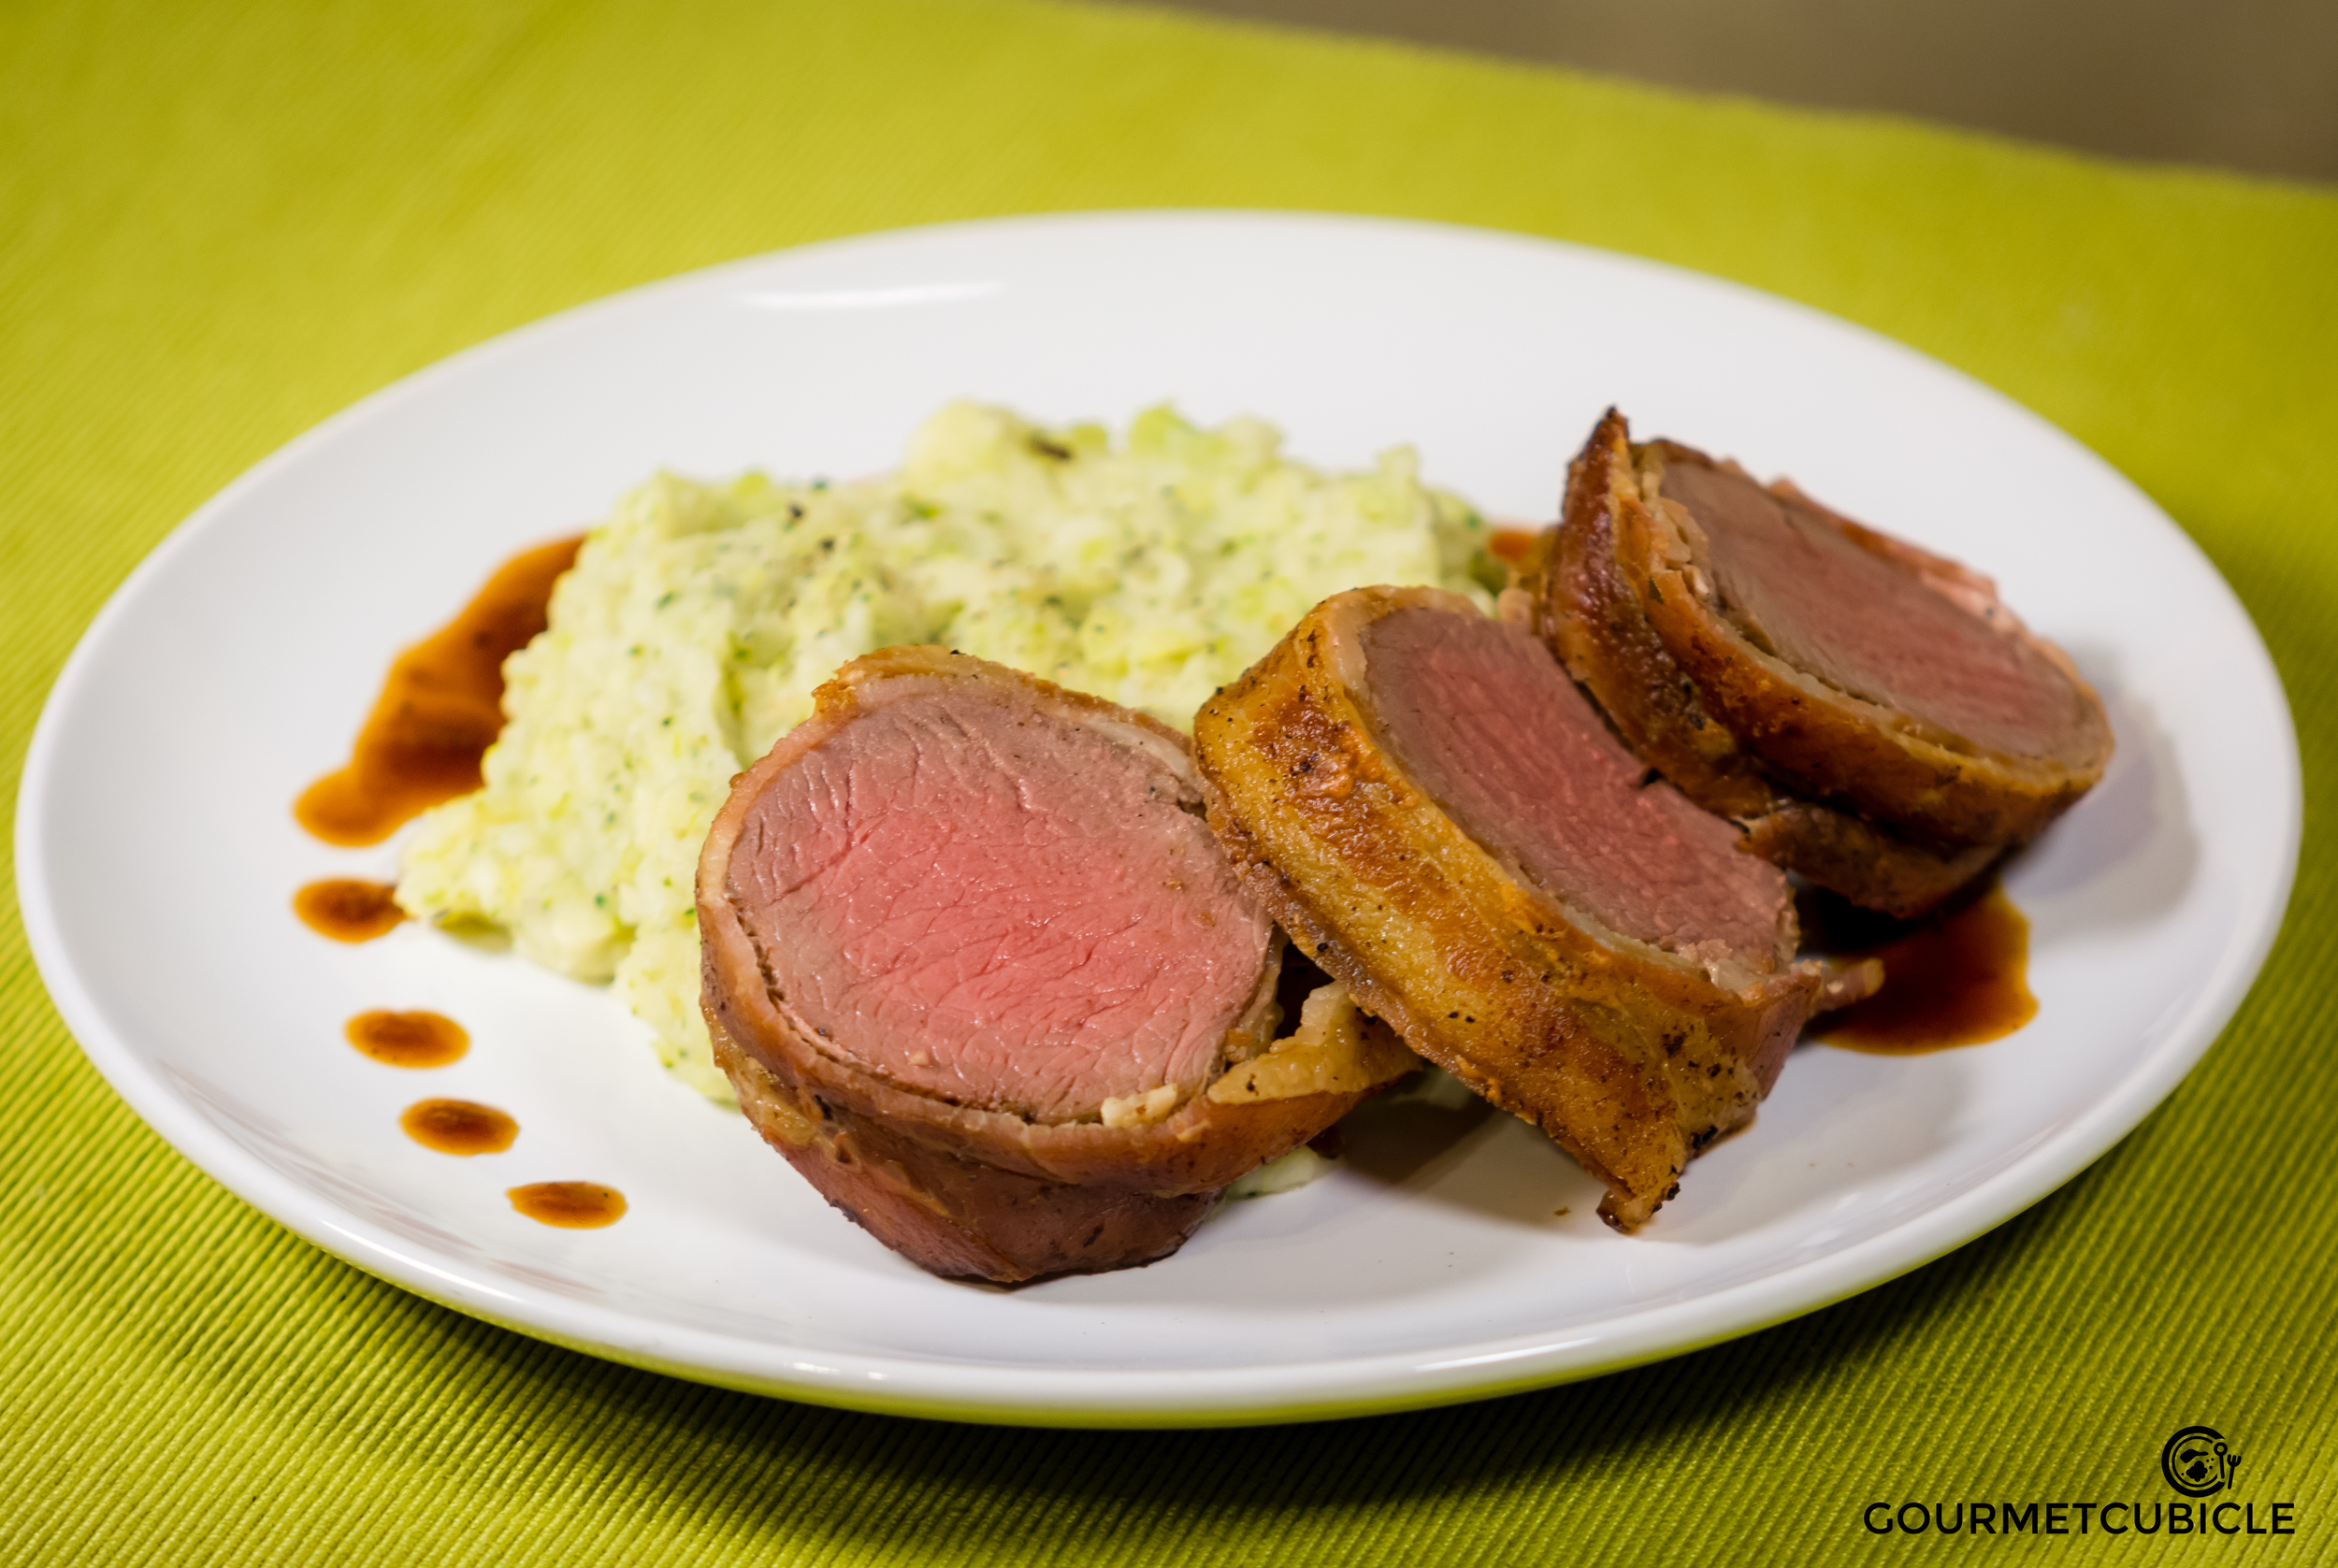
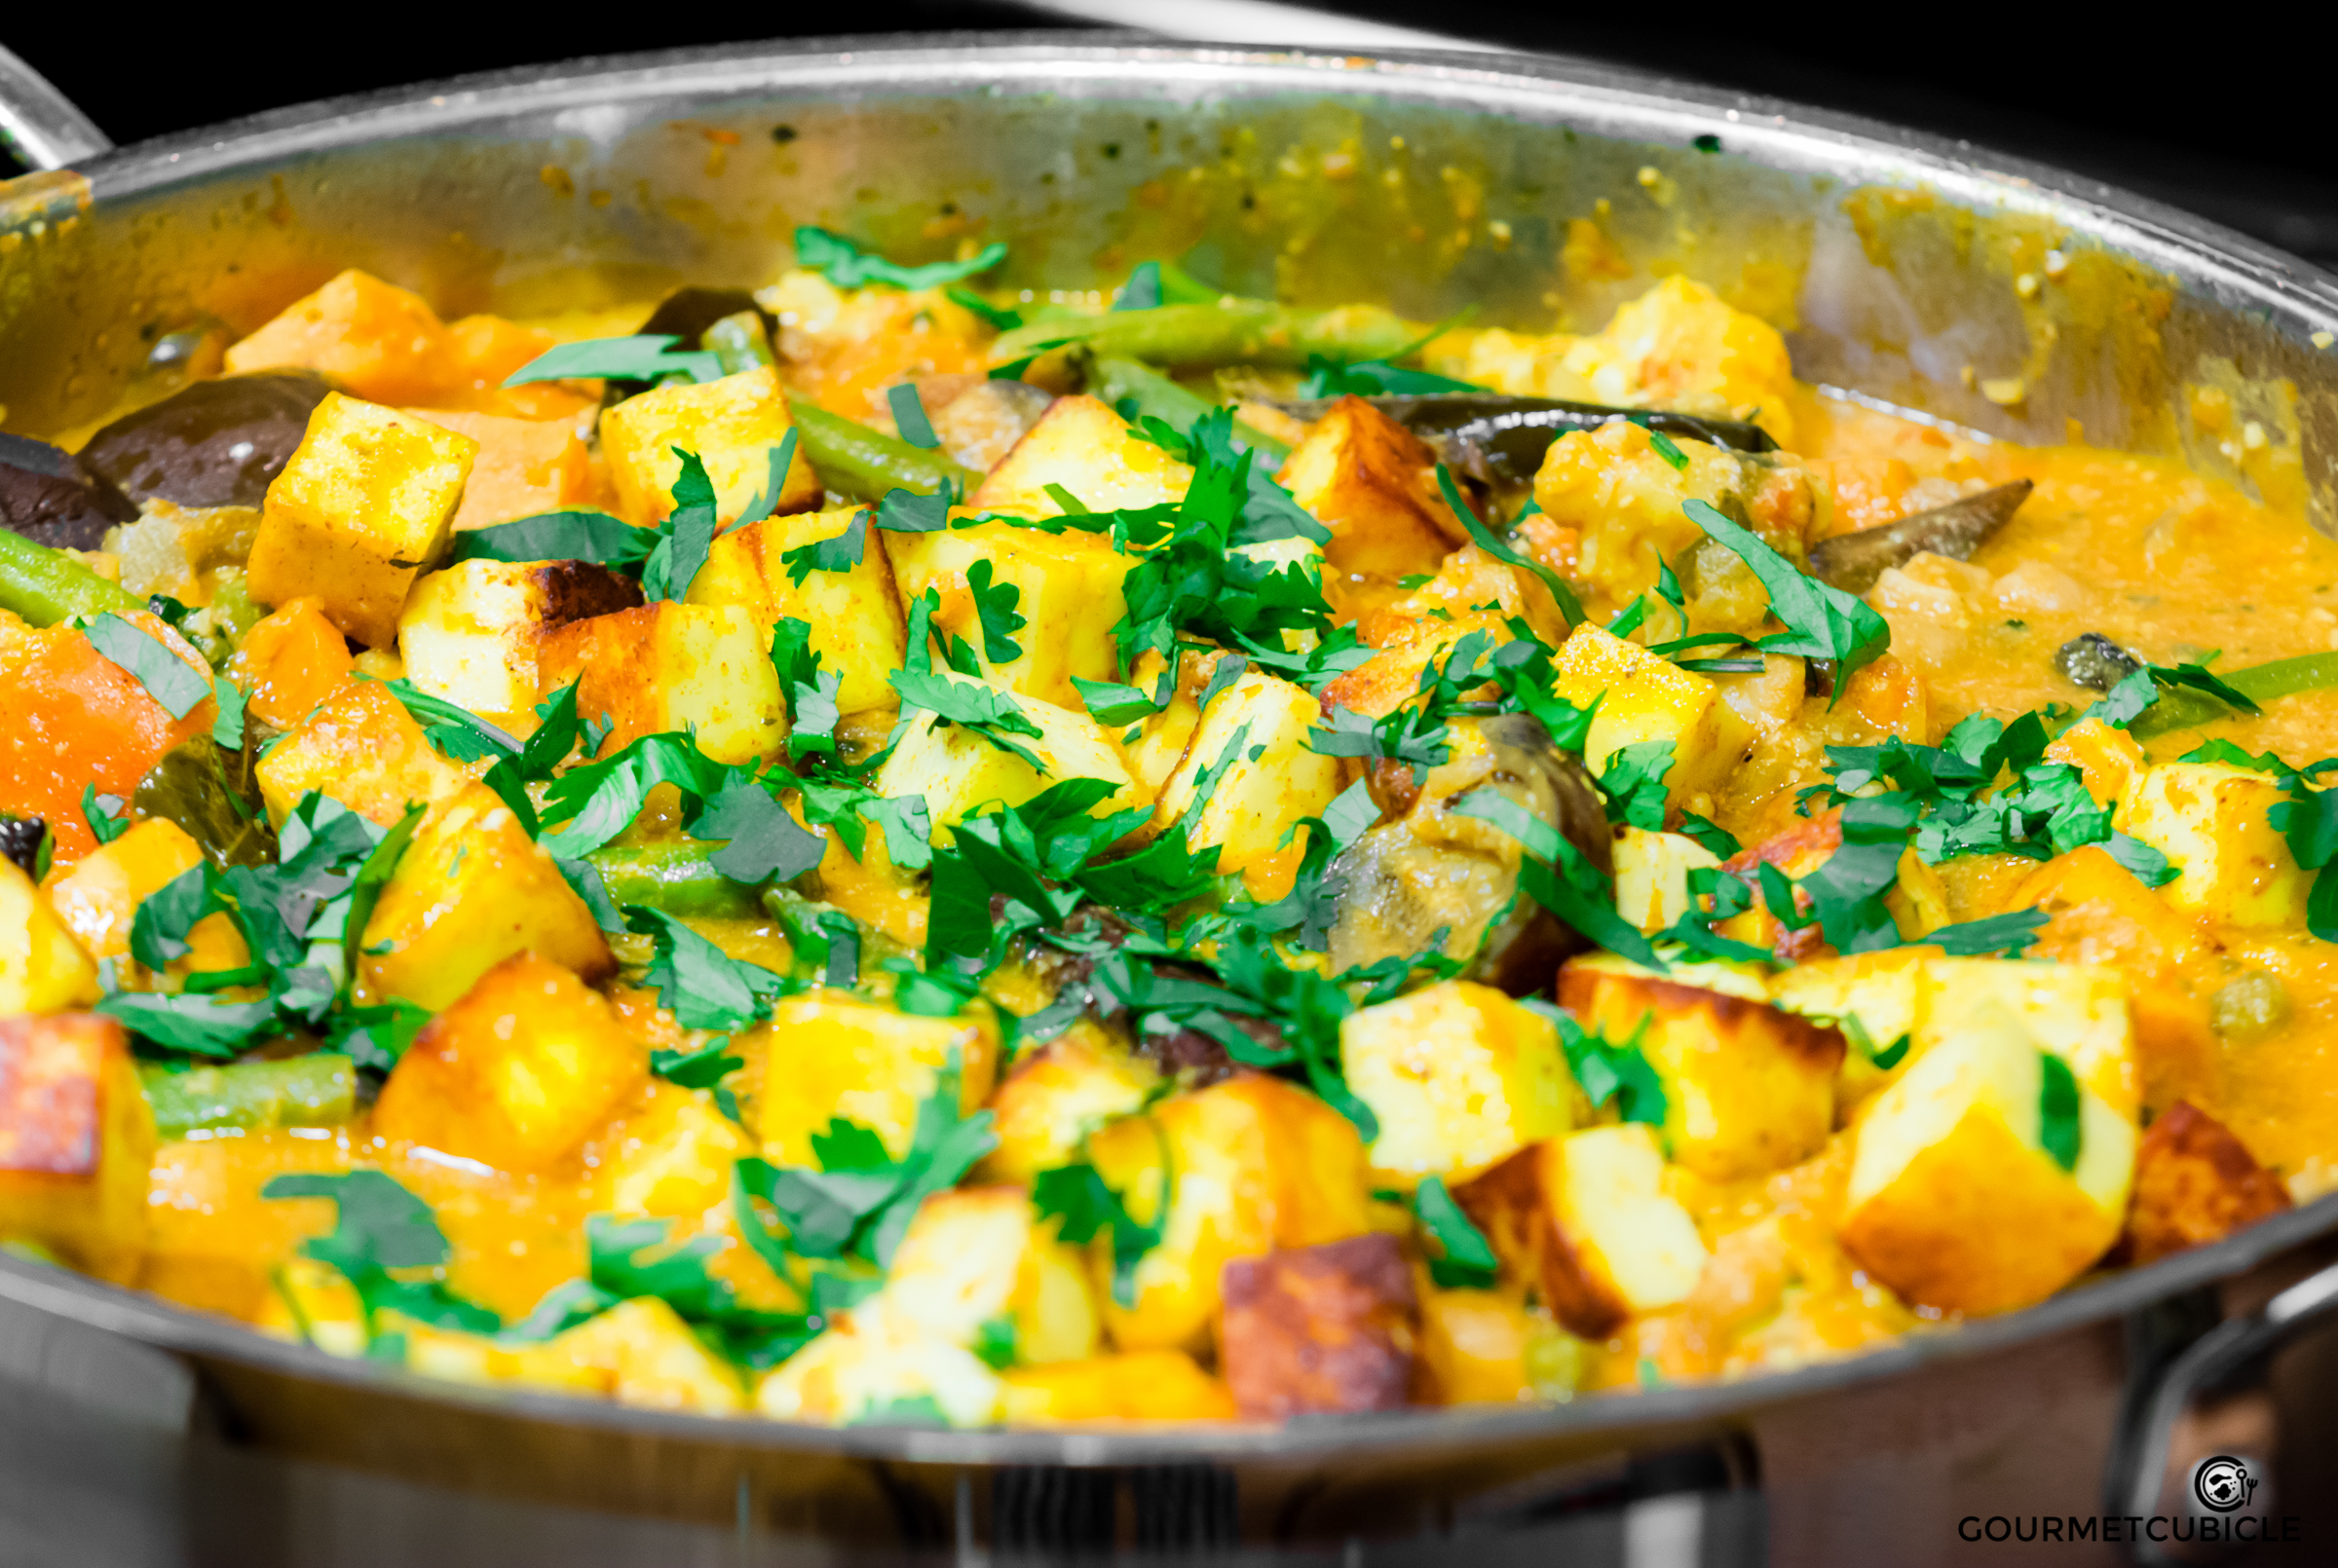
As for the curry, I didn't win the cook-off. An absolutely amazing lamb curry came in first and a duck curry in second. Mine was one of the top-voted among the vegetarian curries and I received praises by many of my Indian co-workers, which honestly made me feel more honored than any award could. The vegetable list in the recipe is pretty extensive. I added so many, because I had to cook for 8-10 people, but you can opt to add less. Enjoy!
VEGETABLE COCONUT CURRy

Serves 6-8
Prep time: 20 minutes
Cook time: 45 minutes
Ingredients
- 1 can coconut paste (about 14 oz) (or coconut milk with 1 tsp potato starch)
- 6 oz Greek yogurt - optional (add more coconut paste if you want it vegan)
- 6 oz tomato paste
- 3 TBS ghee (or unsalted butter)
- 1 large onion, finely chopped
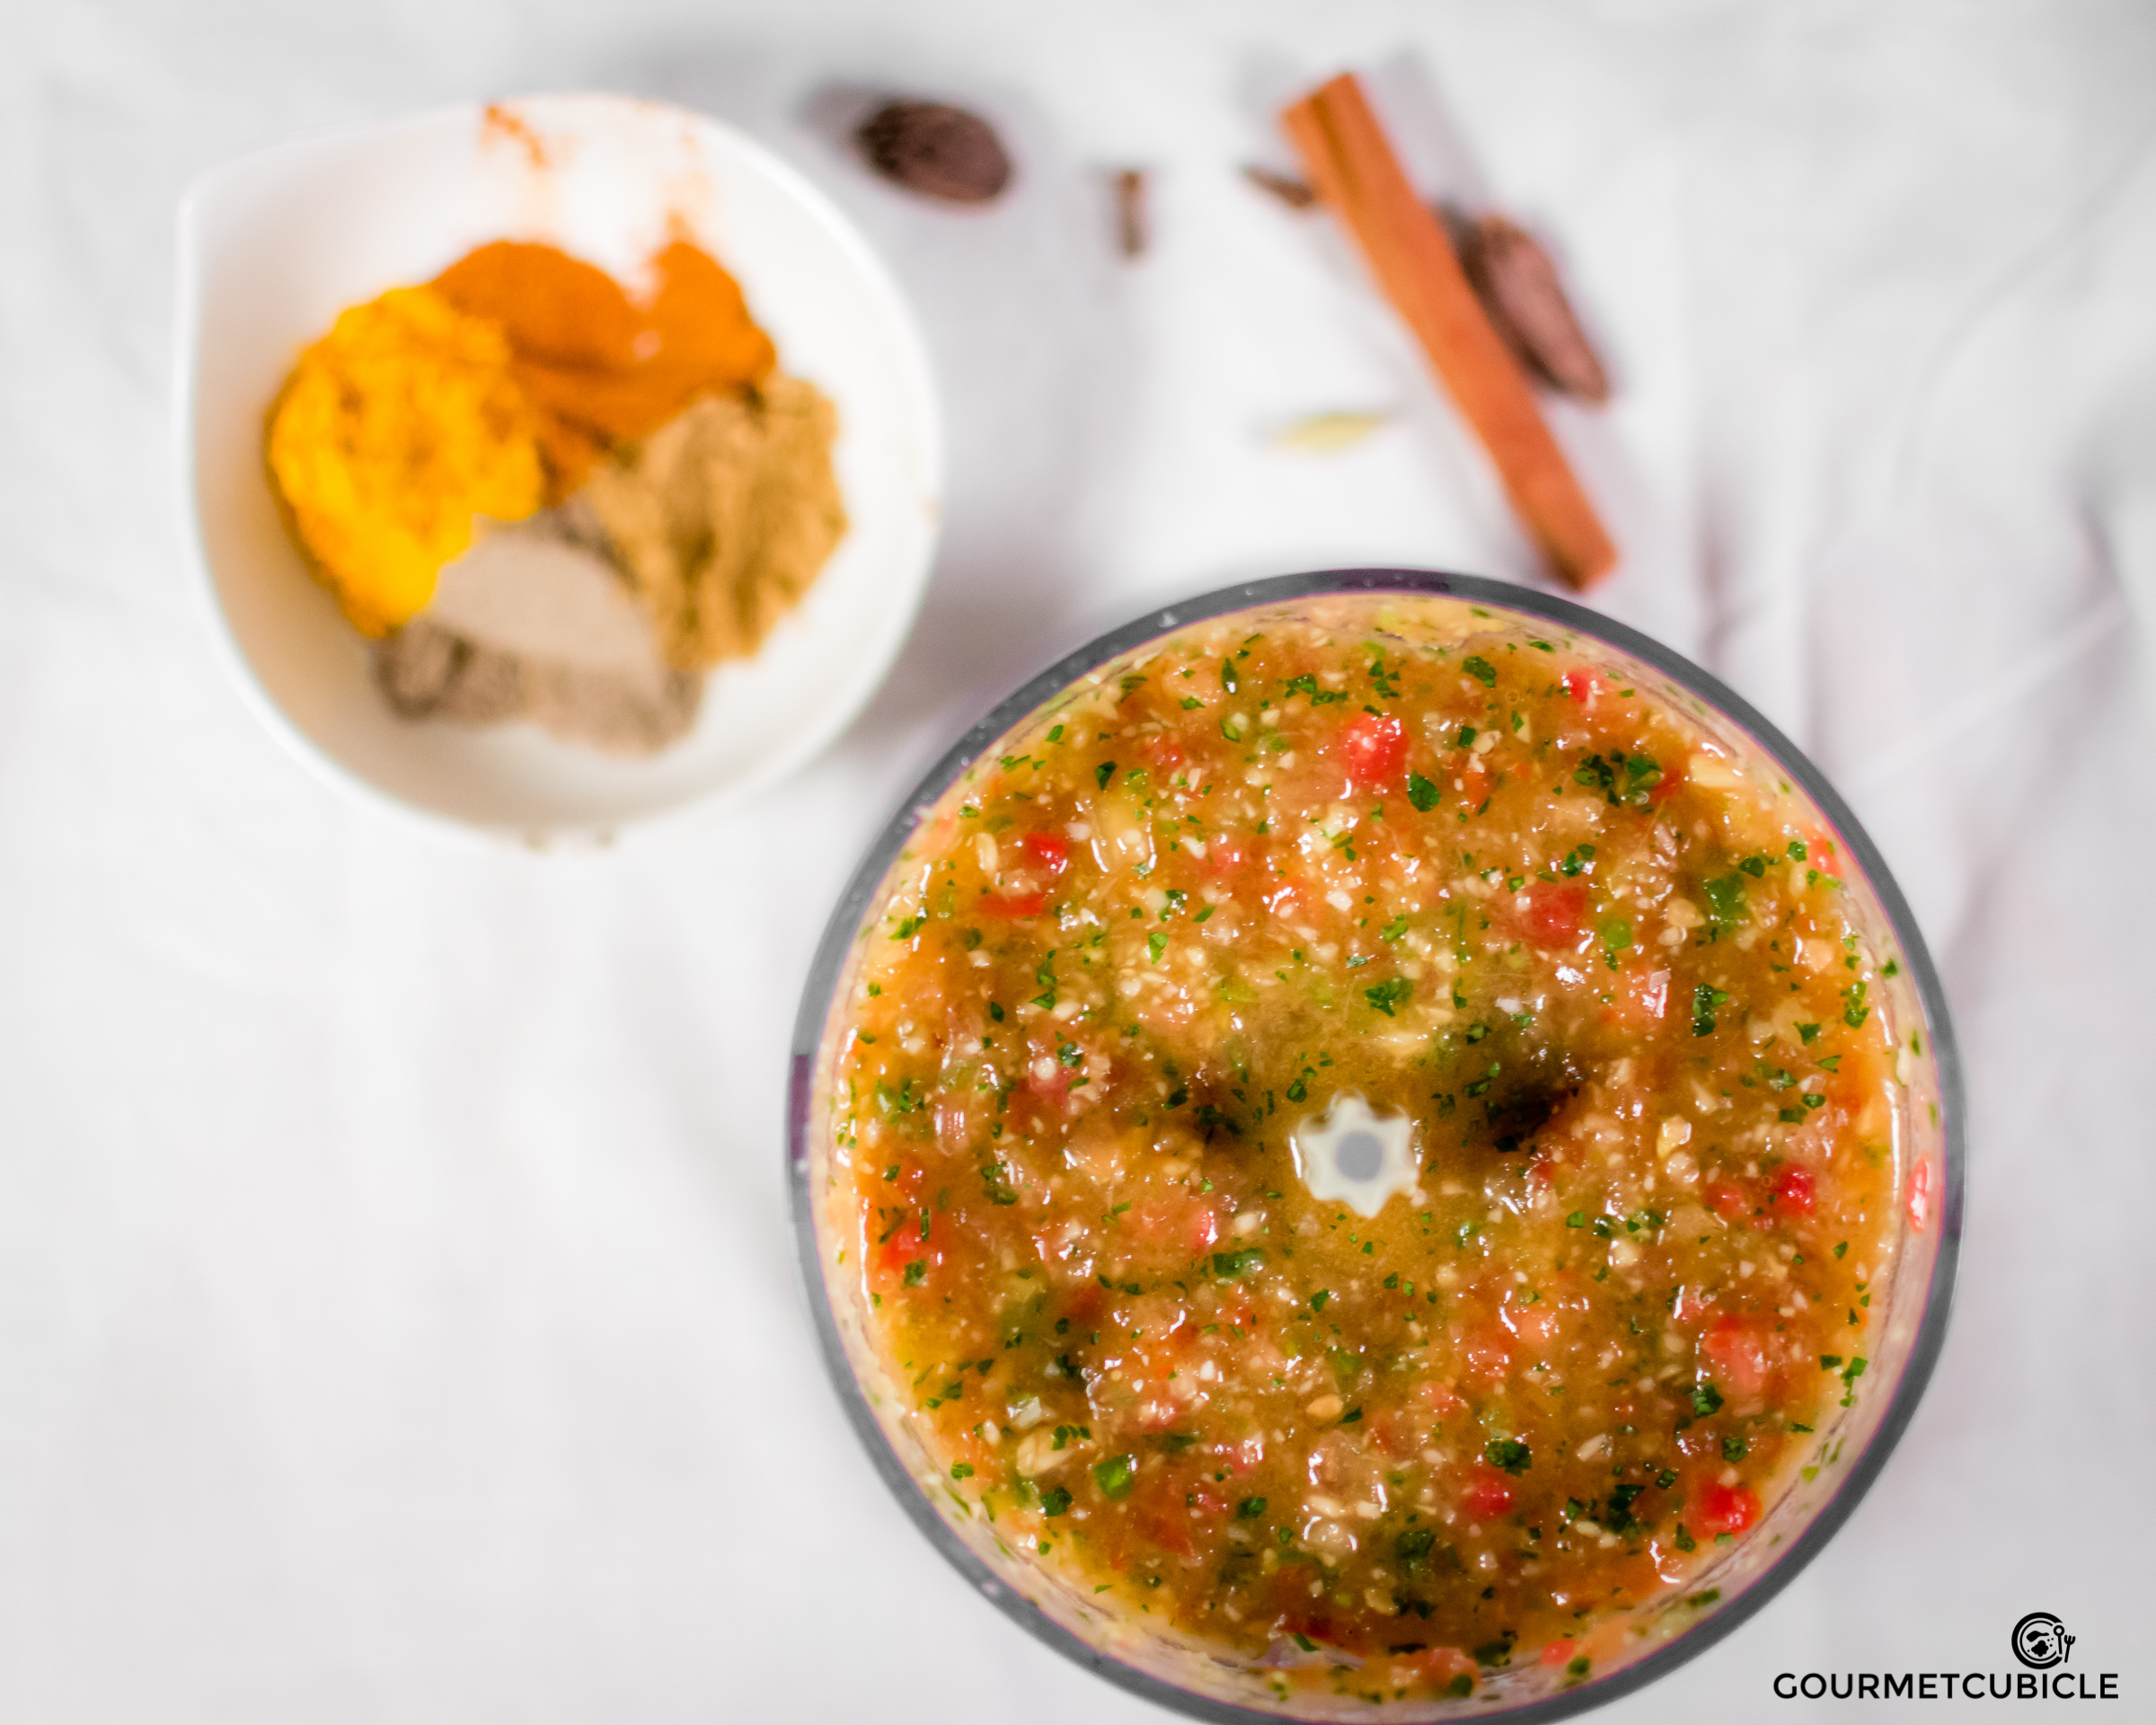
- 2 tsp turmeric powder
- 1 tsp chili powder
- 1 tsp coriander, ground
- 1 TBS kosher salt
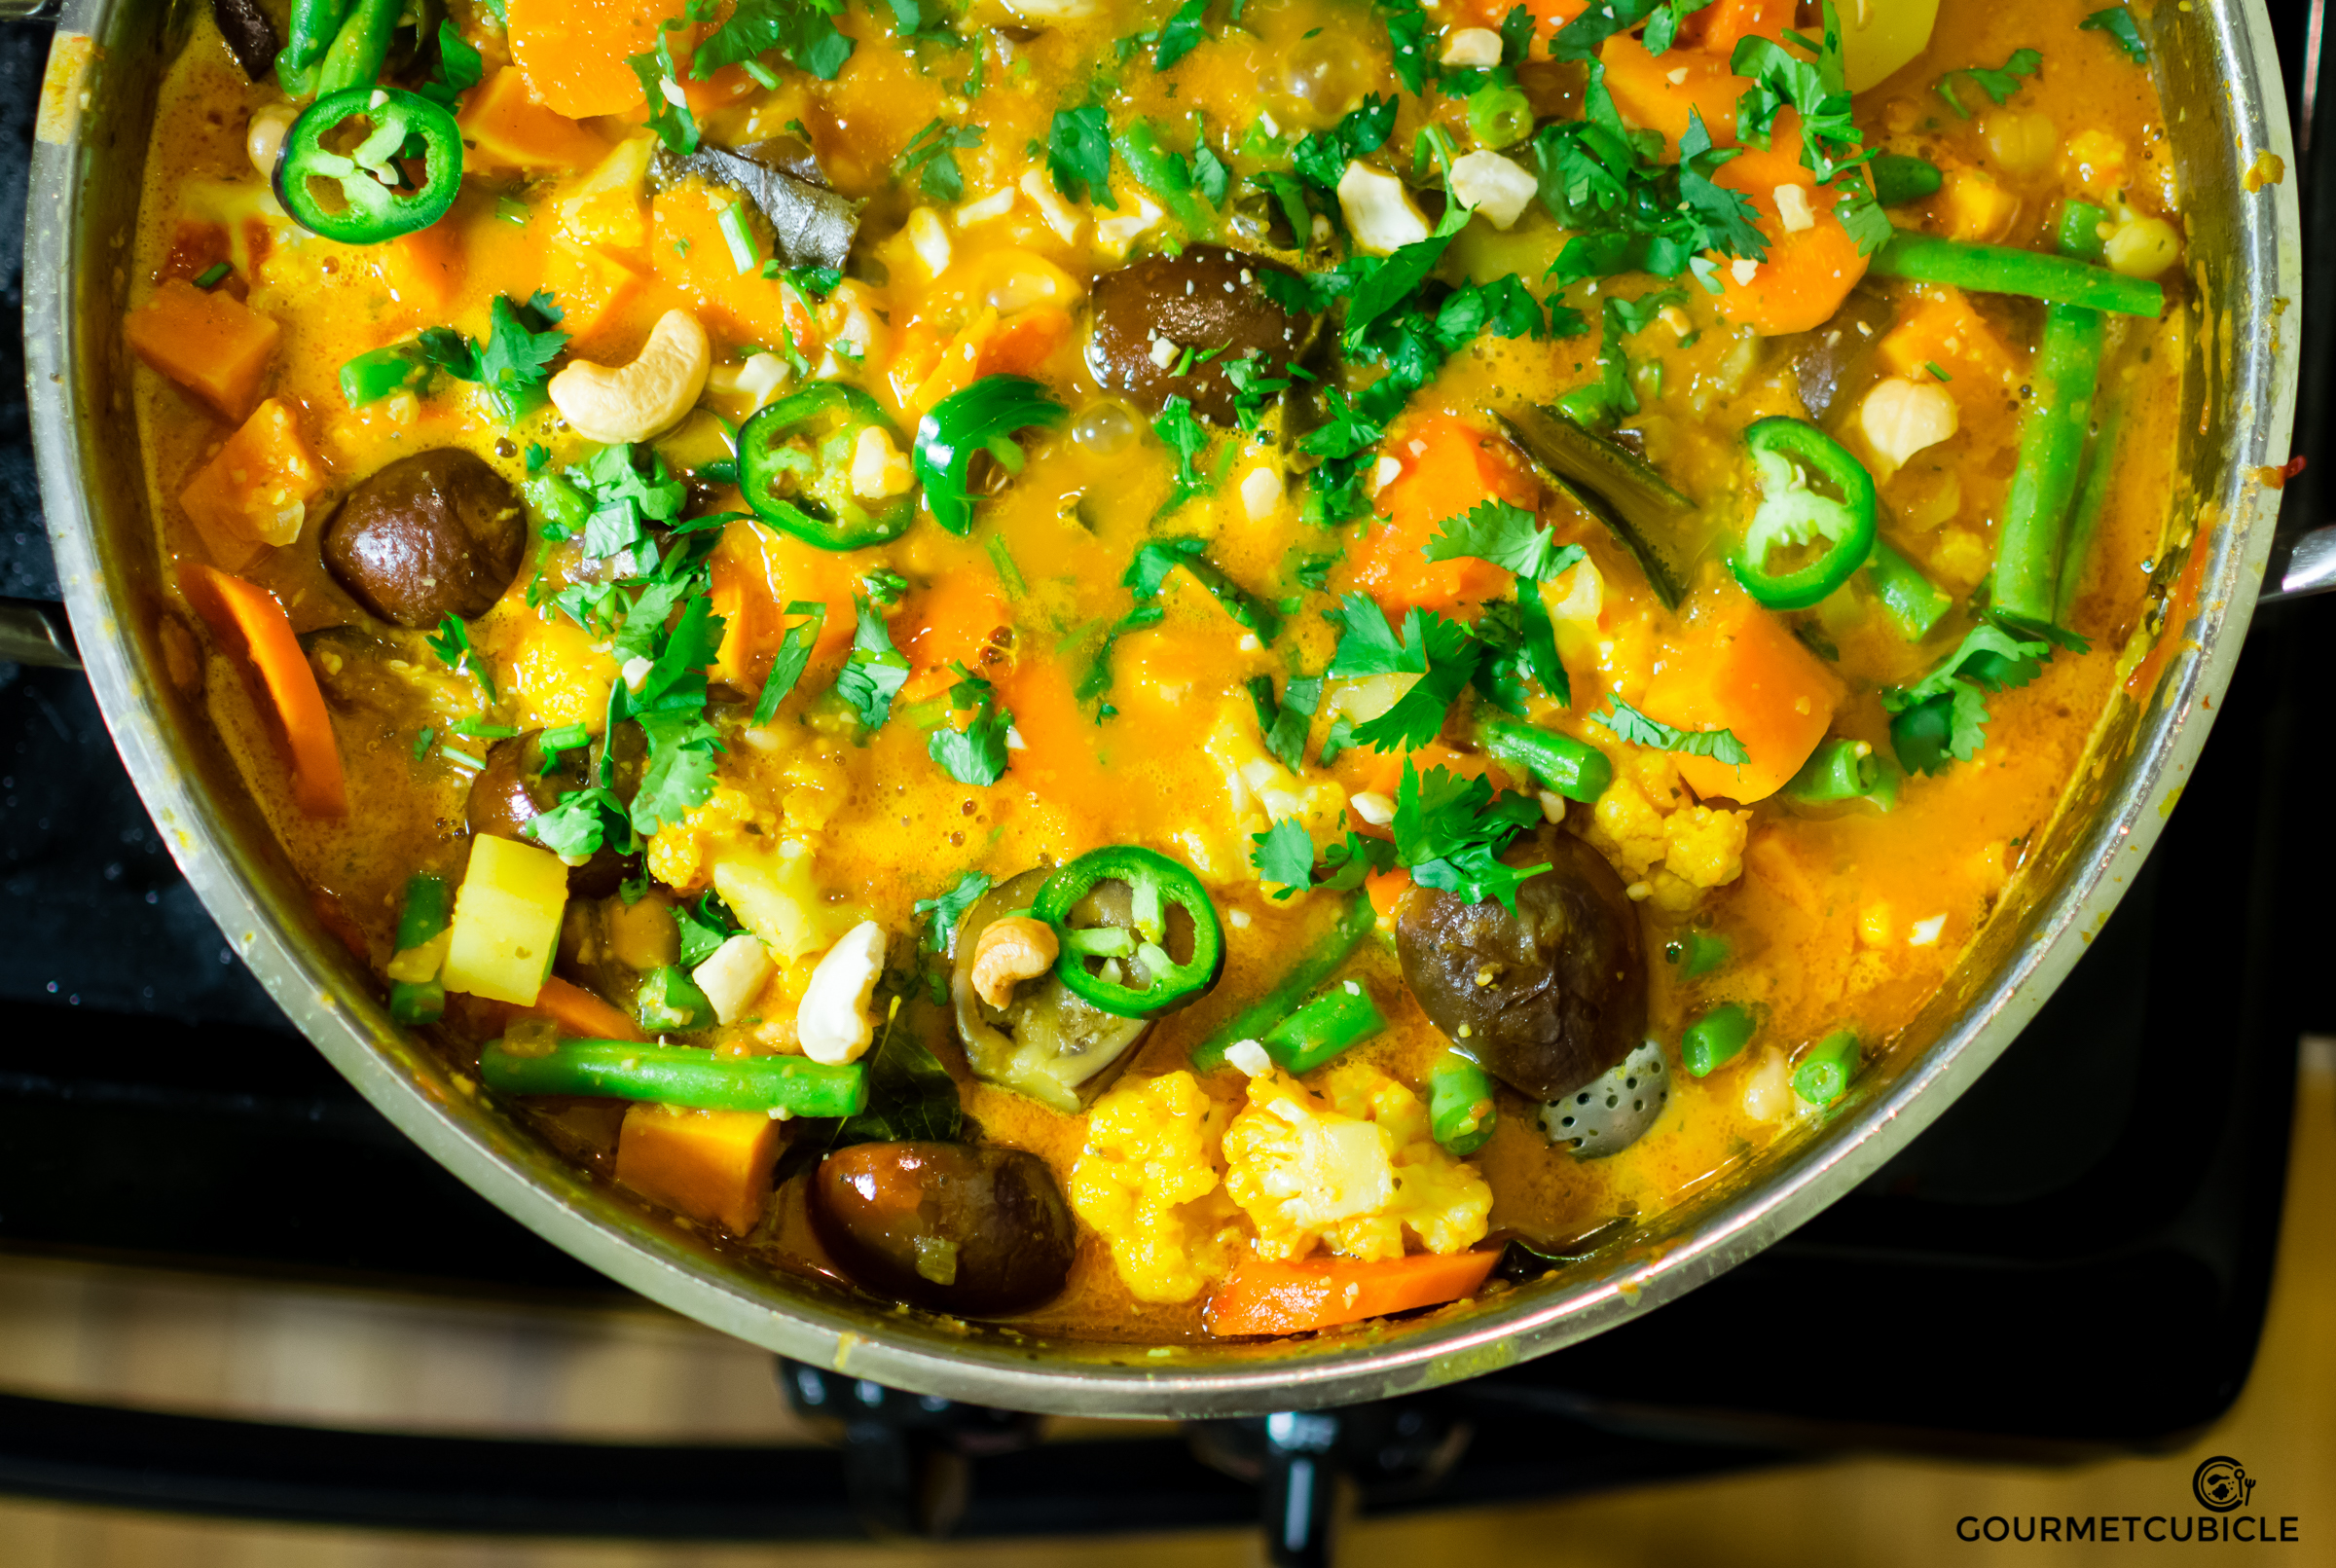
- 1 lb sweet potatoes, peeled and diced to 1/4 inch cubes
- 1 lb carrots, peeled and sliced to 1/4 inch slices
- 1 1/2 lbs ravaya eggplants, trimmed and quartered to 1 inch chunks (or regular eggplants)
- 1 lb cauliflower florets
- 3 cups vegetable broth (4 cups for more curry sauce)
- 1/2 lb French beans, trimmed and cut in half
- 1 can (15oz) garbanzo beans, drained - optional
- 1/2 cup cilantro leaves, finely chopped
- 1/4 cup roasted cashews
- salt, to taste
Paste
- 3/4 cup unsalted cashews, soaked in warm water for 15-20 minutes
- 3-4 Thai chilies, roughly chopped
- 1/2 cup cilantro stems, roughly chopped
- 7 garlic cloves, crushed
- 2 inch ginger root, crushed and roughly chopped
- 4 large ripe tomatoes, roughly diced
- 1 TBS kosher salt
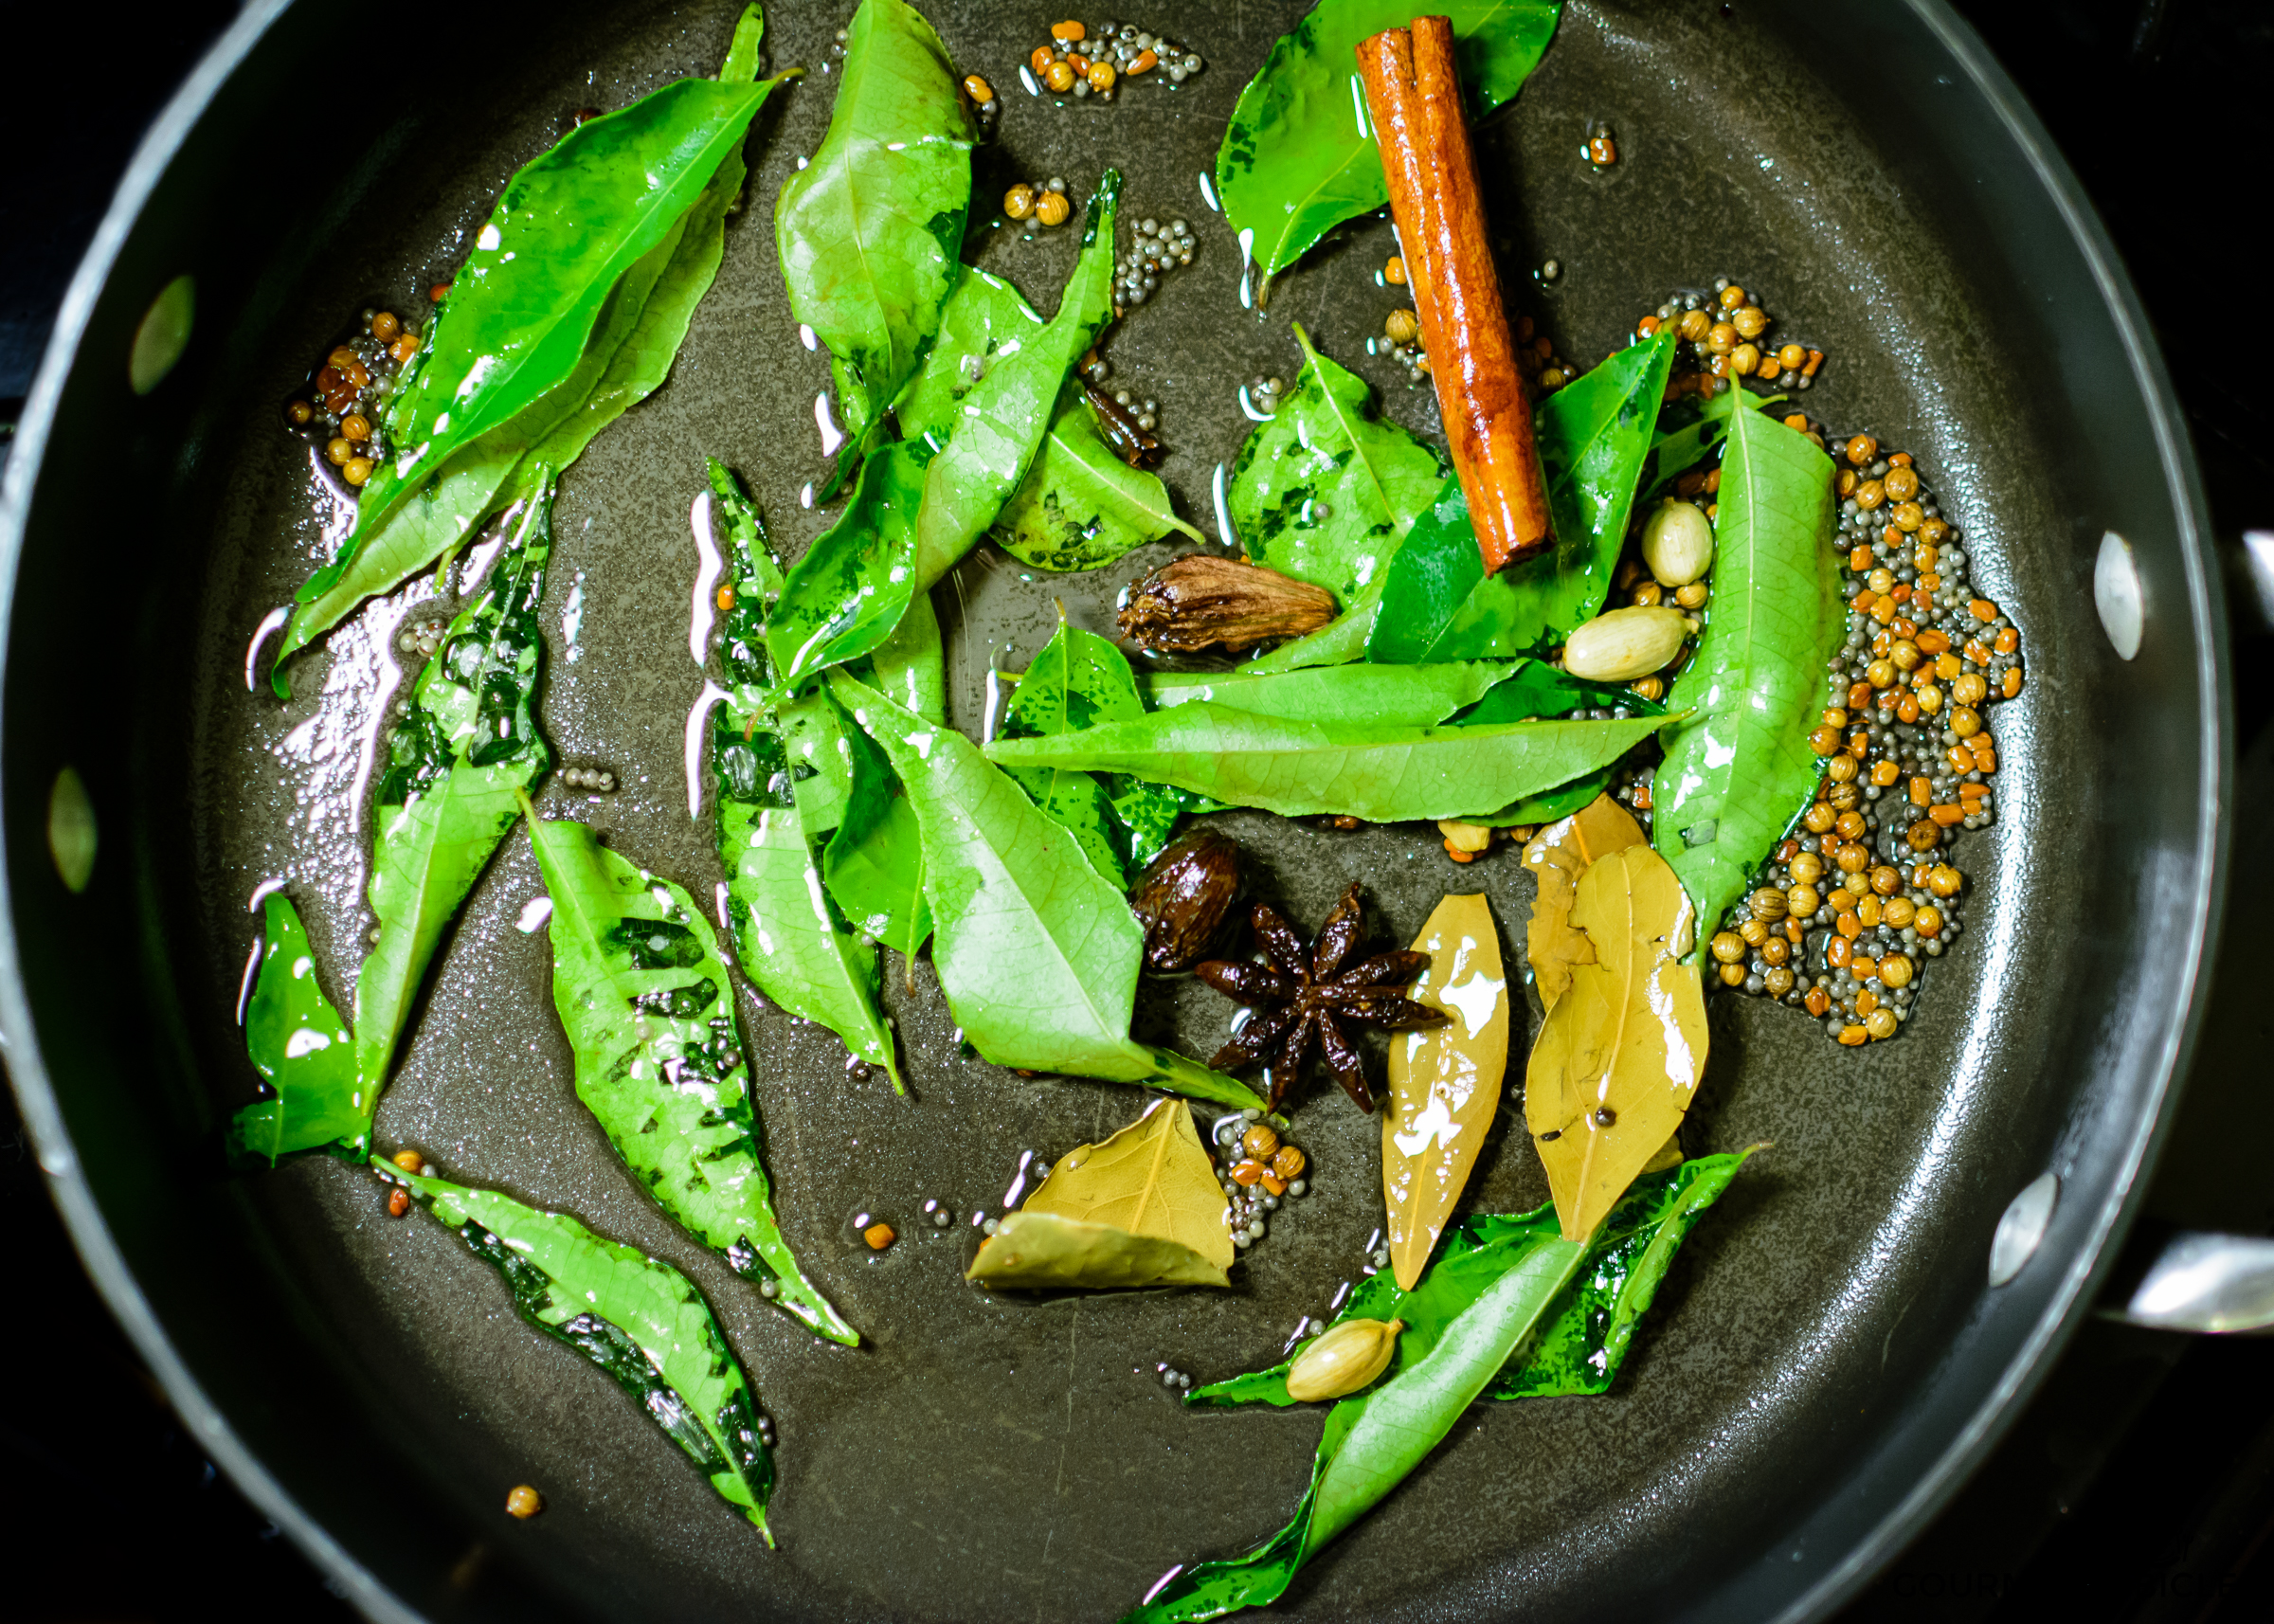
Tempering
- 1 bunch fresh curry leaves (about 15-20 leaves)
- 1 cinnamon stick
- 8-10 cloves, whole
- 8-10 green cardamom pods, whole
- 2-4 black cardamom pods, whole
- 1 tsp black mustard seeds, whole
- 1/2 tsp fenugreek seeds - optional
- 2 dried bay leaves
- 1 star anise, whole
Paneer
- 1 tsp peanut oil (or canola, or sunflower seed)
- 14 oz paneer, cut into 1/2 inch cubes
- 1/2 tsp coriander, ground
- 1/2 tsp turmeric powder
- 1/2 tsp chili powder
- 2 tsp peanut oil (or canola, or sunflower seed)
- 1 tsp salt
Instructions
- In a bowl combine coconut milk, yogurt and tomato paste. Whisk until all ingredients are combined. Let the mixture sit at room temperature while you proceed with the rest of the recipe.
- In a food processor mix all the ingredients under paste. Pulse until you reach a smooth consistency. Set aside.
- In a large deep stainless steel skillet heat one tablespoon ghee over medium-high heat. When it melts and starts smoking add all spices under the tempering section. Toast until mustard seeds start to pop and spices become aromatic, about 1 minute. At this point you can remove and discard the larger spices (cloves, anise, cardamom, bay leaves, fenugreek seeds) if you'd like, as the spices already released their aromatic oils.
- Add the rest of the ghee, let it melt and then mix in onions. Sauté for 5-7 minutes until onions are translucent.
- Pour in the paste mixture and cook until it thickens, about 10 minutes. Add turmeric, chili, coriander powder, and one tablespoon salt. Stir well.
- Add sweet potatoes (do not add the regular potatoes yet, if using), carrots, eggplant and cauliflower. Pour in the veggie broth and bring to a boil. Lower the heat to medium, cover with a lid and cook for 10-15 minutes until the vegetables are tender, but not mushy. Remember that you'll cook them more so don't overcook them.
- Meanwhile, in a bowl combine one teaspoon oil, paneer cubes, coriander, turmeric and chili powder. Mix well until the paneer is evenly coated. In a non stick pan heat the rest of oil (2 teaspoons) over medium heat. When the oil is hot and it easily slides across the pan, add paneer cubes. Cook until golden brown on each side, about 5-10 minutes. When done, sprinkle with salt, transfer the paneer to a plate and set aside.
- Return to the large skillet. Temper the coconut and yogurt mixture by transferring one ladle at a time of the hot curry into the mixing bowl. Once tempered, pour the mixture into the skillet, and stir to combine.
- Add potatoes, beans, chickpeas and paneer and cook for another 8-10 minutes. Taste and adjust saltiness. Chances are that the curry will need a lot more salt.
- Remove from heat, sprinkle with cilantro and more cashews if you'd like.
NOTES
- Some of the spices used for tempering are unpleasant to bite into. I personally don't mind them (except for the fenugreek which is very bitter) and usually just leave them all in the curry and remove them when eating. Alternatively you can use a tea ball for the more intense spices after you toasted them.
- Don't be surprised by the amount of salt you'll need to use. It's normal when working with vegetables.
- Serve hot over basmati rice or with naan bread with a side of raita.