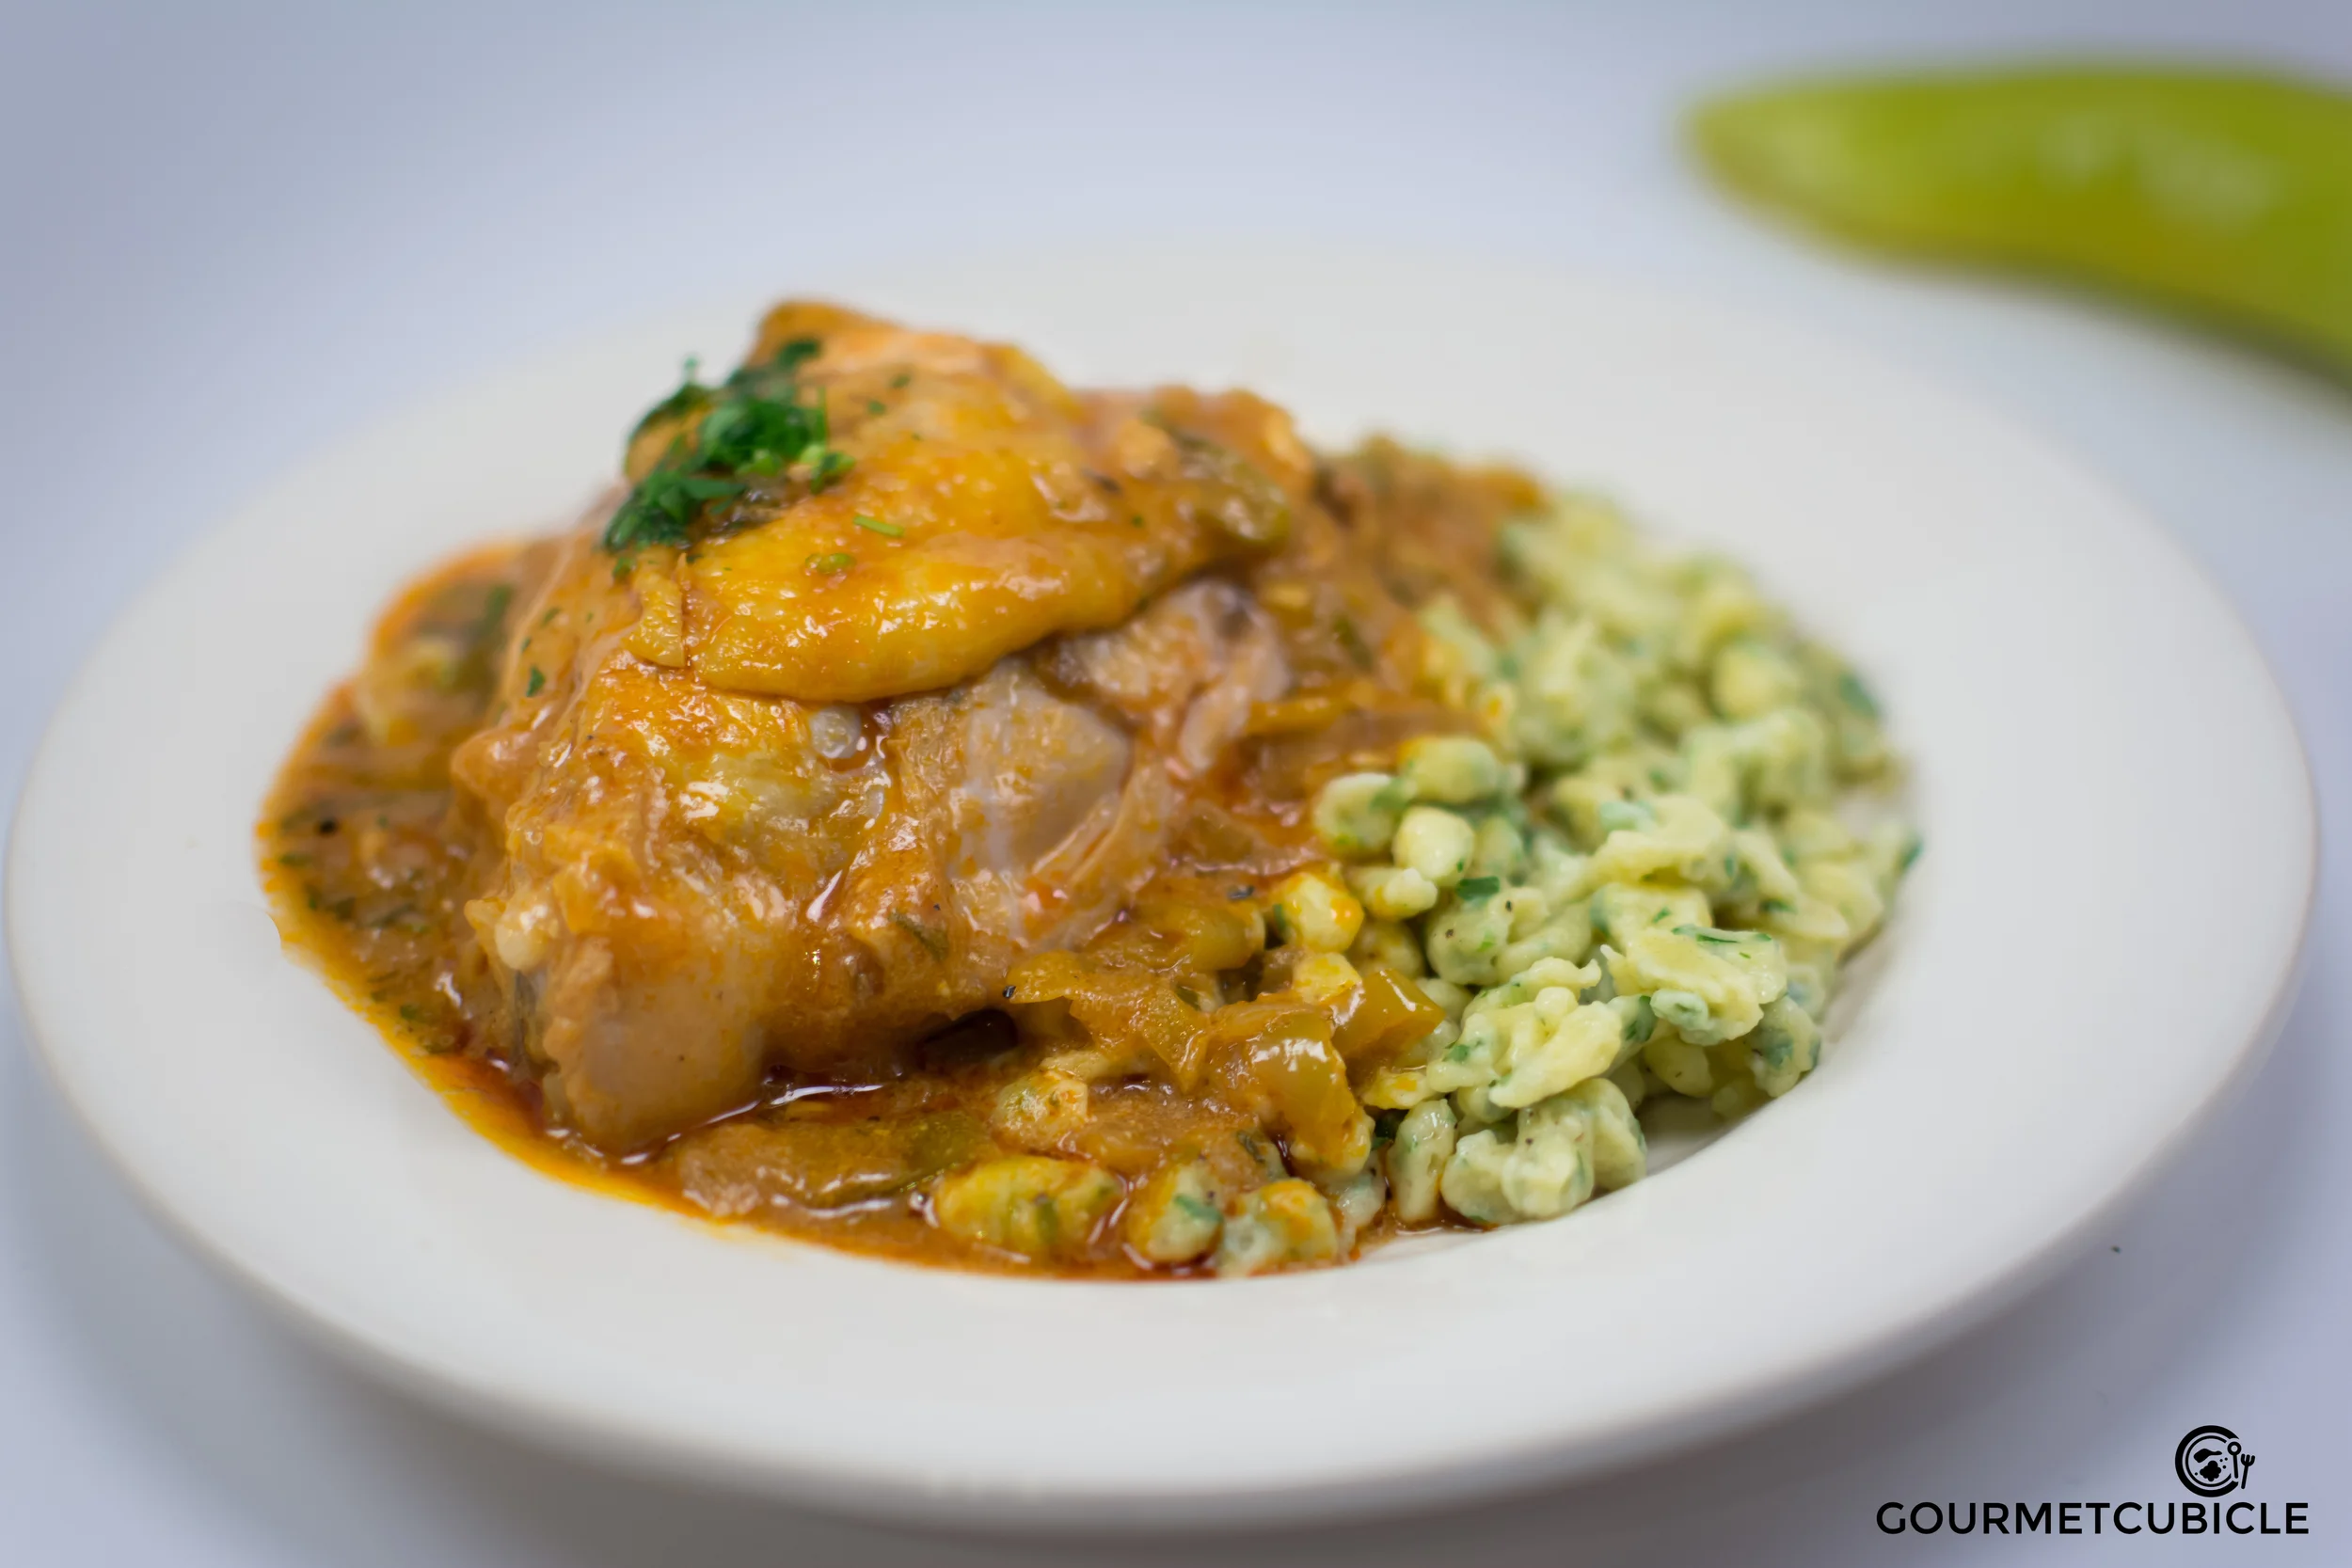
Creamy Leeks with Pan Roasted Chicken
When I started this blog I made a calendar where I mapped out the posts for the next few months. Although I'm not quite a planner, I really wanted to make this blog happen, so I had to set myself up for success.
I knew that cooking would not be a problem- that's how I relax after a long day at work and I'd do it anyway. What was scary was the commitment itself- the commitment of taking pictures while cooking, writing down the recipes and following them (instead of just winging it like I usually do), processing the pictures and last but not least, the scariest of all, writing. No matter how confident you feel about understanding and speaking a foreign language, the idea that you're committing to writing in it is intimidating.
Fortunately, I've always loved challenges and I'm adventurous and stubborn enough to think that it is indeed a good idea. Truth to be told, I do have an amazing editor/taste tester to help me.

I post two recipes a week: a simple one, like a breakfast, a brunch or a quick bite, and a second one that's more elaborate and time-consuming. There is a logic to the order in which I post as well, but the problem is that, more often than not, I derail from my own masterplan. I always find good reasons to- let it be my mood, the weather or the delivered veggie box from my the local CSA.

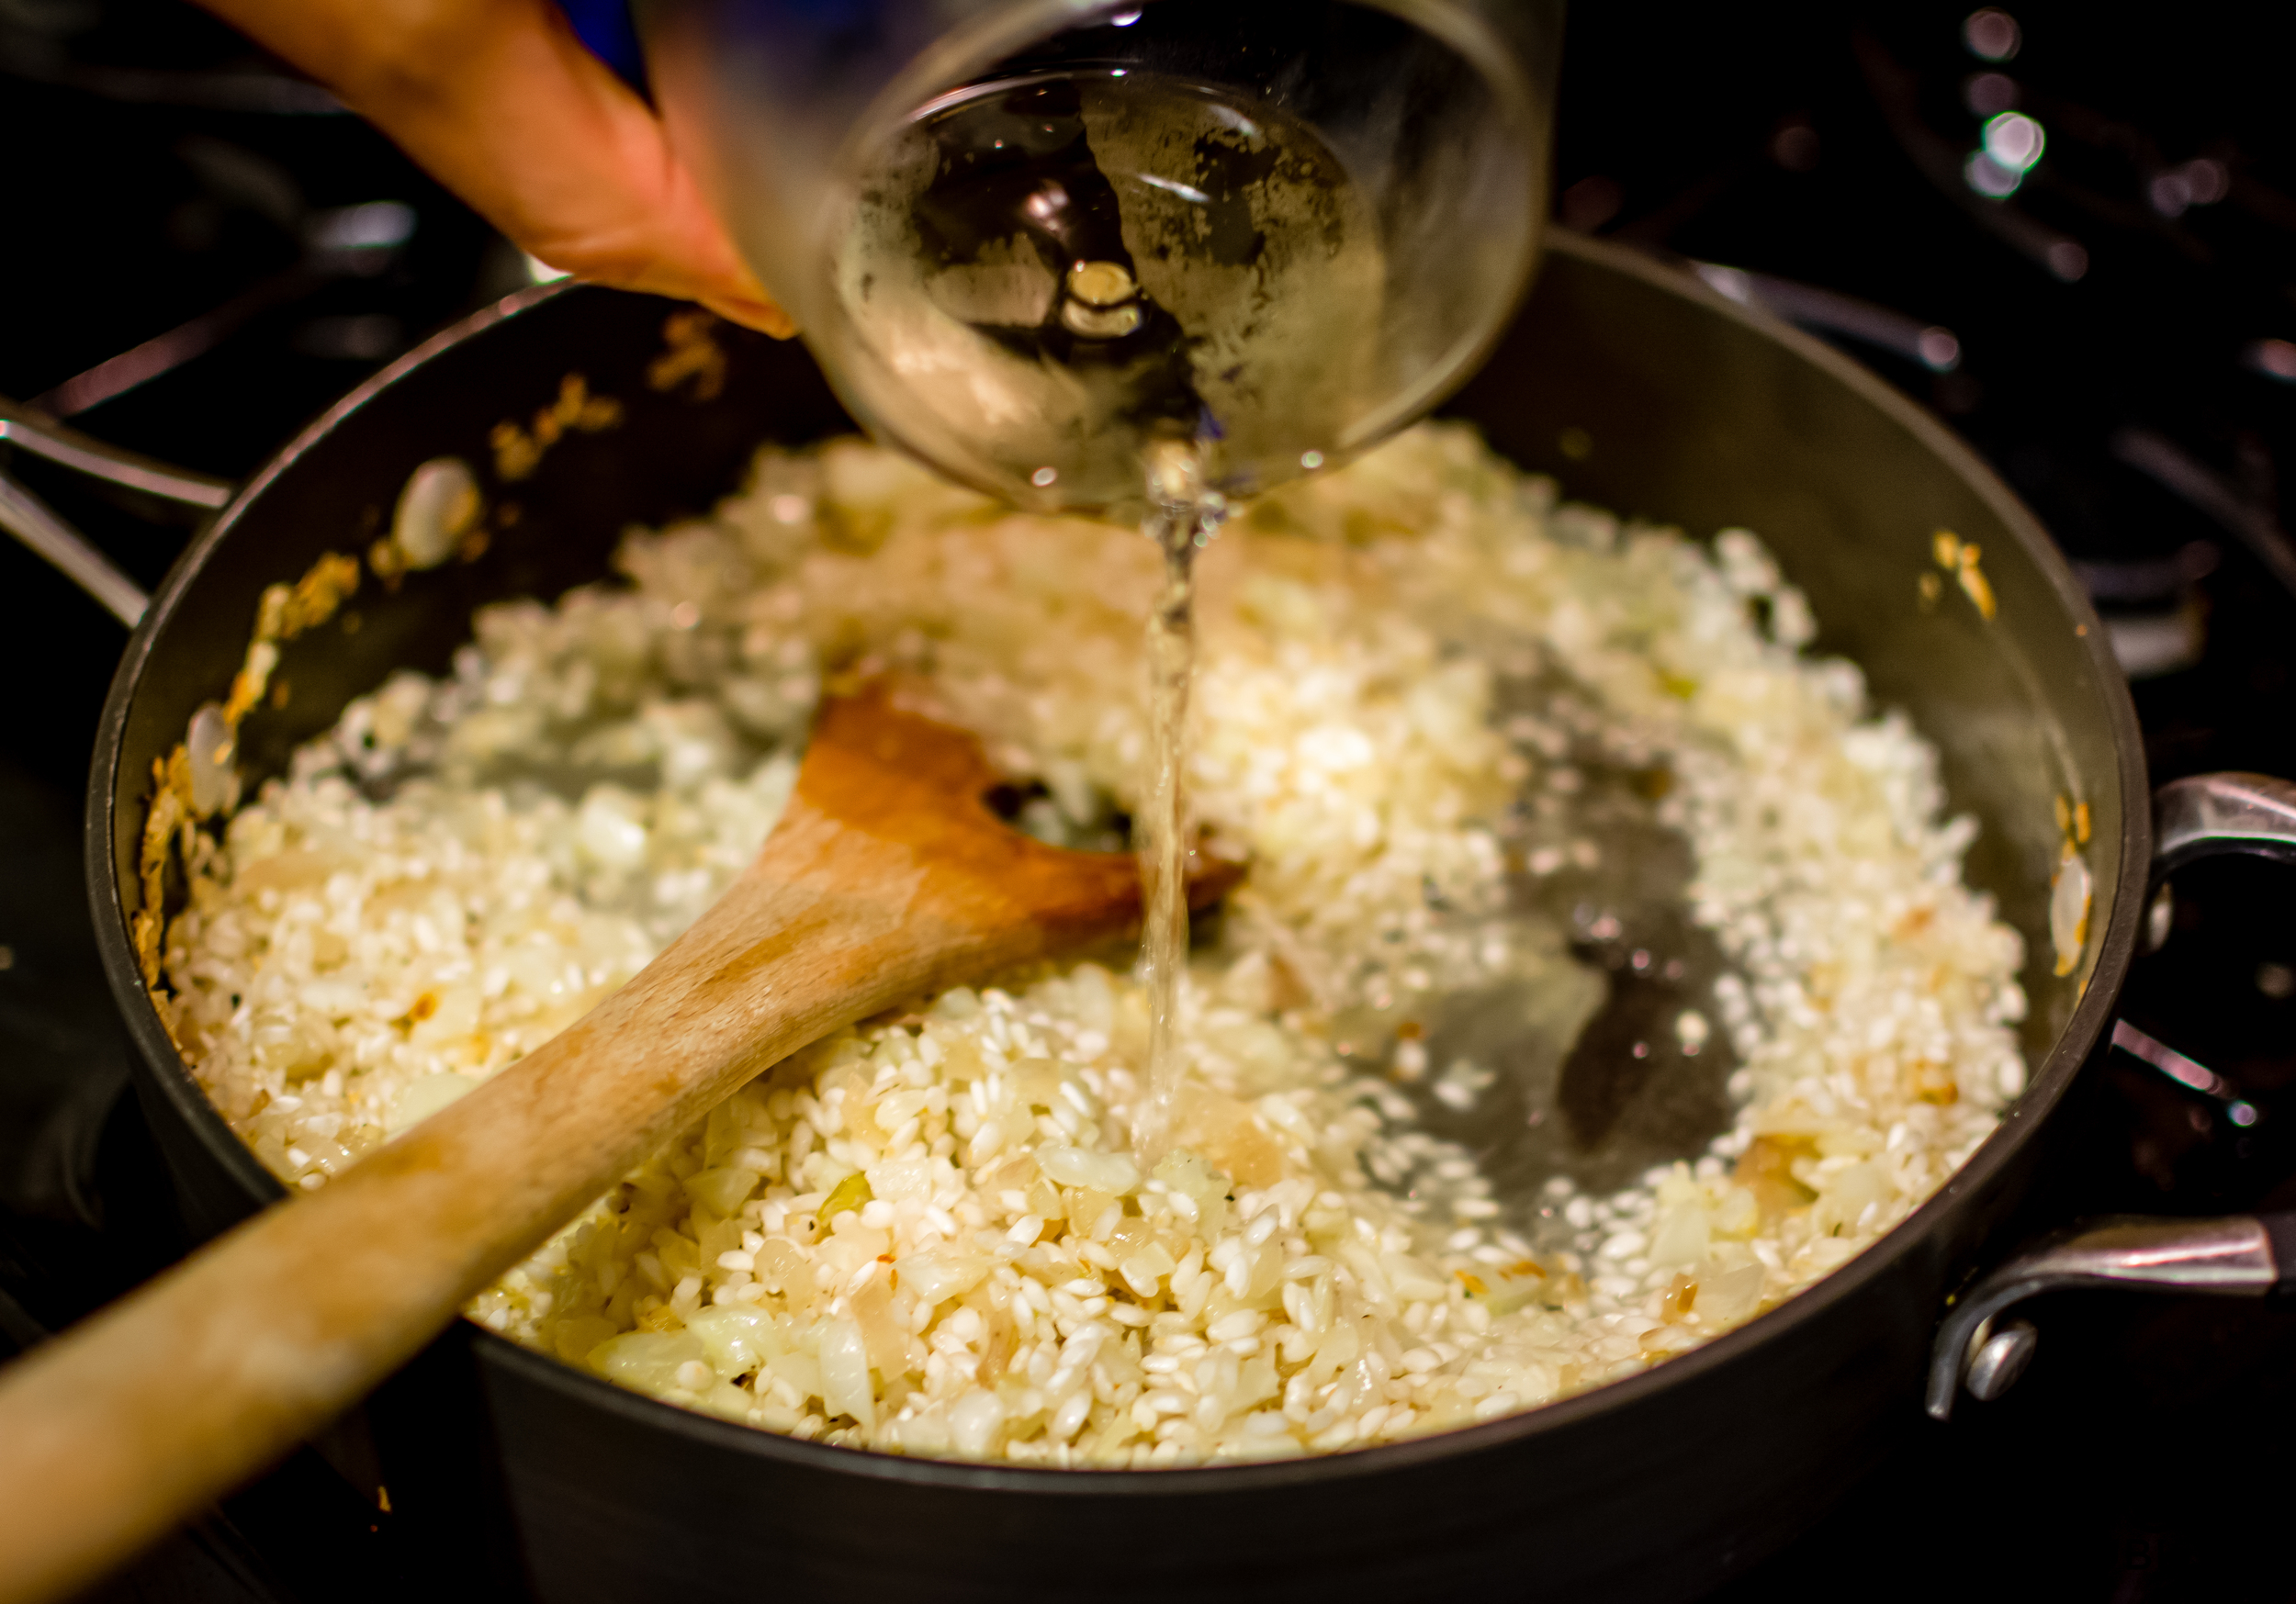
The ice cubes are homemade chicken stock that I freeze in an ice maker tray. Whenever I need some stock I just pop a few out.
This week was the weather. Initially, I wanted to transition to less hearty meals and more seasonal, lighter dishes like pastas, salads and such. Then the weather started playing tricks on me. Usually May in Austin is already unbearably hot, but for some reason this year it's been very mild and rainy. It’s been raining seemingly nonstop for weeks now. The flash flood alerts on my phone won't stop giving me a heart attack when they go off at random times.
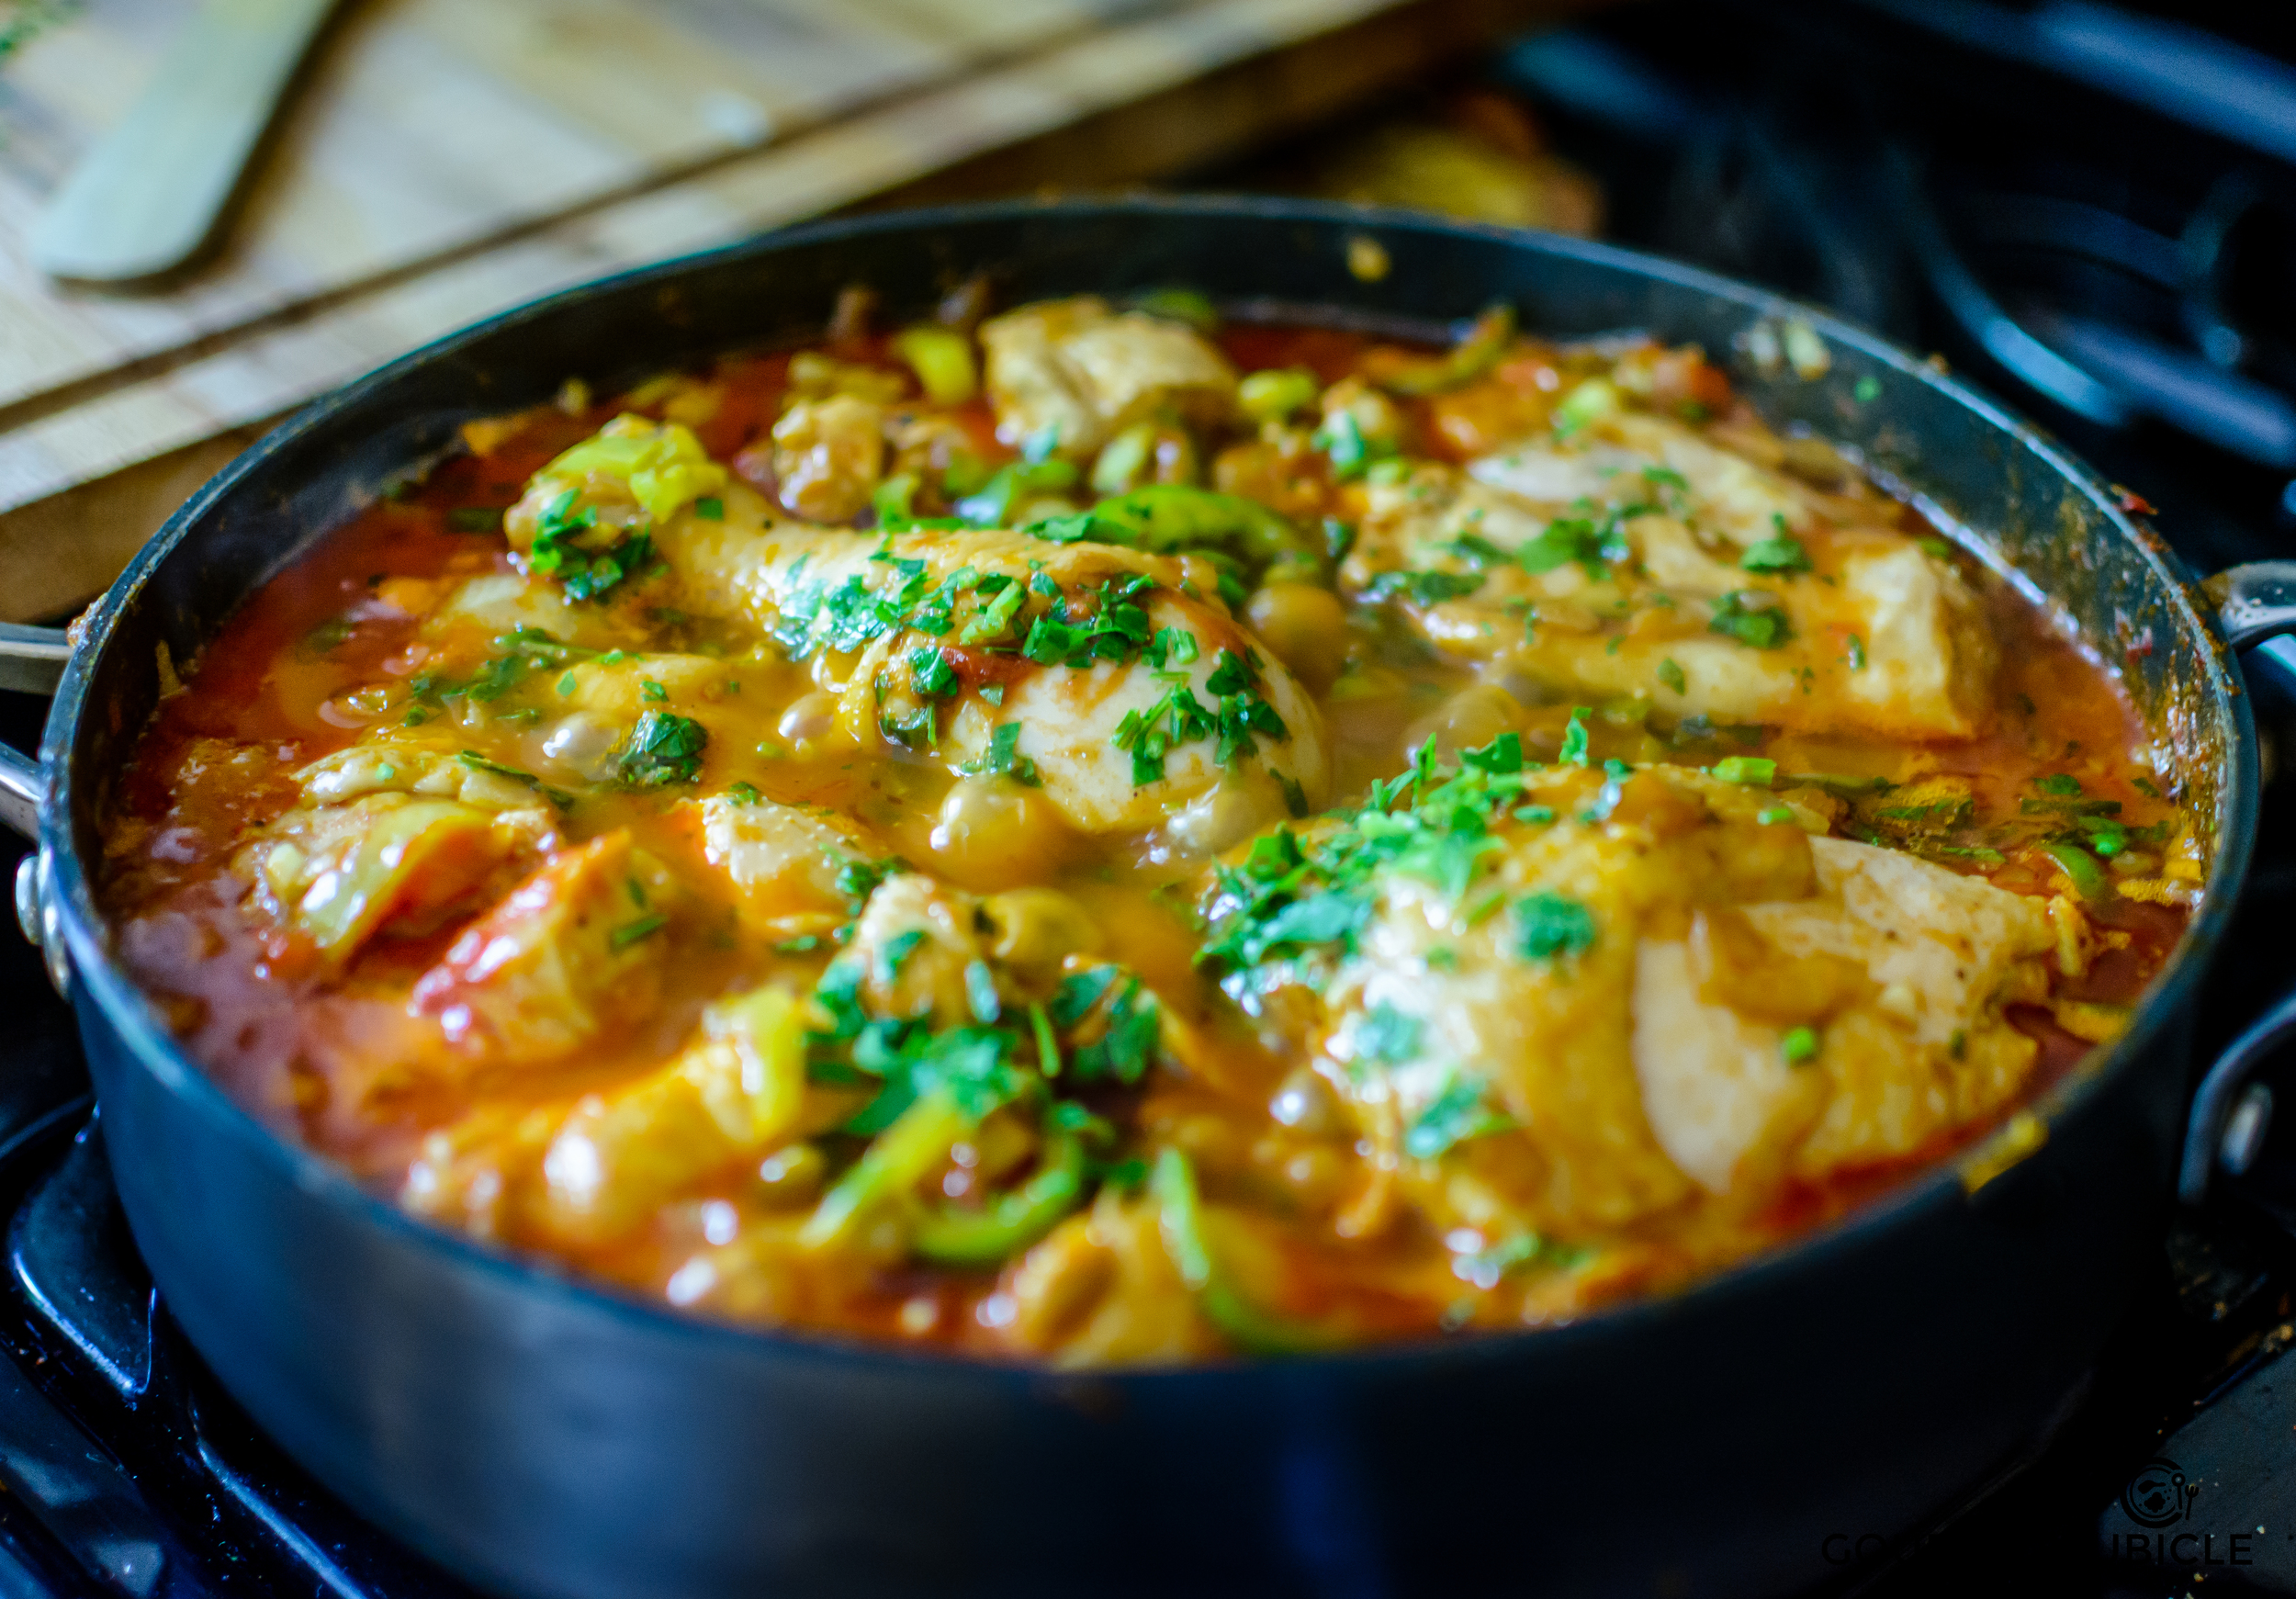
The weather, combined with the leeks that I found in the weekly delivery, made me choose this recipe. I've done this dish several times before, but somehow it always manages to surprise me with its taste.

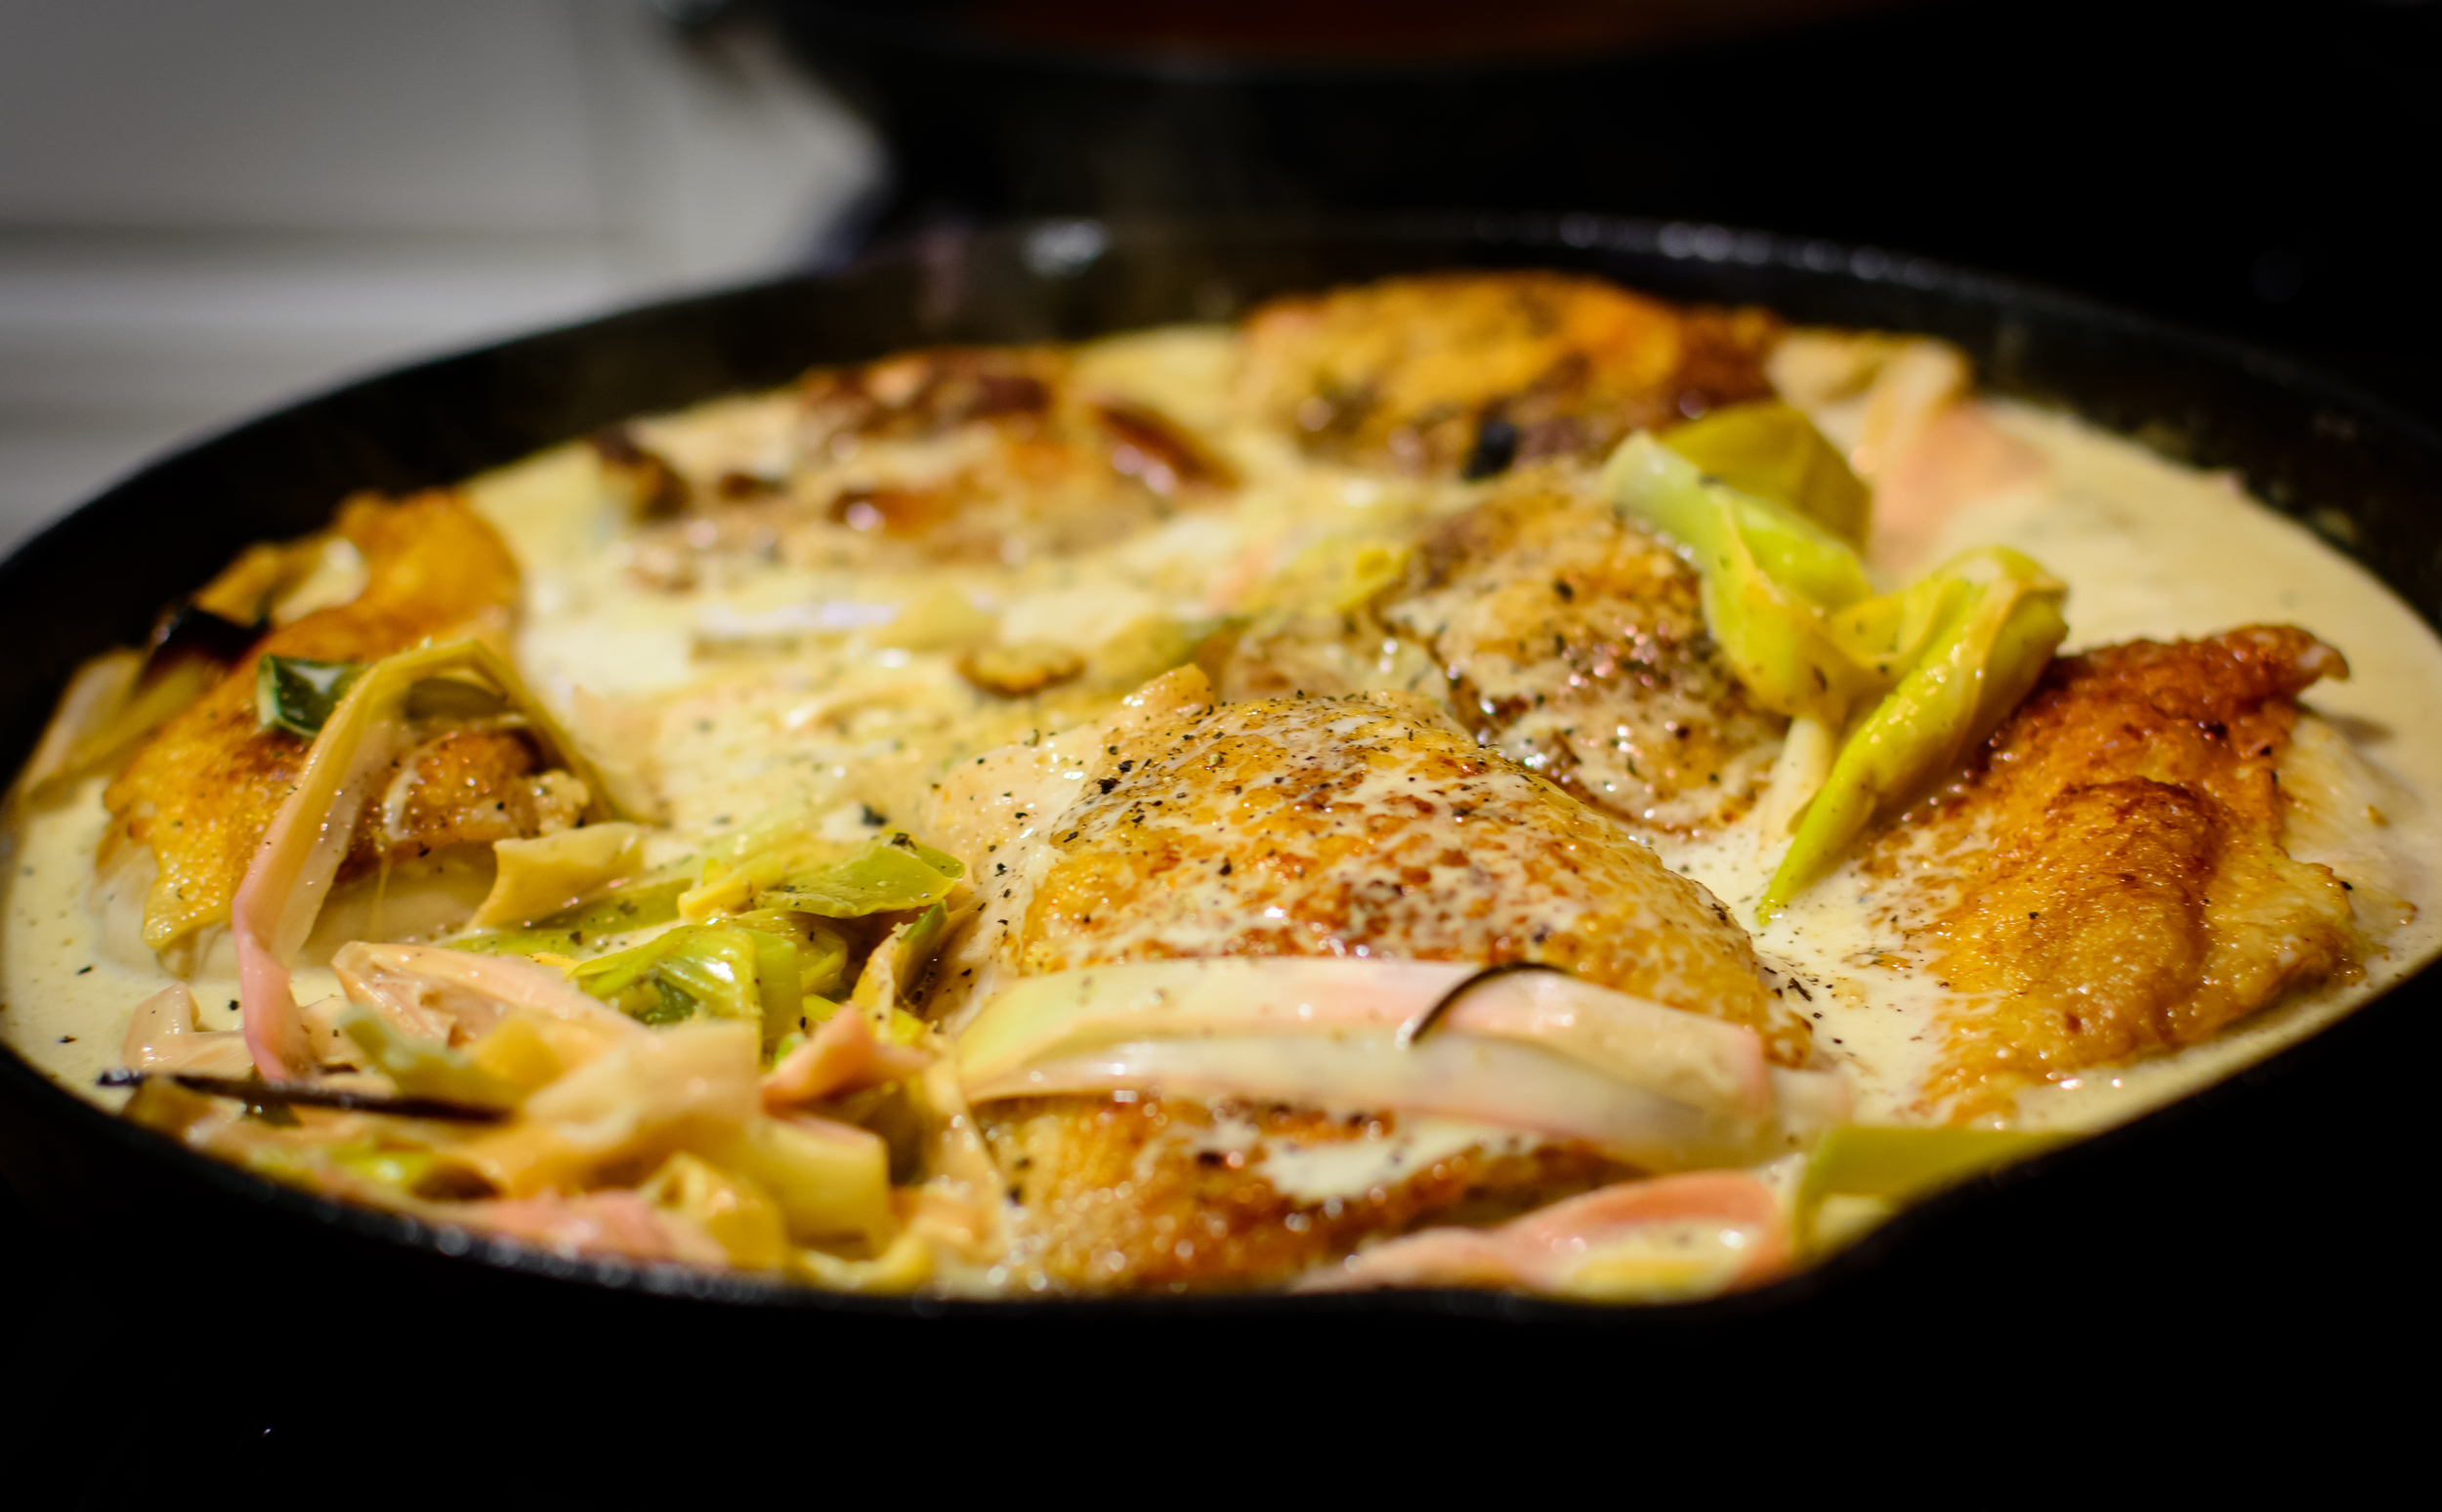
When you're roasting the chicken you can go with different aromatic herbs if rosemary doesn't cut it for you. I personally would have used tarragon had my neighbor grown that instead of rosemary. Sometimes I take my dog on a walk with the intention of picking a few branches just to keep the otherwise invasive rosemary population under control. I may be renting, but I care about our neighborhood!
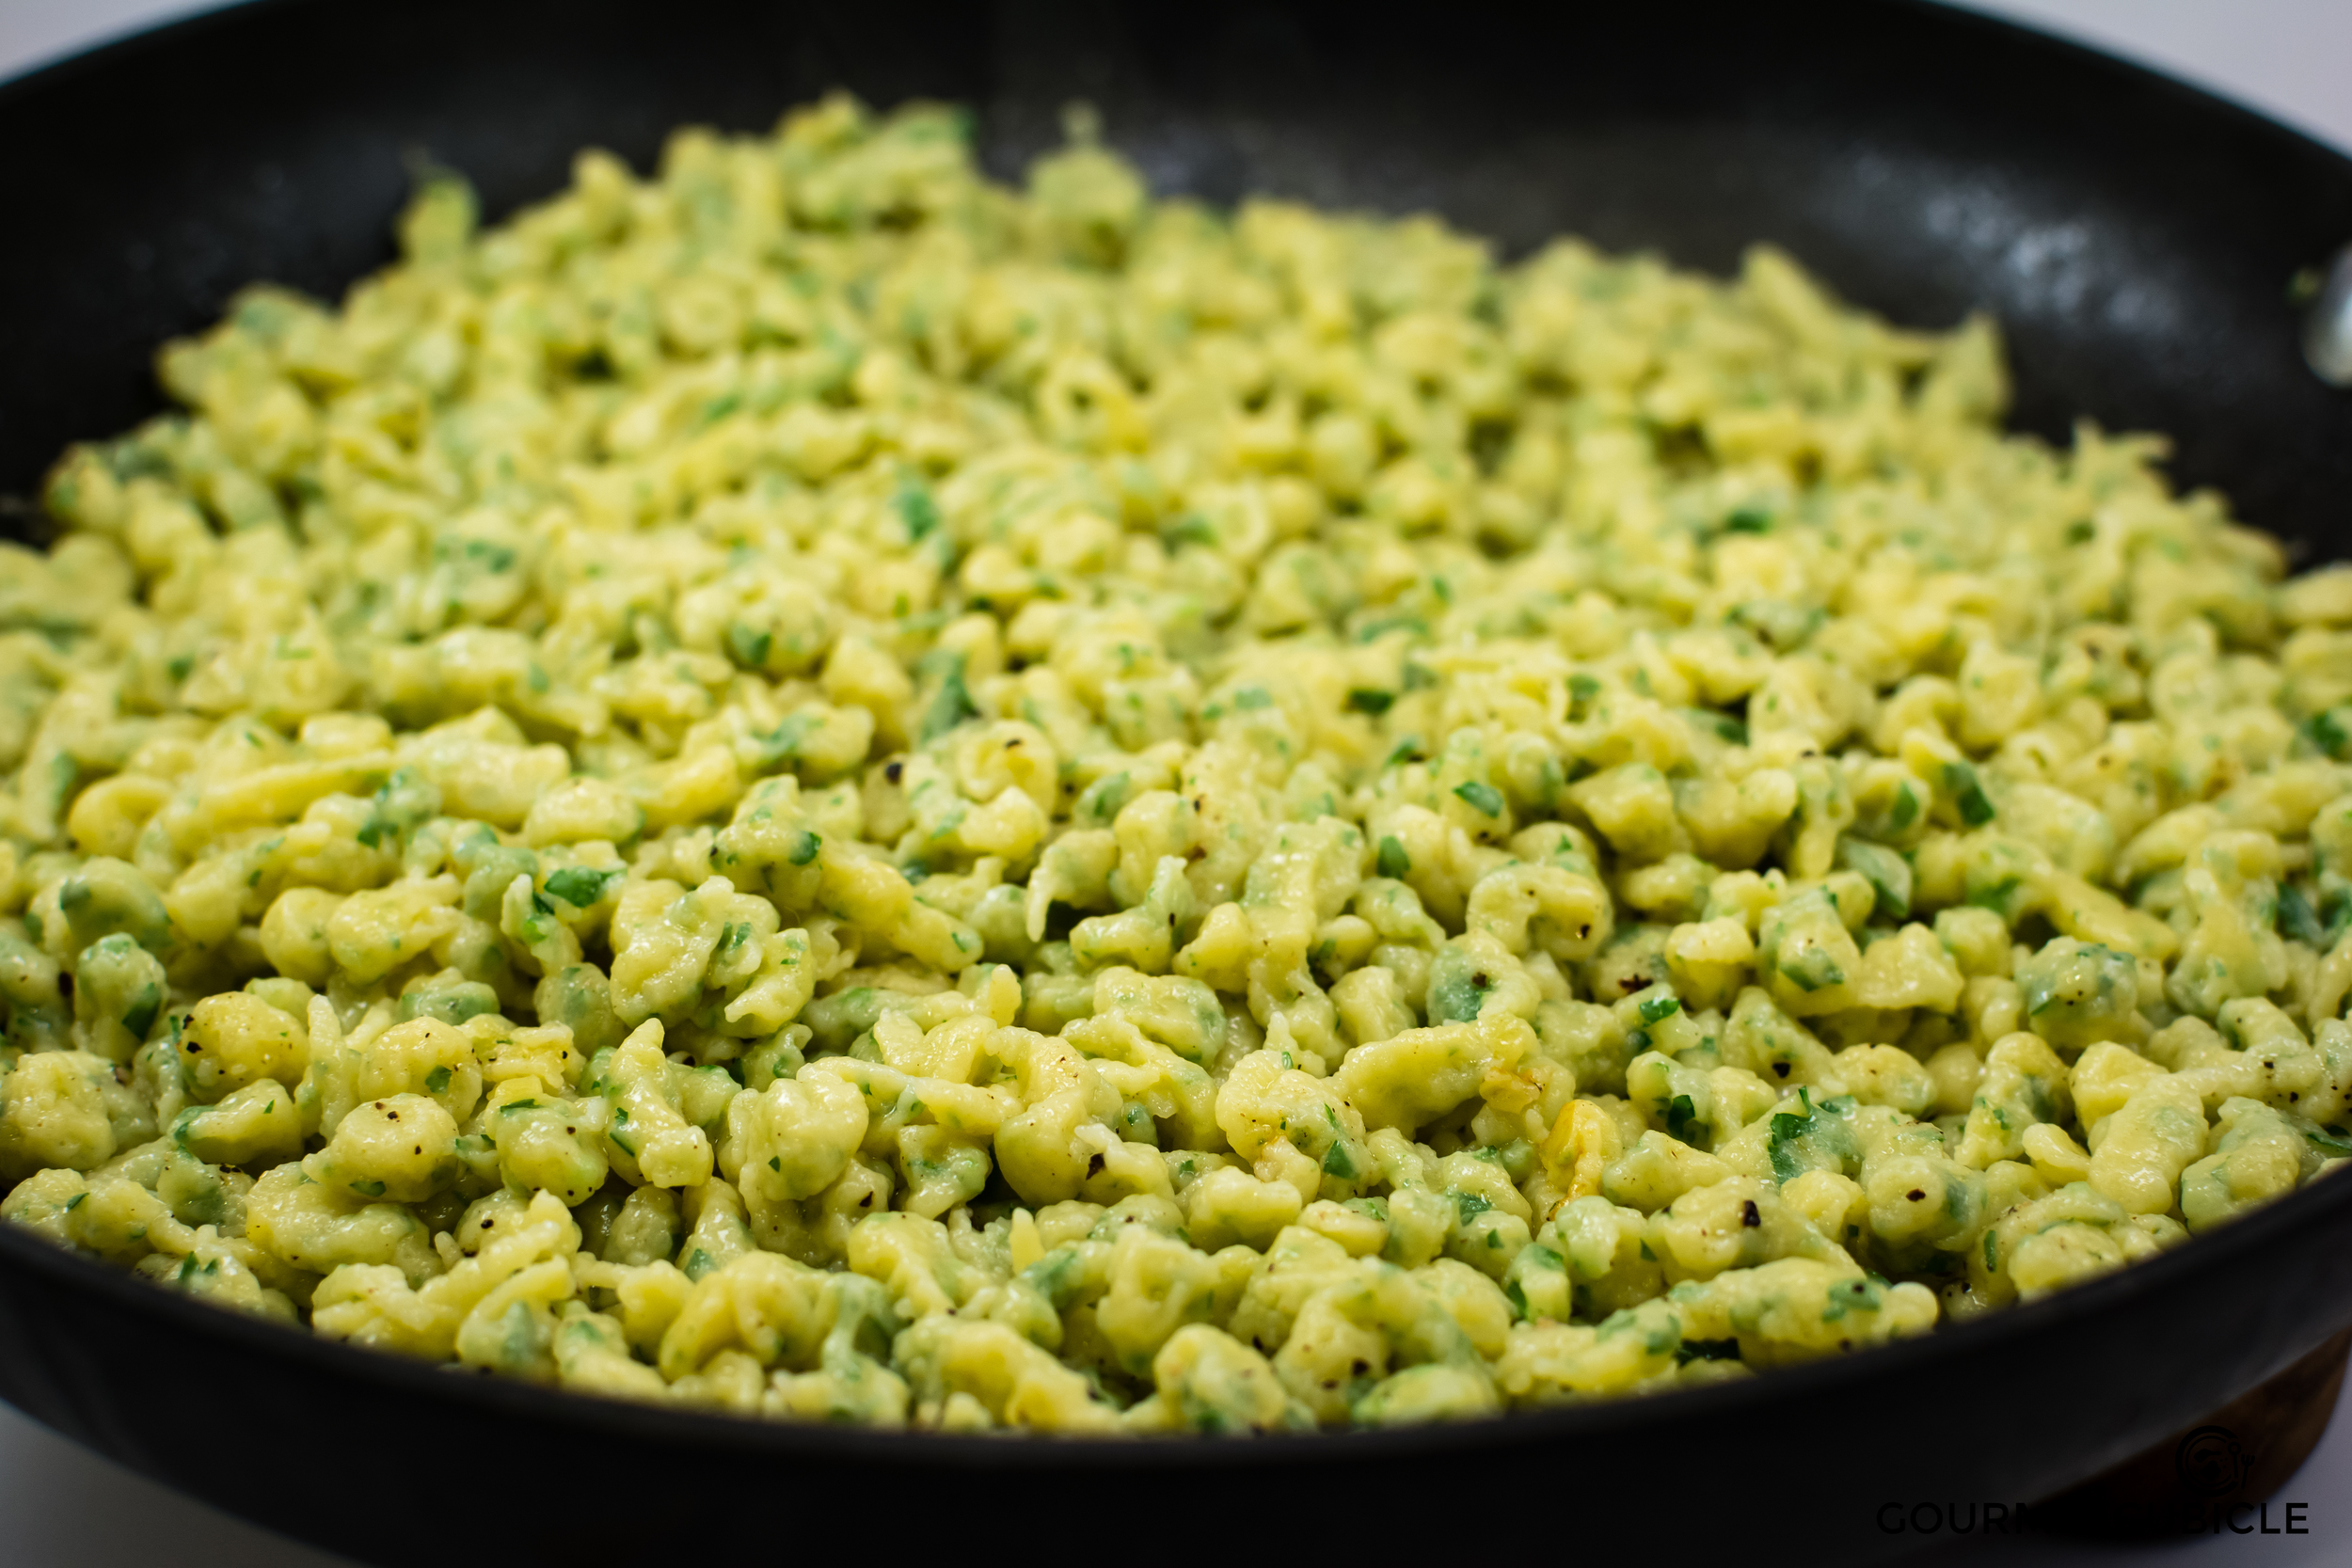
The situation with the green couscous was completely different, though. I had parsley from the CSA and my little herb garden started producing herbs to my surprise. They have to survive the weather and hurricane Popsi (a.k.a. the dog). The mint, sage, oregano and chives all came from there.

The inspiration for this side dish was Jacques Pepin's green couscous. Roni did the mistake of getting me the full edition DVD of Essential Pepin as a birthday gift last year. Ever since, I don't cook with 90's Euro techno music blasting in the background, but with Pepin telling stories with his cute French accent. Aww, I guess I'm getting softer as I grow older.
If you won't be able to get a hold of the same herbs as mentioned in the recipe, worry not! Replace them with what you like or what you have on hand. Whether it's thyme, basil, spinach or kale, it makes no difference. The point is to make the couscous more interesting and pleasant aesthetically by adding extra flavor to the rather bland semolina. Enjoy!
Creamy Leeks with Pan Roasted Chicken
Serves 4-6
Prep time: 10 minutes
Cook time: 60 minutes
Ingredients
Creamy Leeks and Pan Roasted Chicken
- 4 large leeks
- 6 cloves garlic, crushed
- 1 sprig fresh thyme, oregano or tarragon
- 2 sprigs rosemary
- 4 cups chicken stock
- 1 tsp black pepper, freshly ground
- 1/2 tsp kosher salt
- 2 lbs chicken with skin and bones (thighs and drums)
- 1/2 black pepper, freshly ground
- 1/2 tsp kosher salt
- 2 TBS peanut oil (or canola, or sunflower seed oil)
- 2 TBS butter
- 1 sprig fresh thyme, oregano or tarragon
- 1 sprigs rosemary
- 1/2 cup dry white wine
- 1/2 black pepper, freshly ground
- salt, to taste
- 1 cup heavy cream
Green Couscous
- 1/2 cup parsley, roughly chopped
- 6 mint leaves
- 1 sprig oregano
- 3-4 sage leaves
- 1/4 cup chives
- 1 clove garlic, crushed
- 1/4 cup stock, saved from the braised leeks (or 2-3 TBS hot water)
- 1 cup instant couscous
- 1/2 tsp black pepper, freshly ground
- salt, to taste
- 1 cup boiling water
- 1 TBS butter
Instructions
Creamy Leeks and Pan Roasted Chicken
- Preheat oven to 425F (220C).
- Clean each leek by cutting off the dark green woody leaves and the root end. Using a pairing knife slice the leek lengthwise starting from about 1/4 of inch from the root up to the leaves. Rotate the leek, and slice it again starting from the root. Fan the leeks open and place them under cold running water. Rinse out any dirt or sand until the leeks are clean.
- Place leeks, garlic cloves, thyme, oregano or tarragon, two sprigs of rosemary and chicken broth in a deep oven proof skillet. Season with freshly ground pepper and a pinch of salt.
- When the oven heated up, put the skillet in and cook for 30 minutes. Check after 15 minutes and stir leeks so that the ones that aren't completely covered by the stock don't burn.
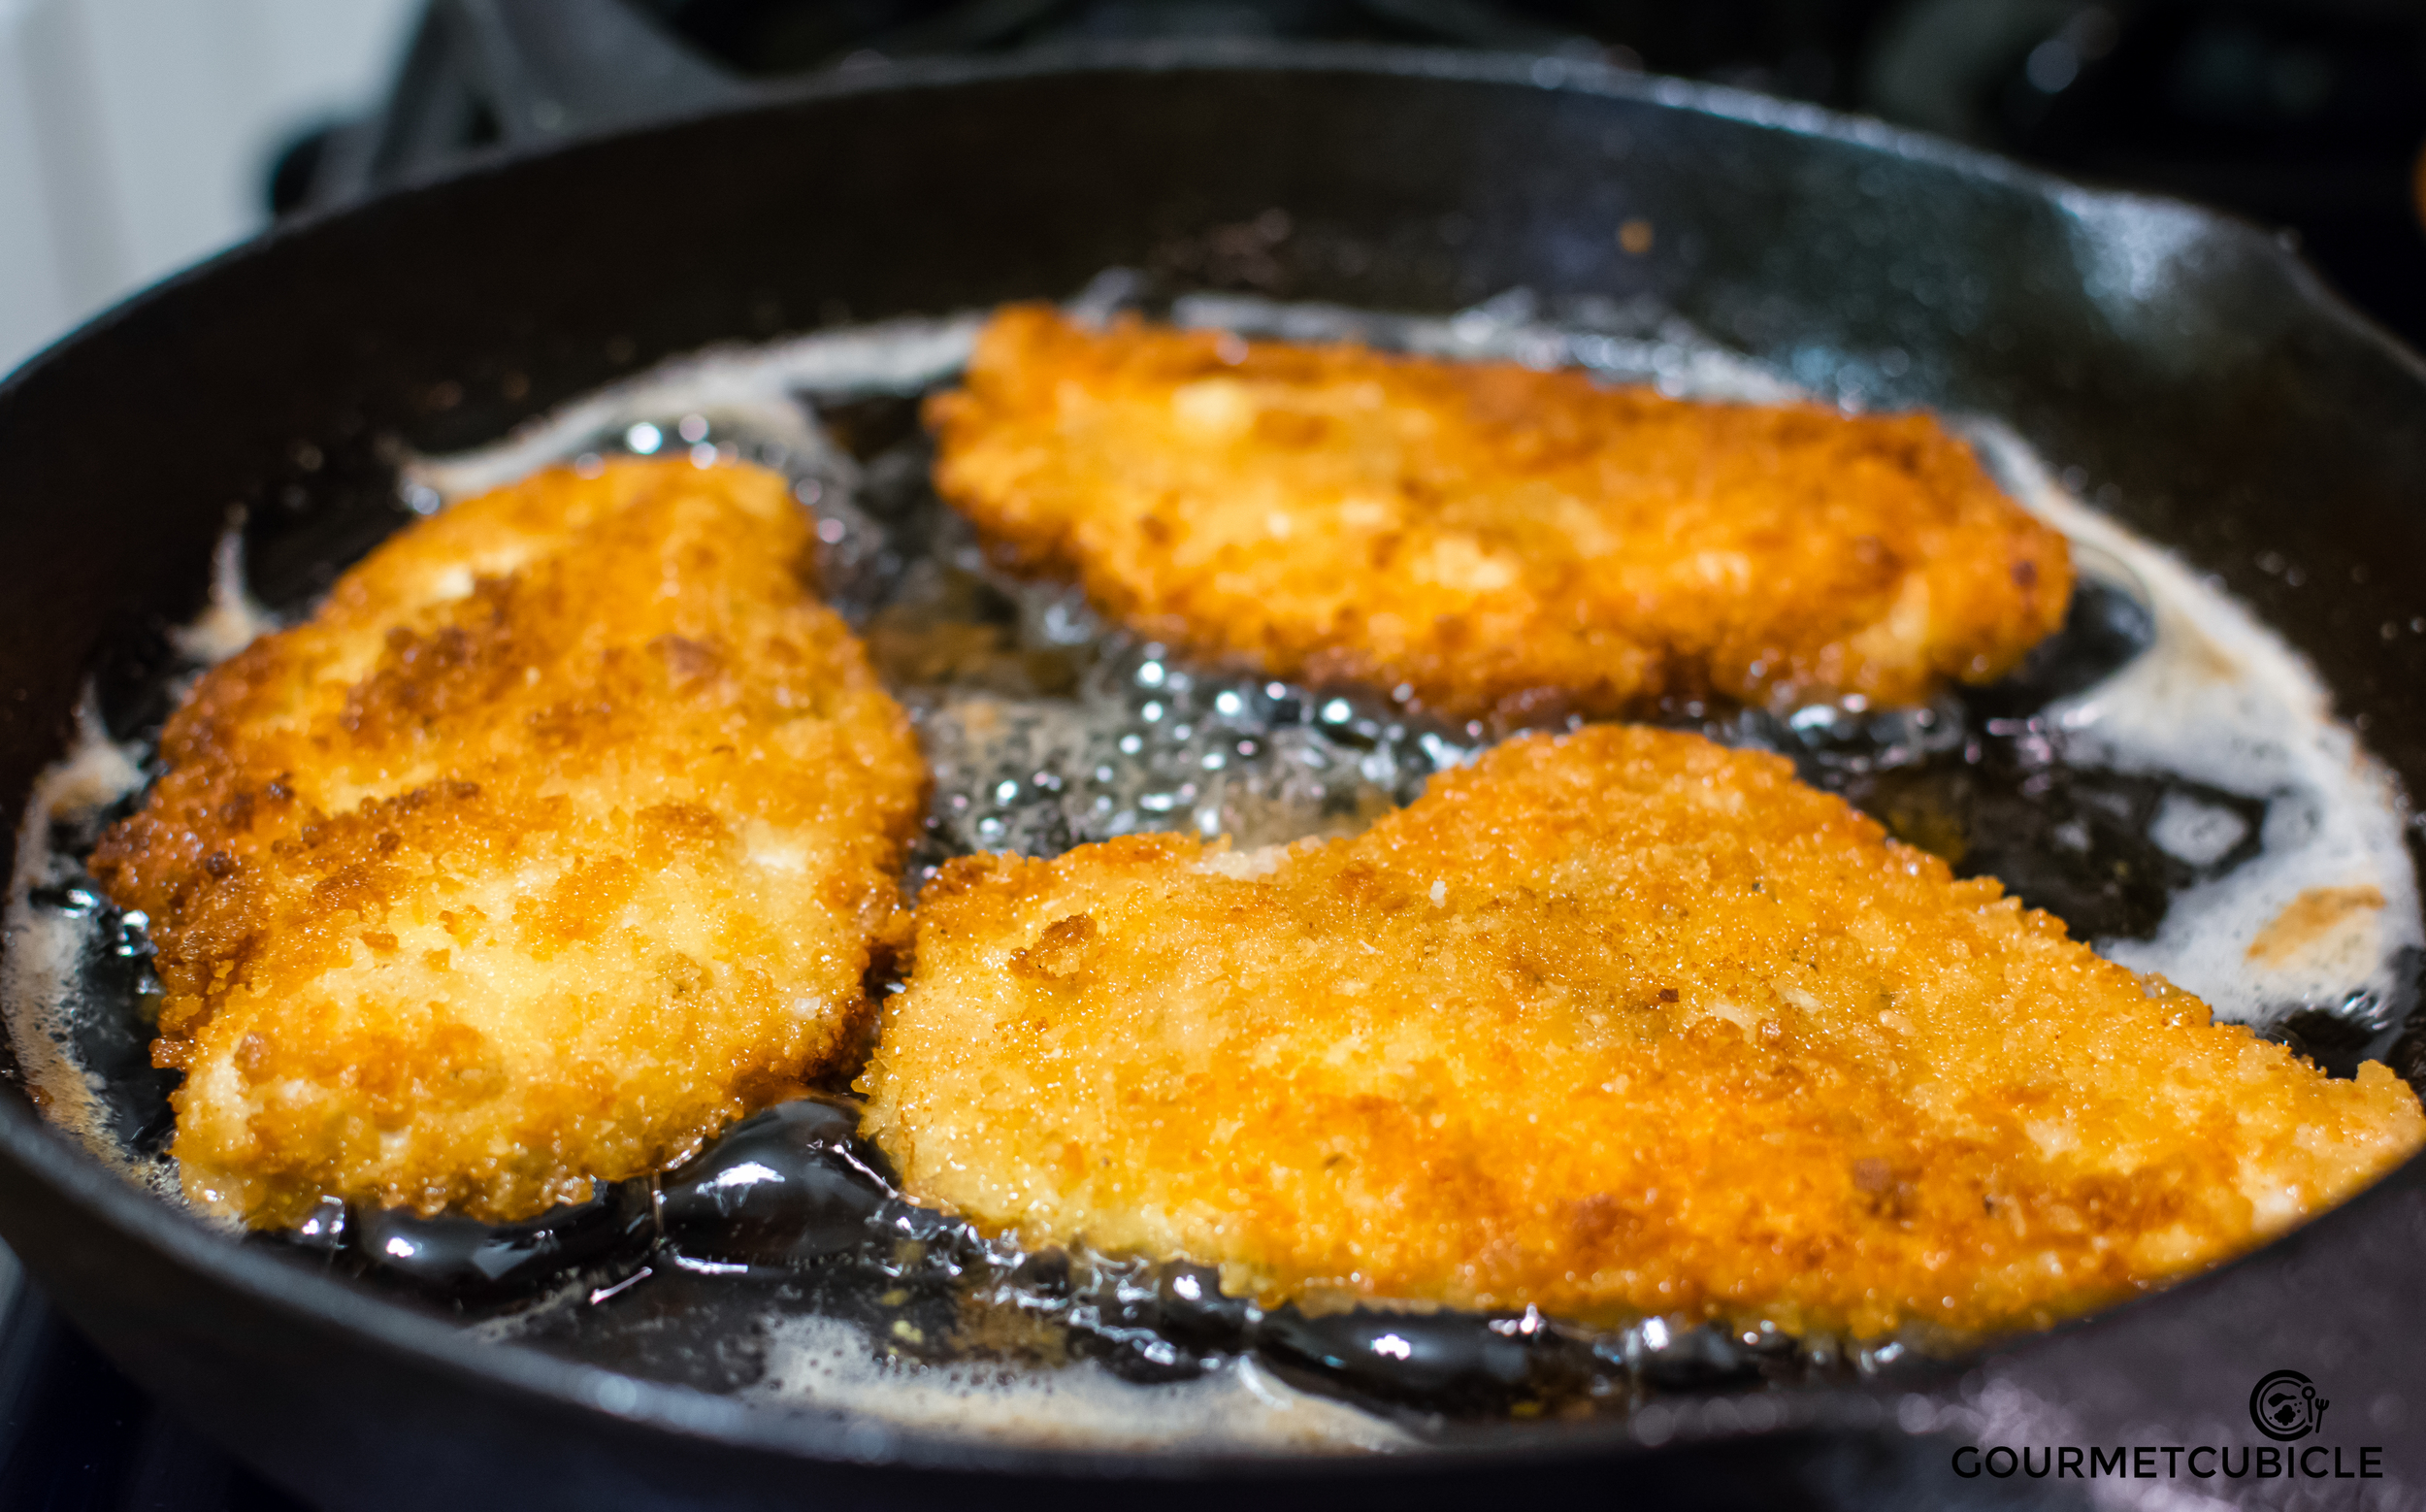
- In the meantime, pat the chicken dry with paper towels and season with salt and pepper.
- Heat up oil in a heavy cast iron skillet at medium-high heat. When the oil is shimmering, place the chicken pieces in the pan with the skin side down and brown for about 6-8 minutes. Flip the chicken on the other side and repeat the browning process.
- Reduce the heat to medium and cook the chicken on the un-browned sides for about 5 minutes total.
- Add butter, crushed garlic and aromatic herbs (rosemary, thyme or tarragon) and baste occasionally for 3-5 minutes on each side. Check the temperature of the chicken. At this point it should be at around 130-140F (55-60C).
- Remove the chicken from the skillet and cover with aluminum foil until the leeks are ready.
- Deglaze the pan in which you roasted the chicken by pouring in white wine. Sprinkle with a pinch of fresh ground pepper an cook for about 3 minutes. Add the cream and cook for another 3-4 minutes until the sauce thickens.
- Remove pan of leeks from the oven. Remove half of the stock that is left. Make sure you're not discarding it as you're going to use it for the couscous.
- Mix in the chicken with its juices and the cream sauce. Stir well until the meat is covered in leeks and the white sauce. Taste and adjust seasoning to your liking.
- Put the chicken back in the oven for about 10 minutes.
- While the chicken is in the oven prepare the couscous.
Green Couscous
- Put herbs, garlic and the stock you saved from the braised leeks in a food processor. If you don't have it just, add 2-3 TBS hot water. Puree the herbs until the paste becomes smooth.
- Pour the herb paste into a medium bowl then add couscous, black pepper and a pinch of salt. Mix well until the couscous is well coated.
- Add hot water, mix and cover for about 10 minutes.
- Remove cover and add in butter while the couscous is still hot, mixing it thoroughly. Season with more salt to your liking.
- Serve couscous with the leeks, chicken and french baguette (for dipping).
Notes
- Do not overload the skillet with chicken. You risk reducing the heat in the pan to the point where the chicken will not brown and will become greasy. Instead, work in batches if you have to.